Bicycle
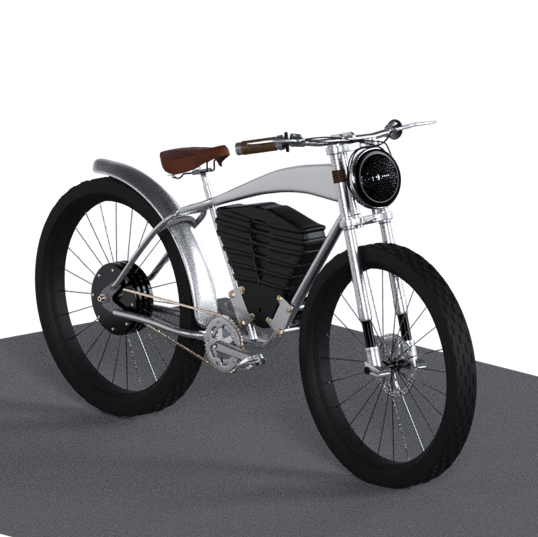


To be continue...
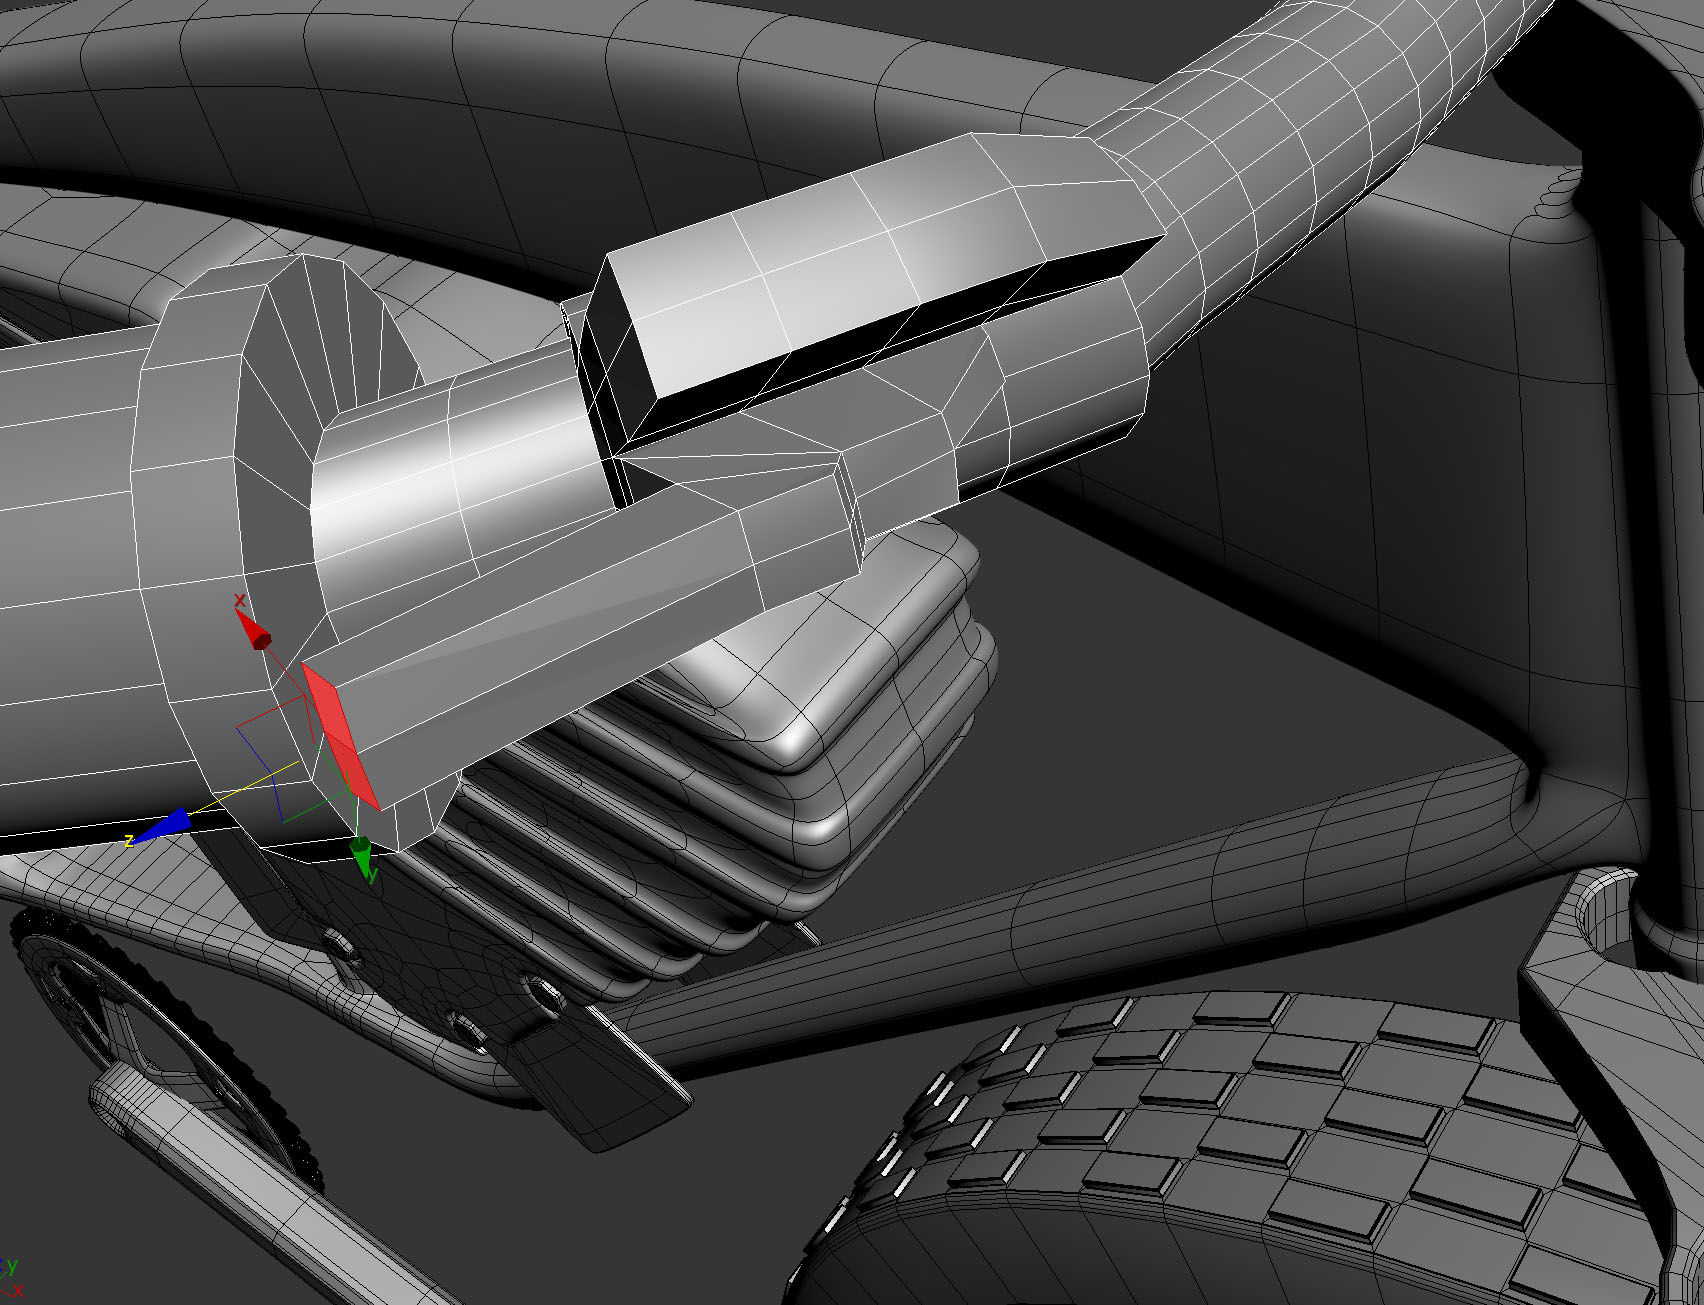
Working on the handle.
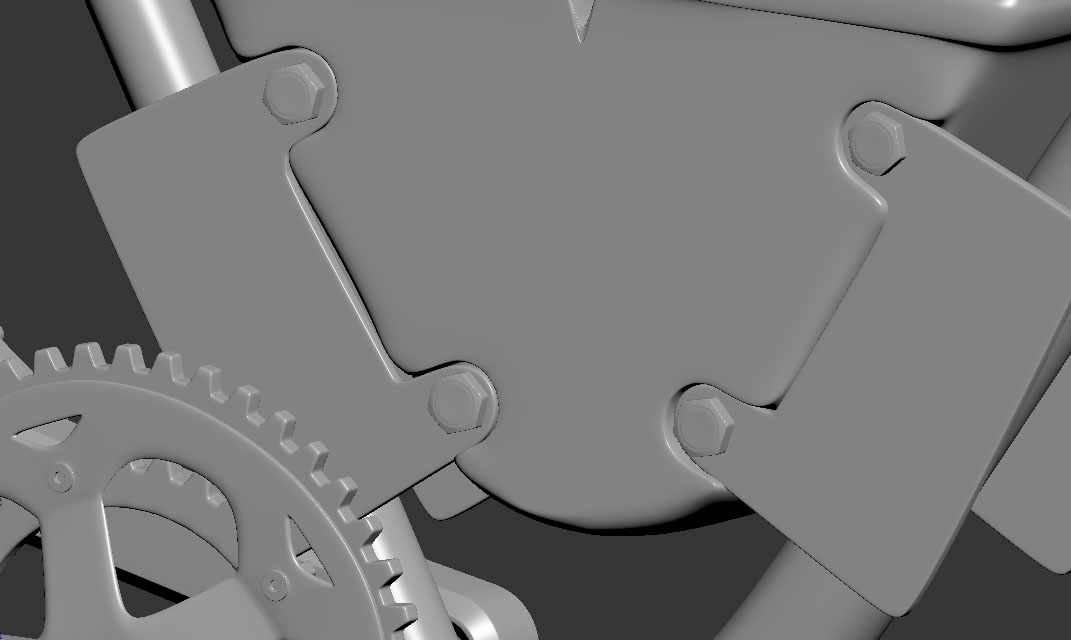
Plates got better proportion and fit right in the holes of the battery and match the screws.
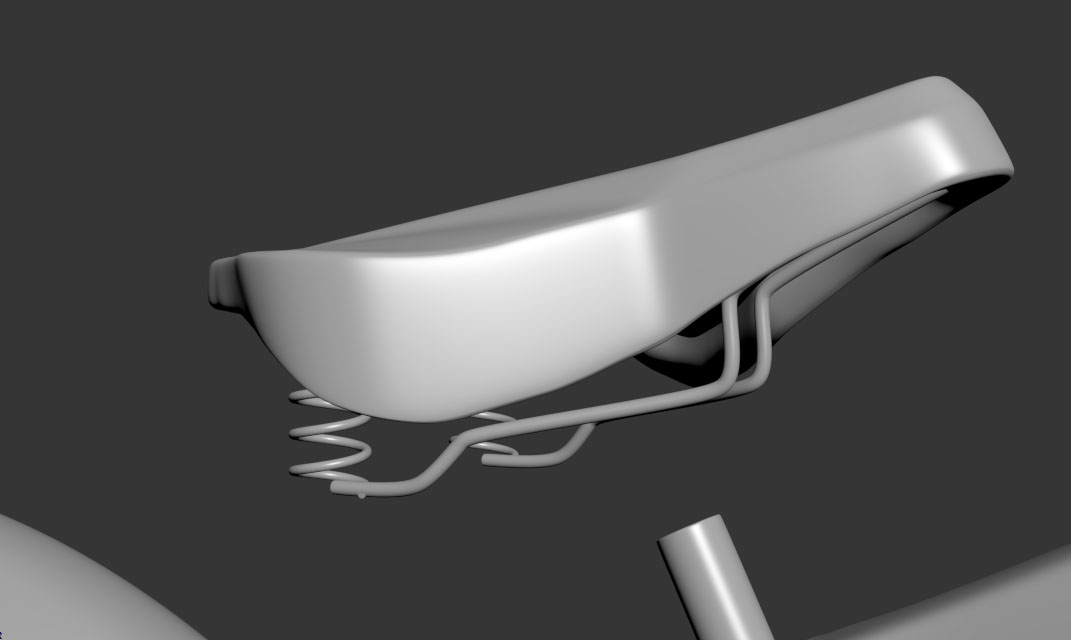
Made tubing for the seat with a line spline.
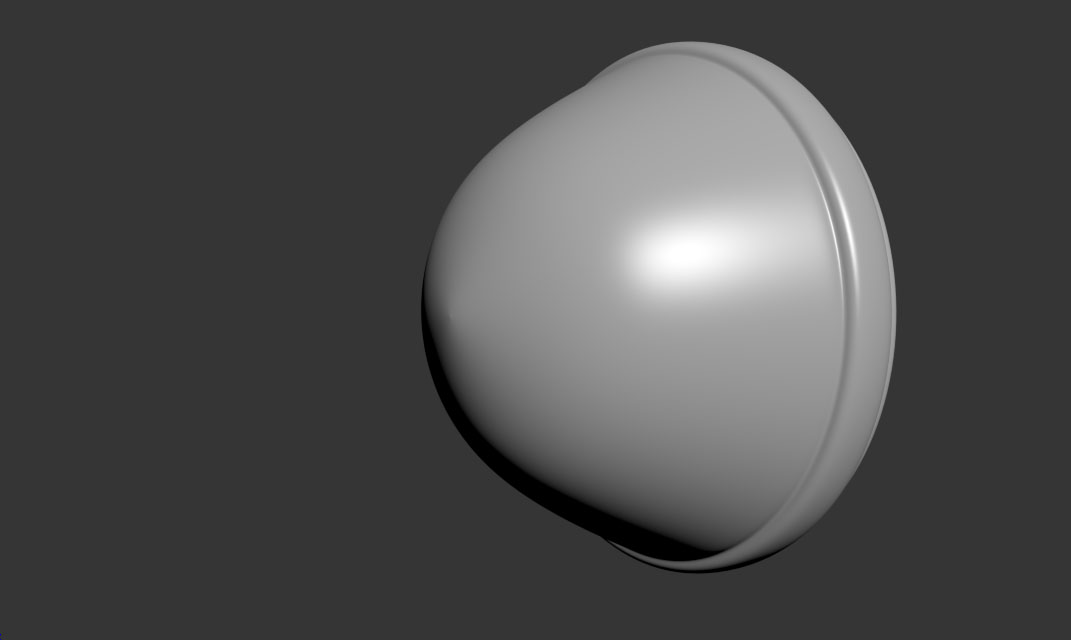
Fixed somewhat, will go back and adjust a bit more.
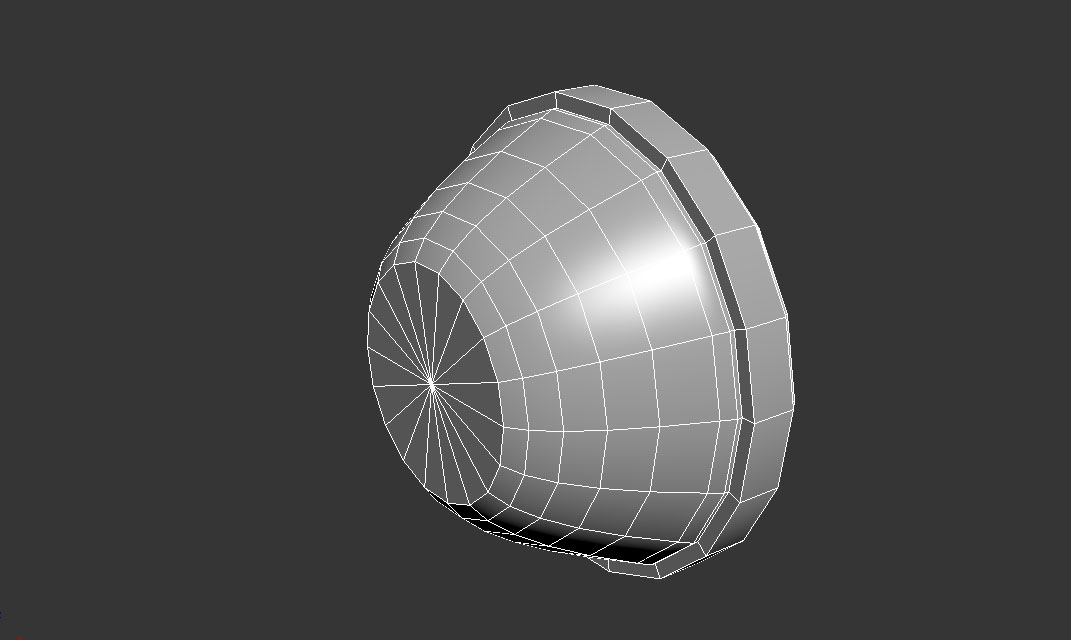
The Head Light was really flat in the back so I fixed it more.
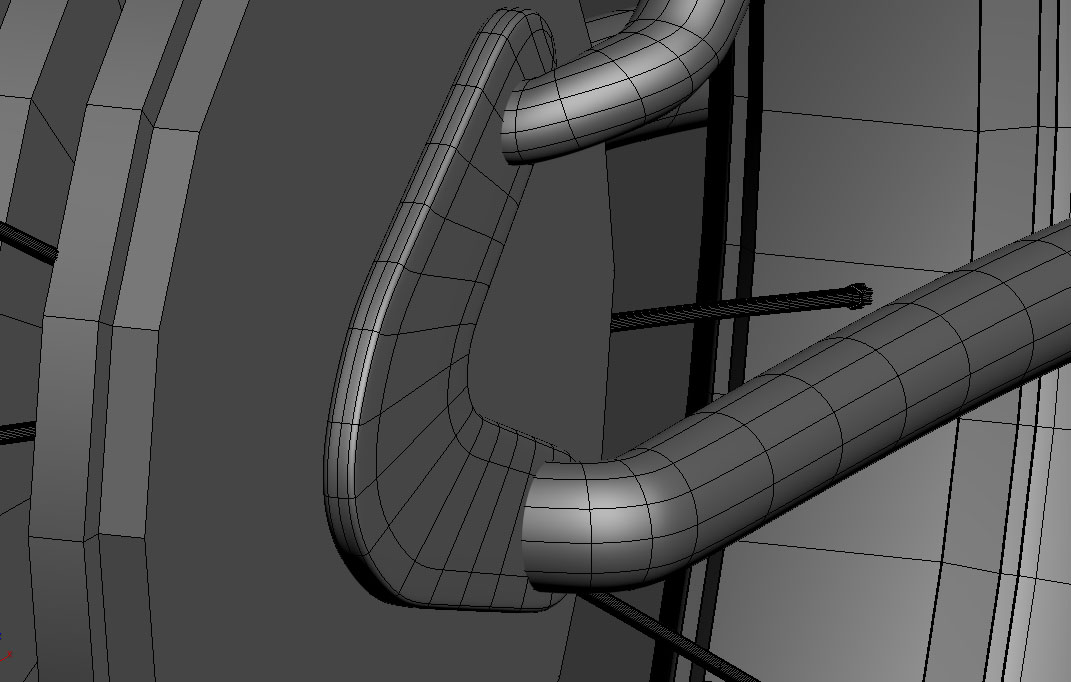
The tubes connect to this plate so I went ahead and moved and rotate them.
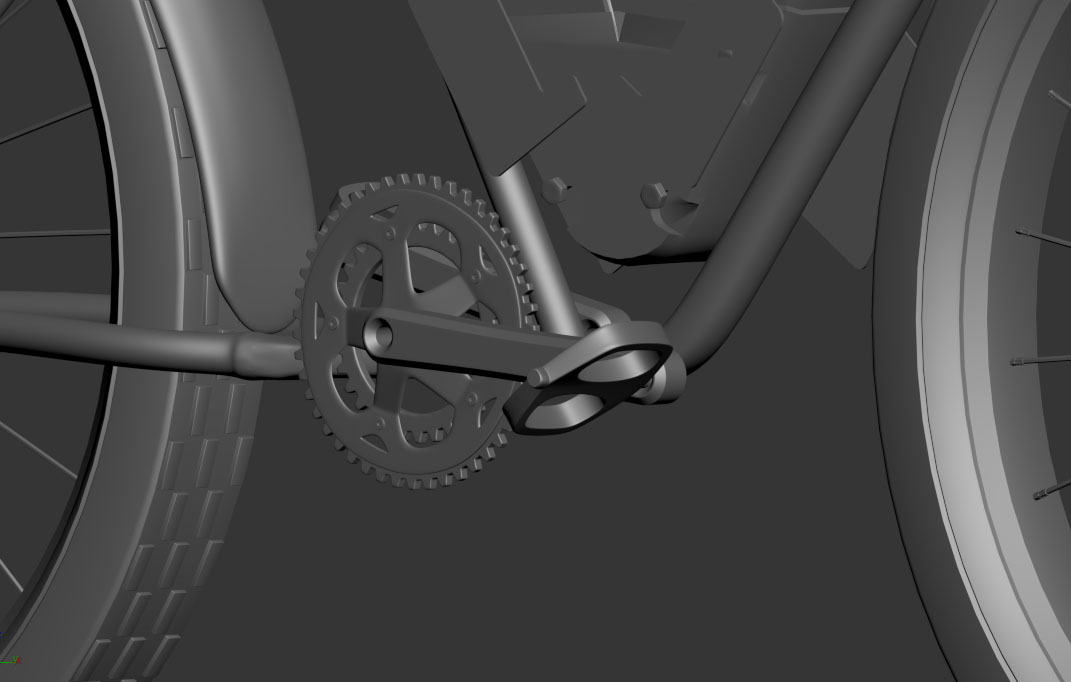
I still have to get more of the circular shape for the crank set but I managed to get it into proportion.
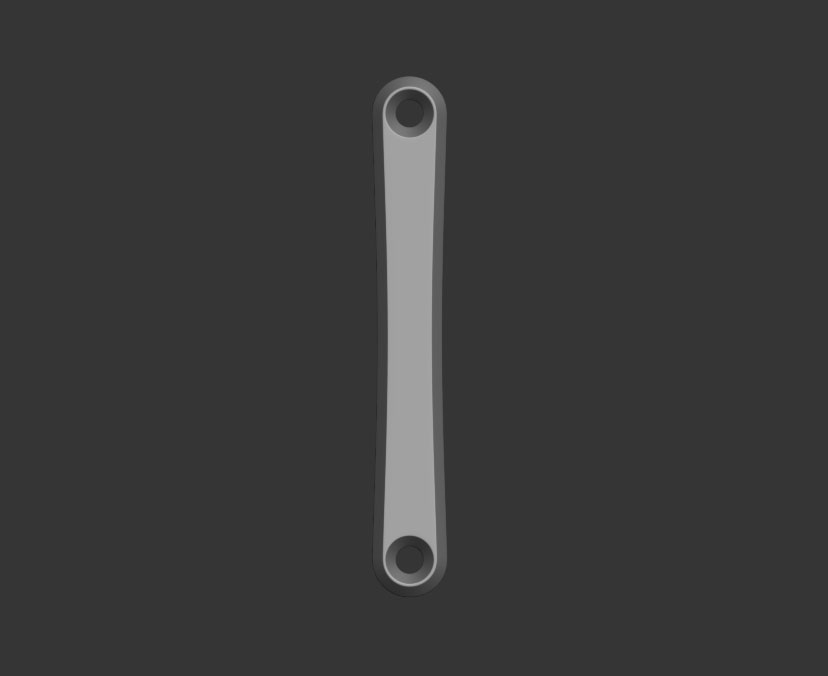
Next I went ahead and attached the pieces and created lines to weld the vertices. I divided the two lines and moved the vertex closer together.
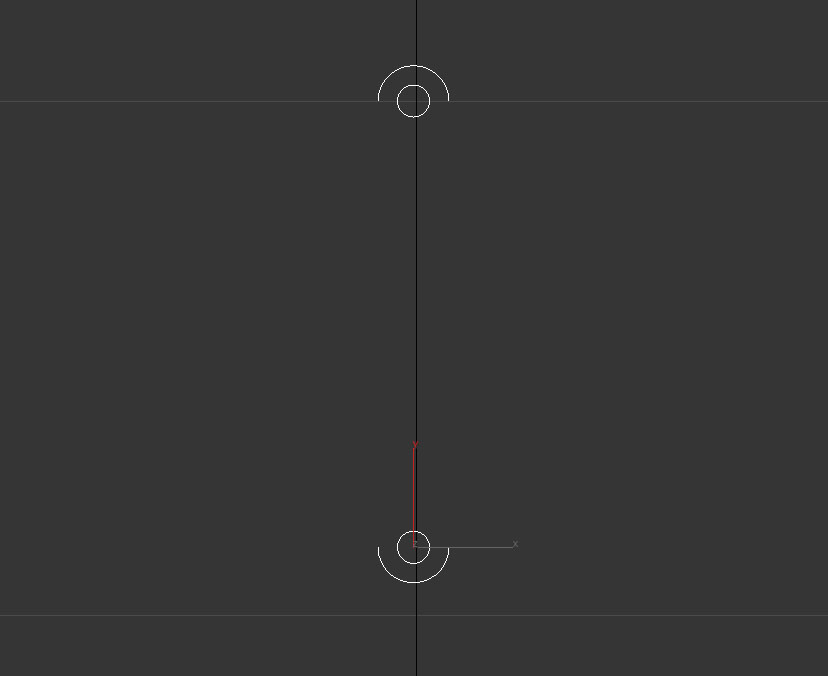
Moving on to the handle of the crank set I used a circle spline, scaled it down to a copy, converted to an edible spline, deleted the two bottom edges of the outer one and lastly made a mirror down.
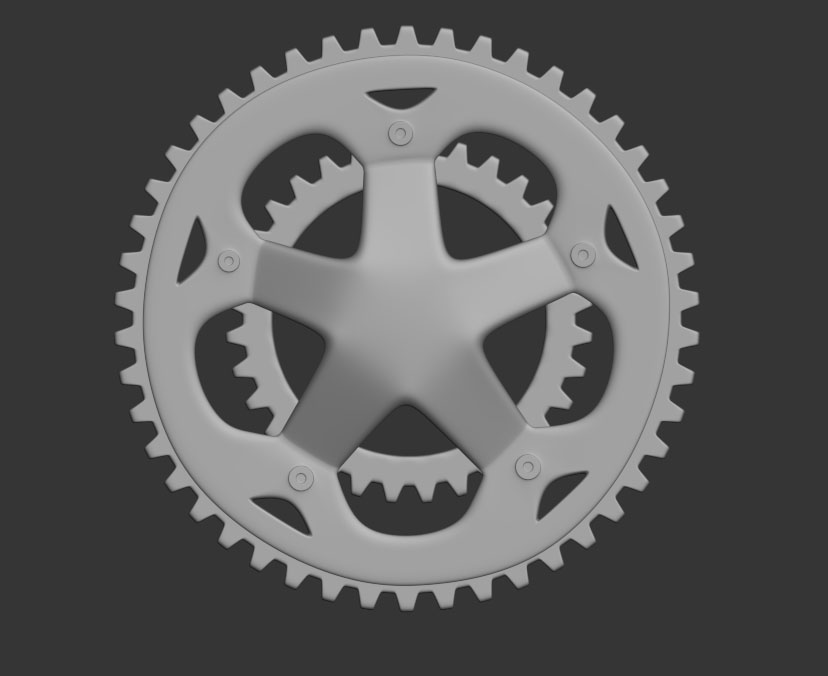
Did the same process for the back rim but with less points on the star spline.
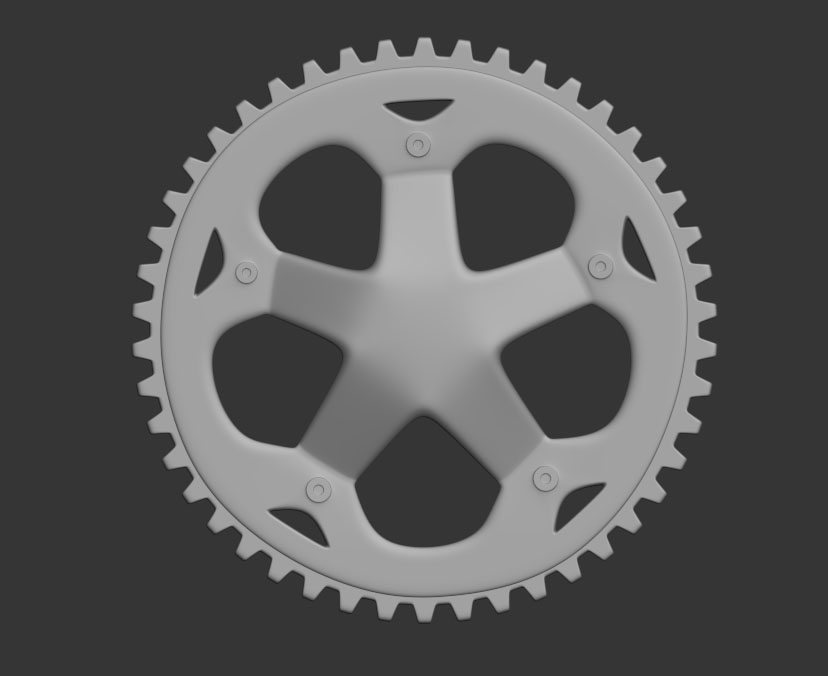
Comparing it to my main crank set piece.
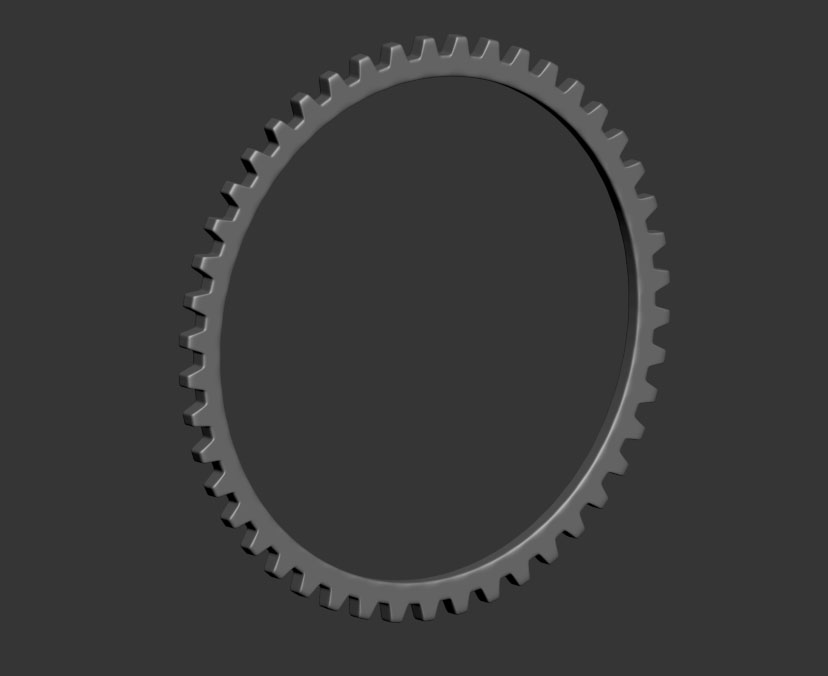
Gave it a Surface mofidier, to a Shell Modifier, and then I did 2 turbosmooths.
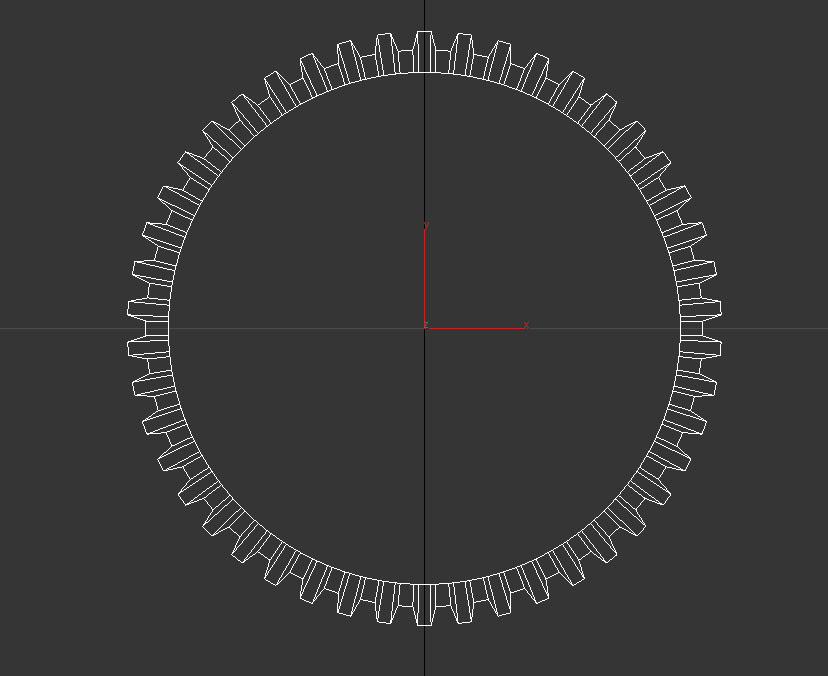
Next to the outer rim I went ahead and used a star spline giving it 42 points and chamfering the inner and outer ones then converting them into corners. I scaled down a copy of that spline and used a spherify modifier to give it its circular shape, attaching them together and then cross sectioning them.
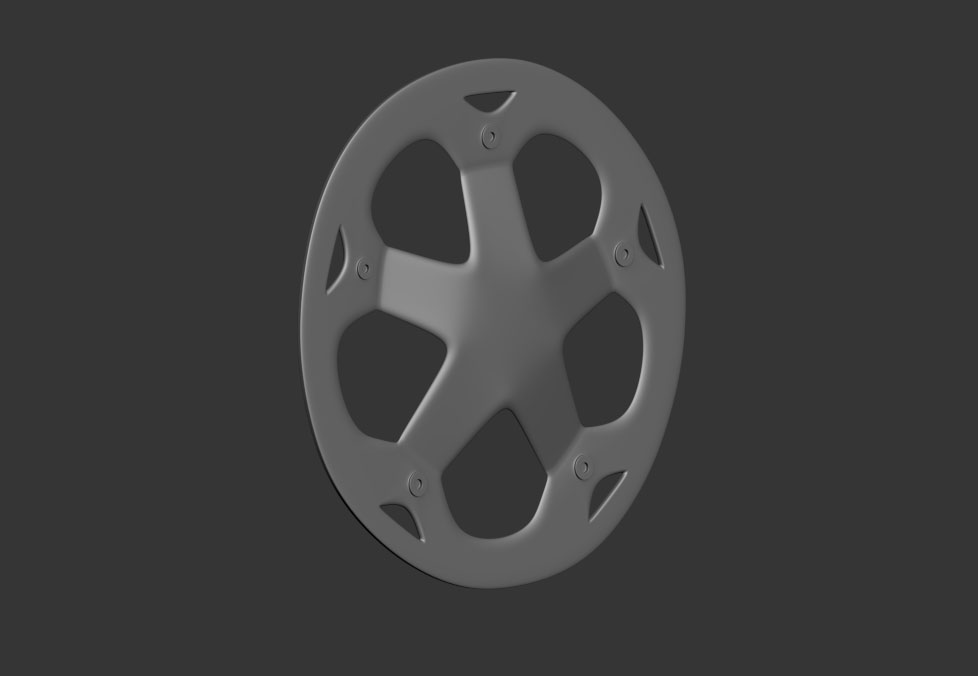
I then used the soft selection technique to bend the star shape forward.

Using the extrude and inset technique to get locking loops and the shape I am looking for.
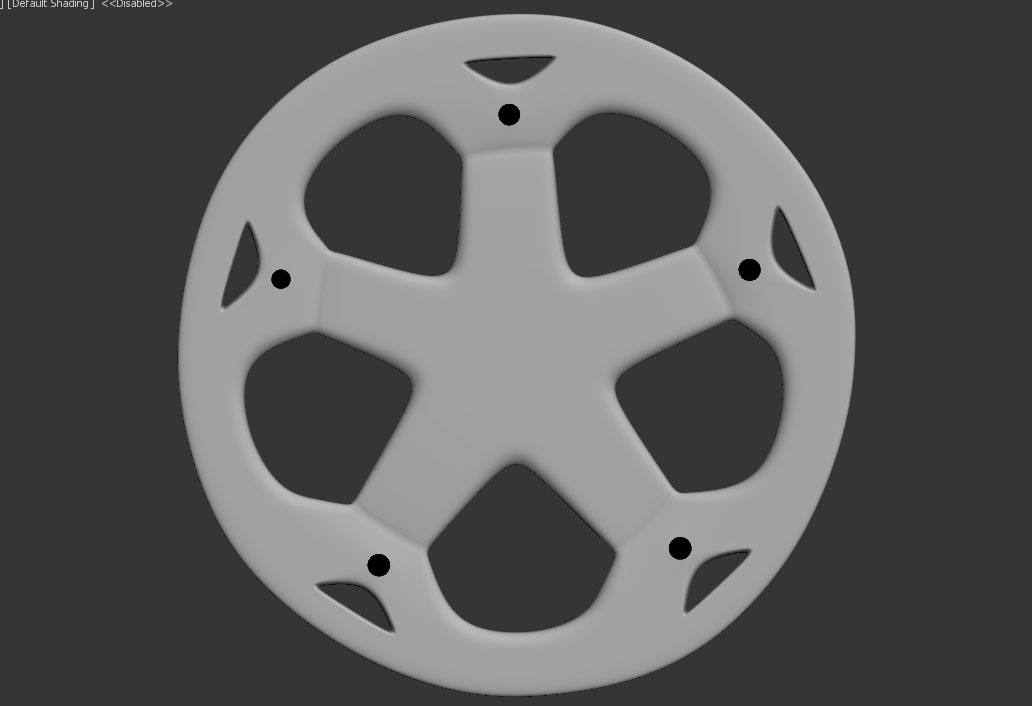
All 5 holes.
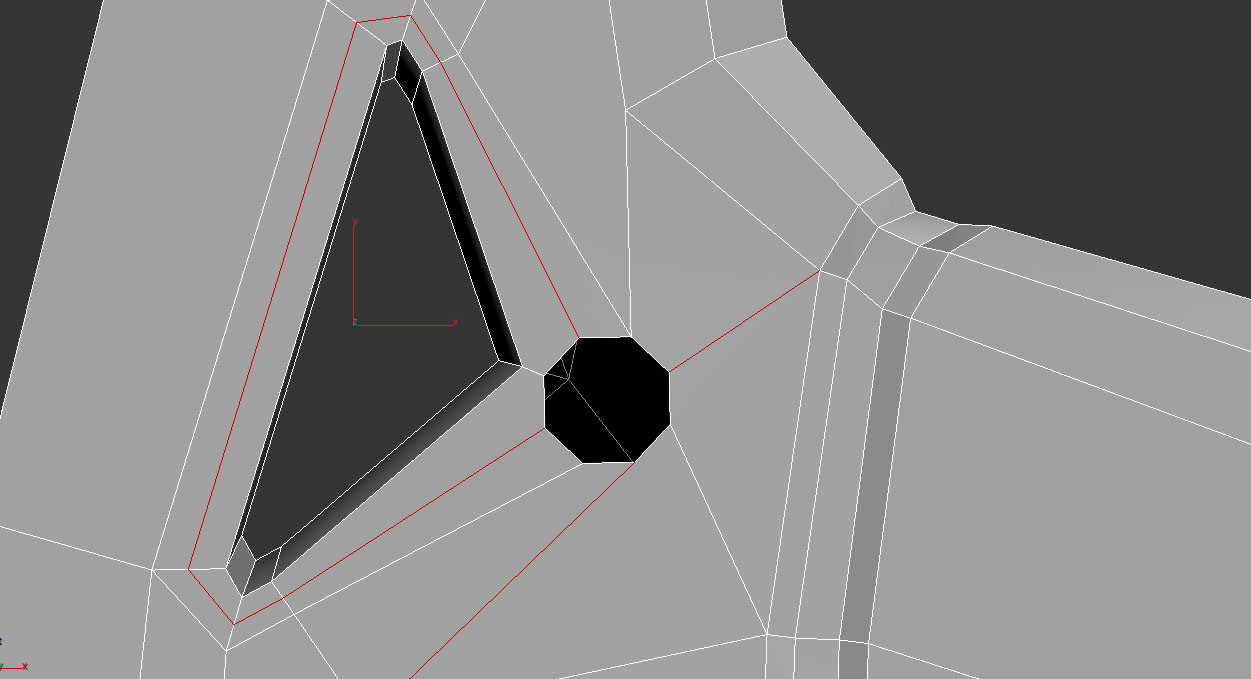
To make the holes for the crank set I grabbed 5 surrounding vertices and chamfer them giving me four edges. I then Geopoly the polygons and with the 4 edges selected I connected them and scaled them to 142 to give me a circular shape. I then deleted the polygons and connected the loose vertex together.
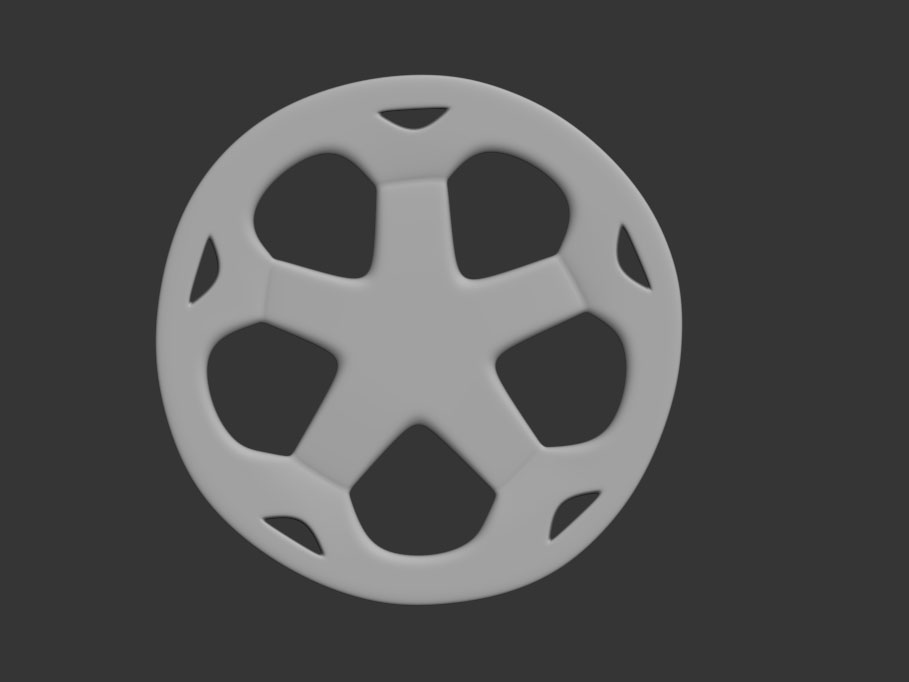
I see the crank set isn't round yet I will go back and fix that. Continuing onward I went ahead and got 5 edges from the star shape and extruded to give it an edge were it looks separated.
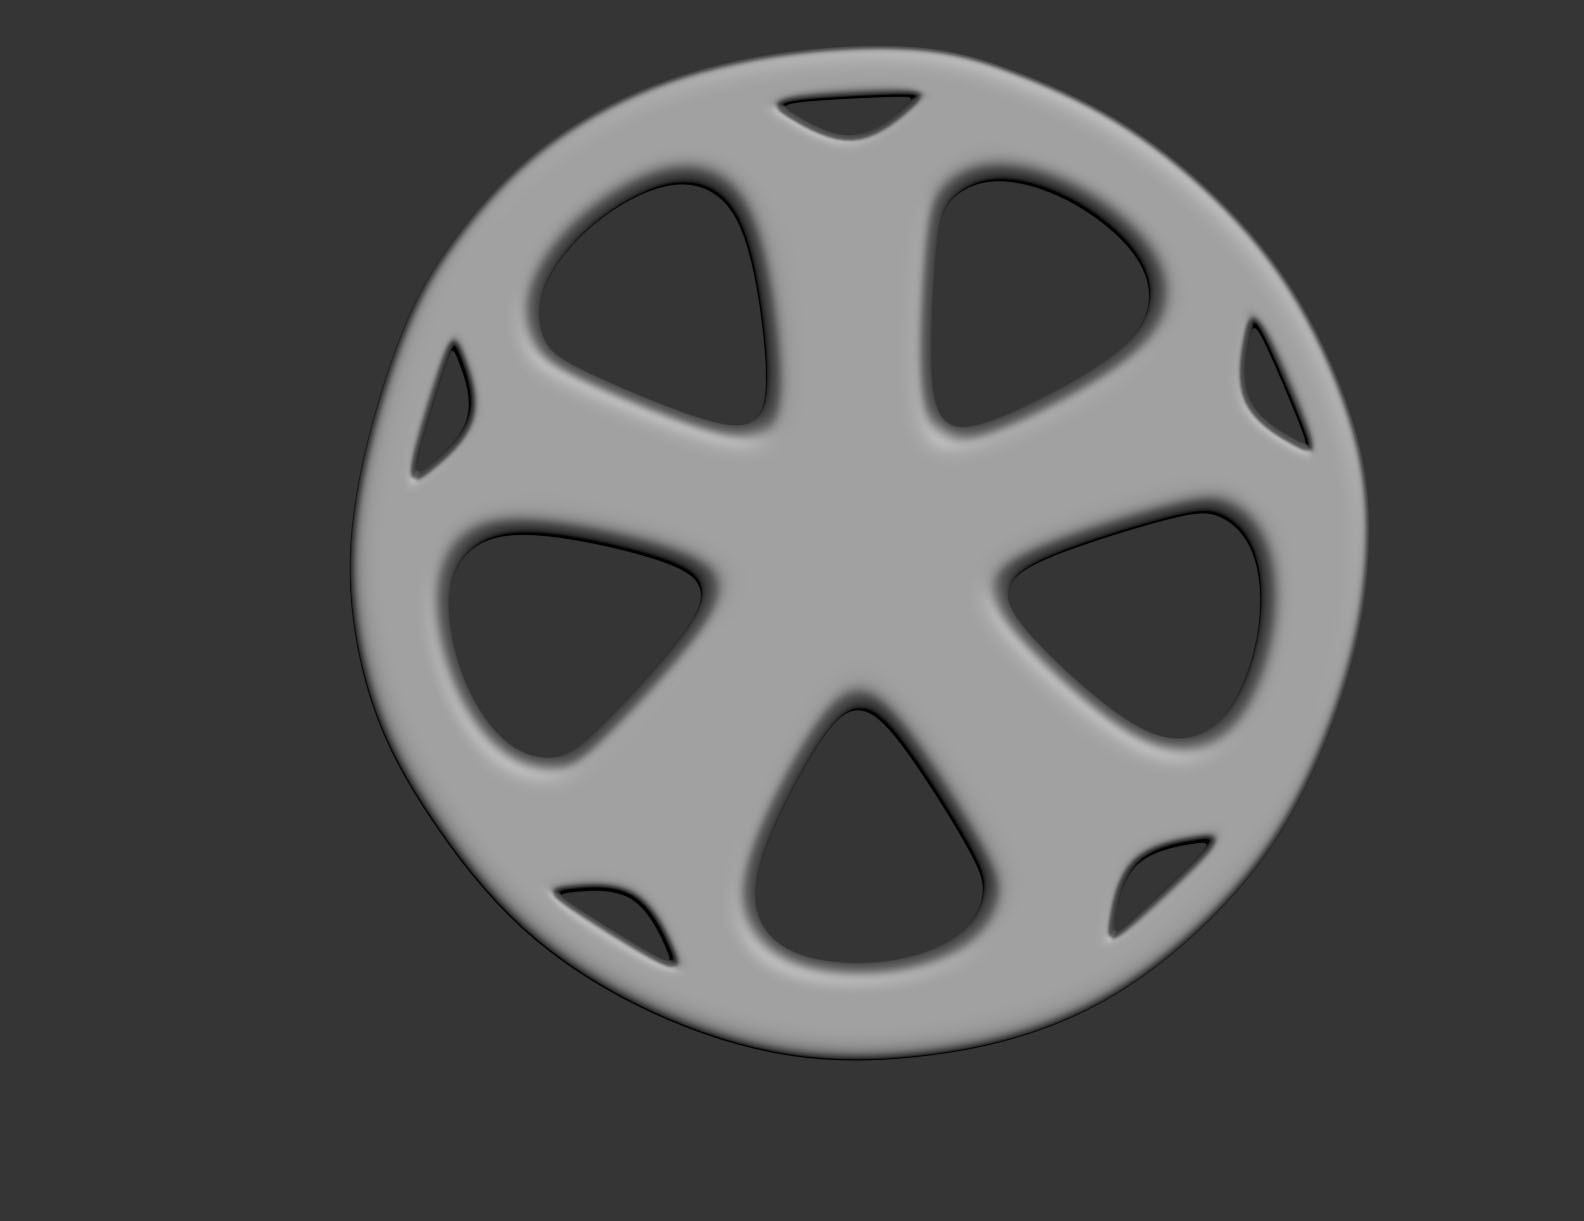
Mirror it and attachec the back side and smoothed it out but the shape is not coming as circular as I wanted so I will geopoly it for its form.
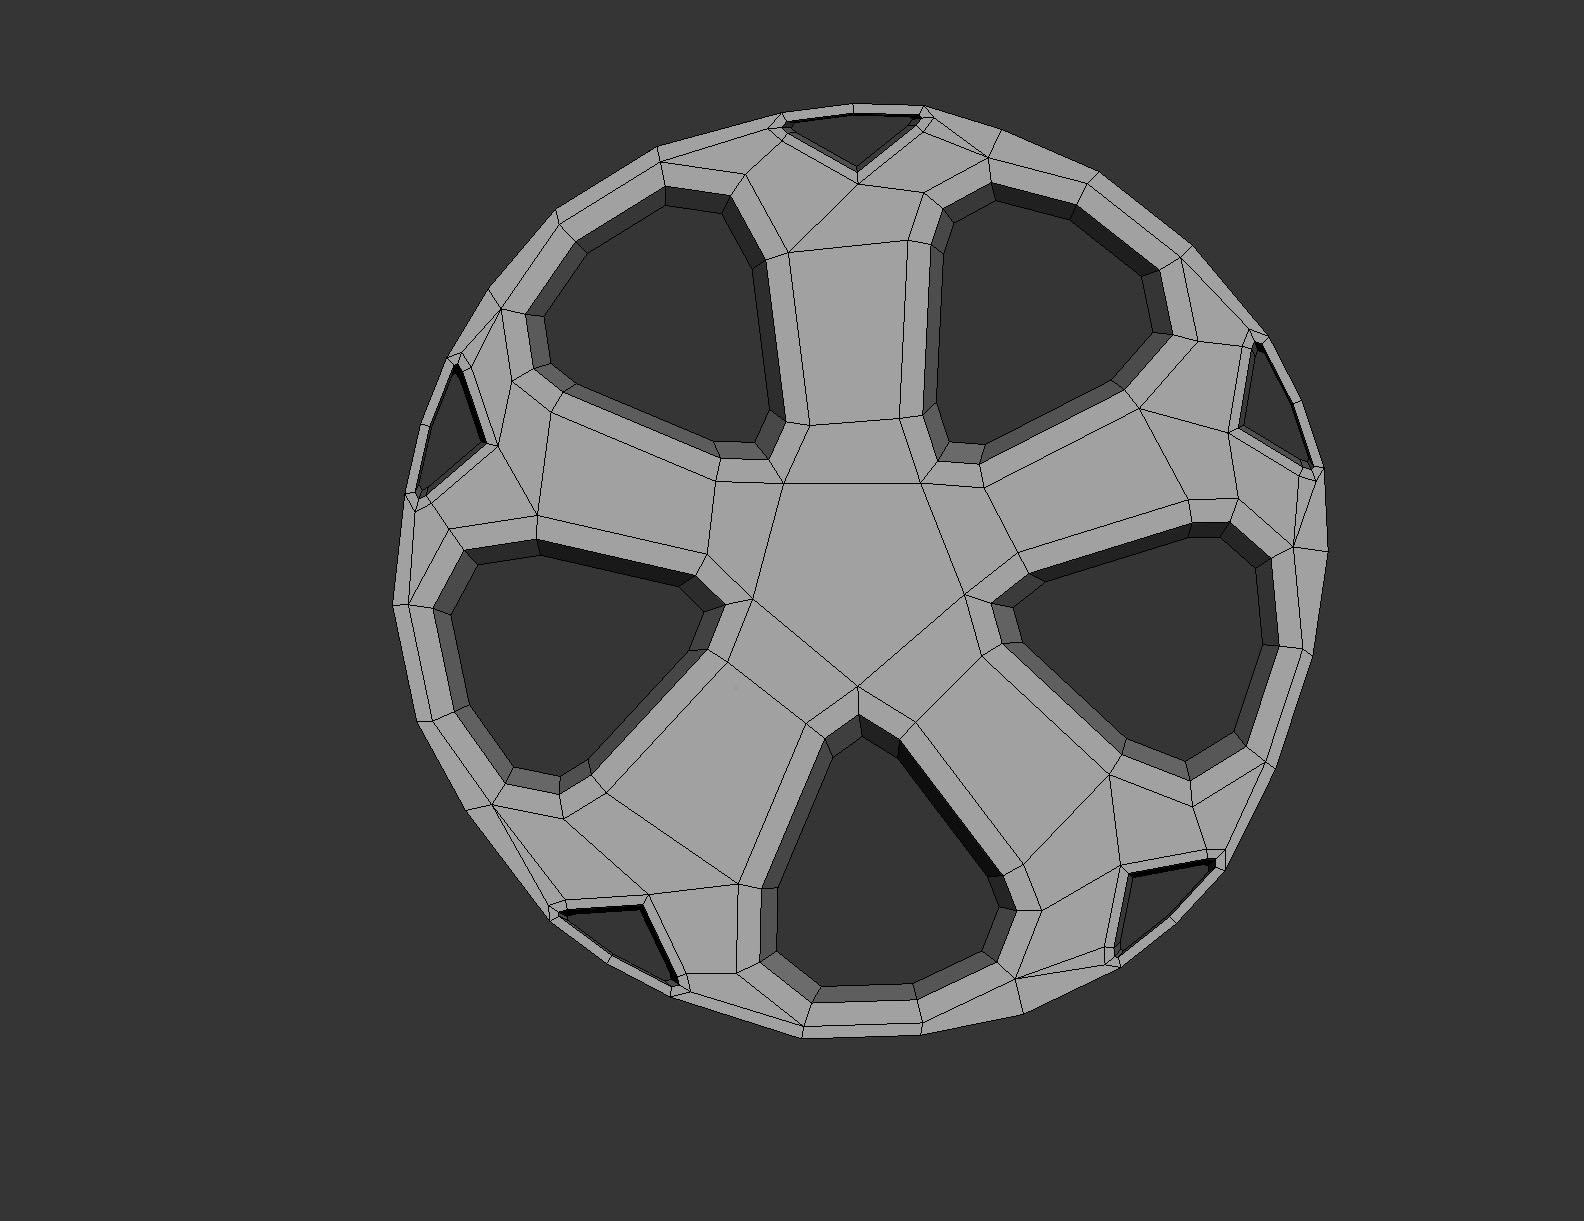
I went ahead and attached them all together and then bridge them together.
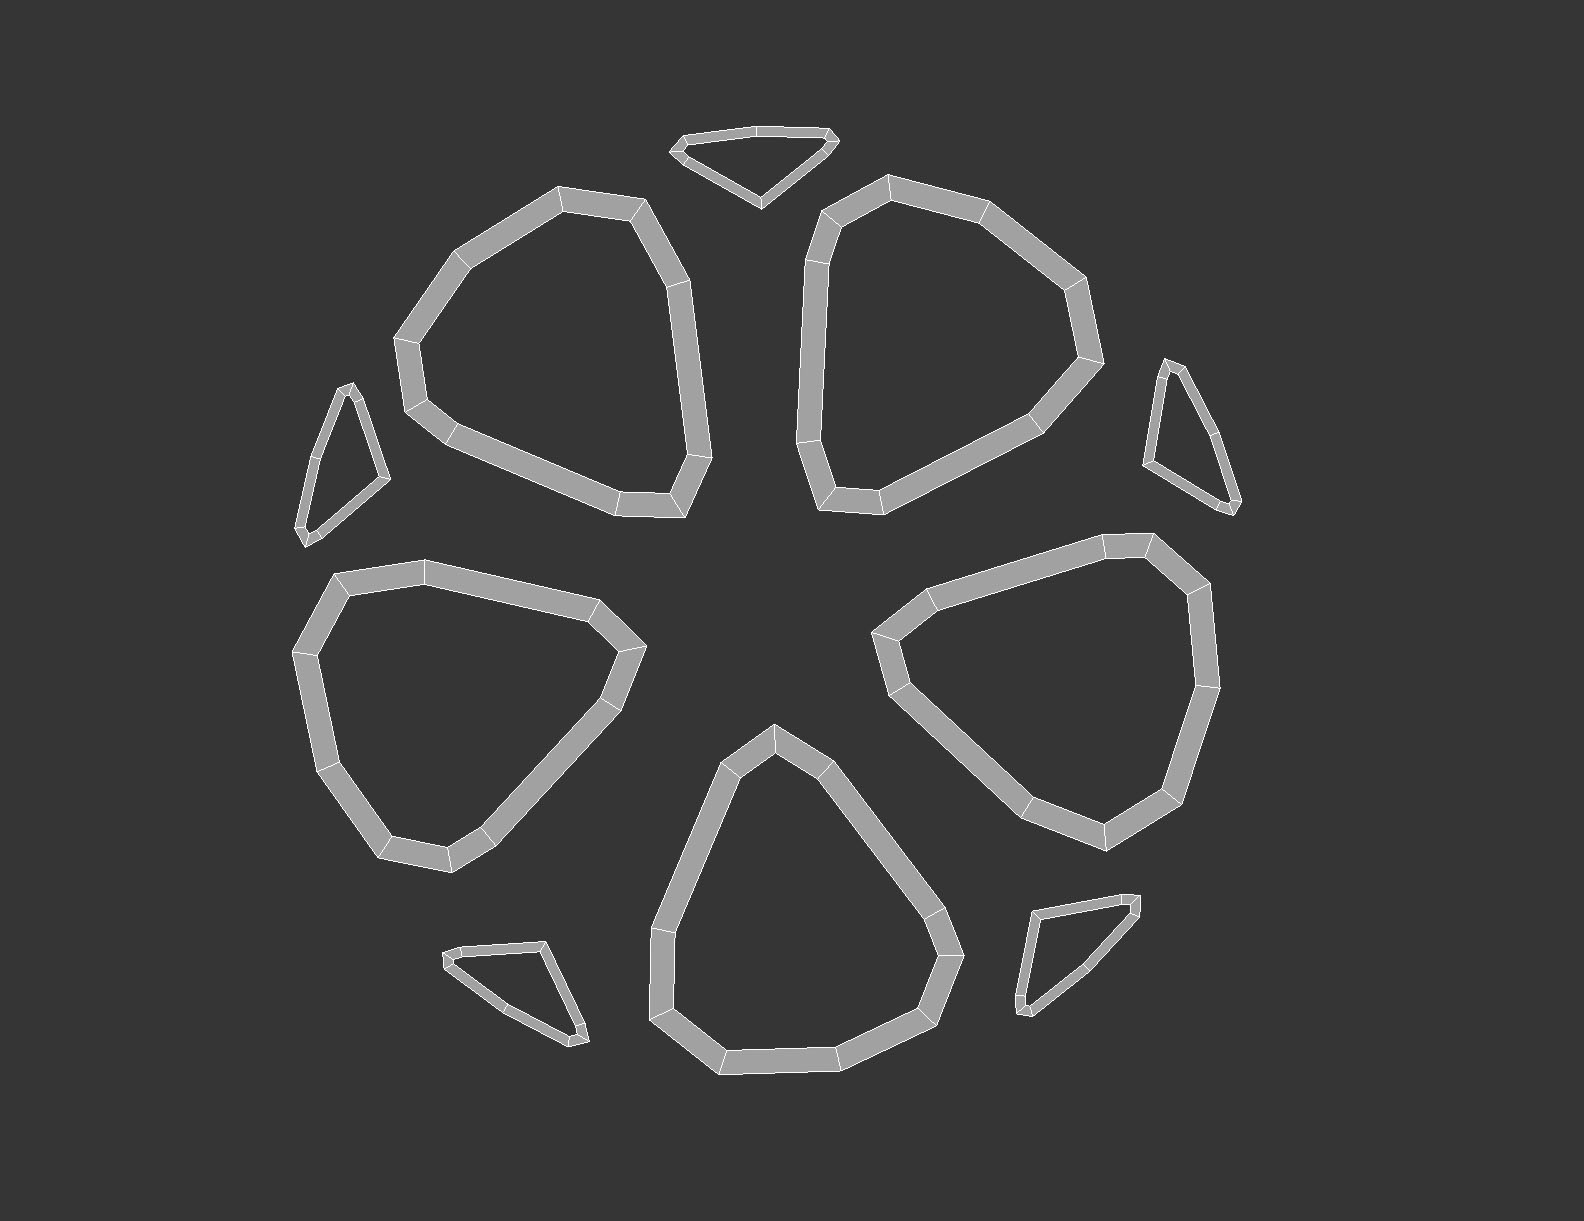
Creating the crankset this week I started by spline modeling the cut out shape and making giving it a 360 array on its y axis
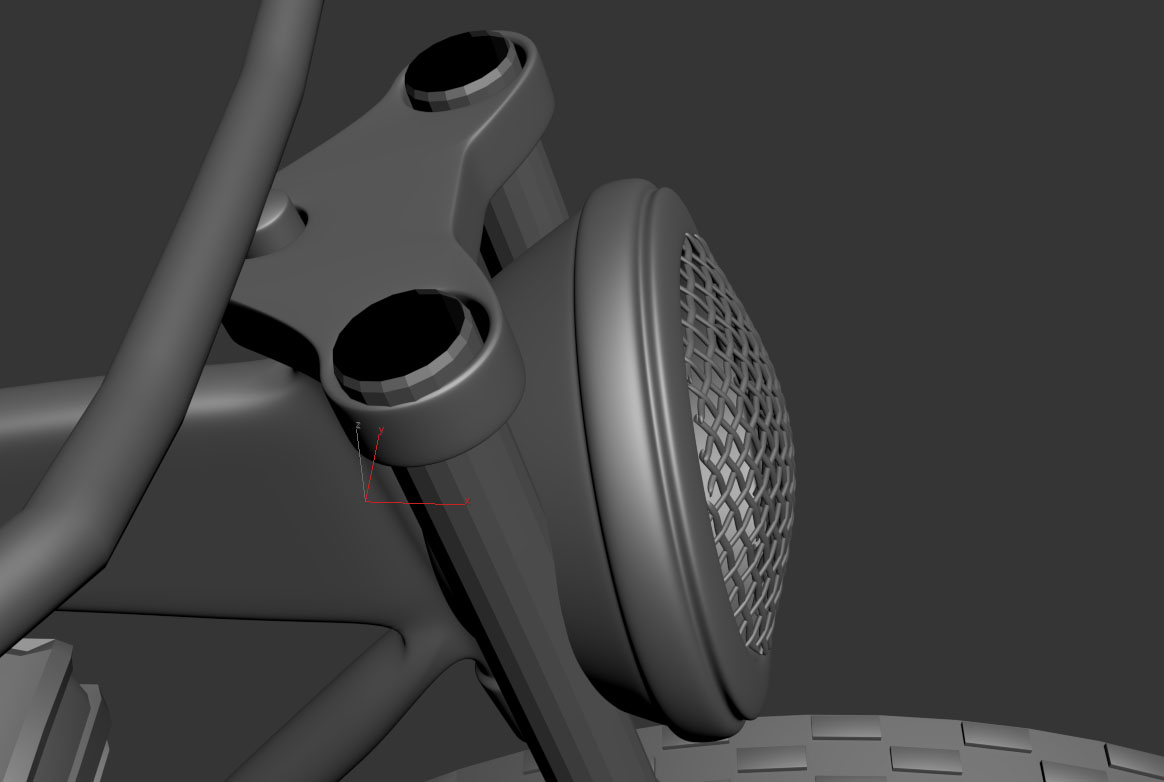
This is the result were the piece will lie on and as you can notice the railing of the Headlight pops out by giving it an FFD Modifier.
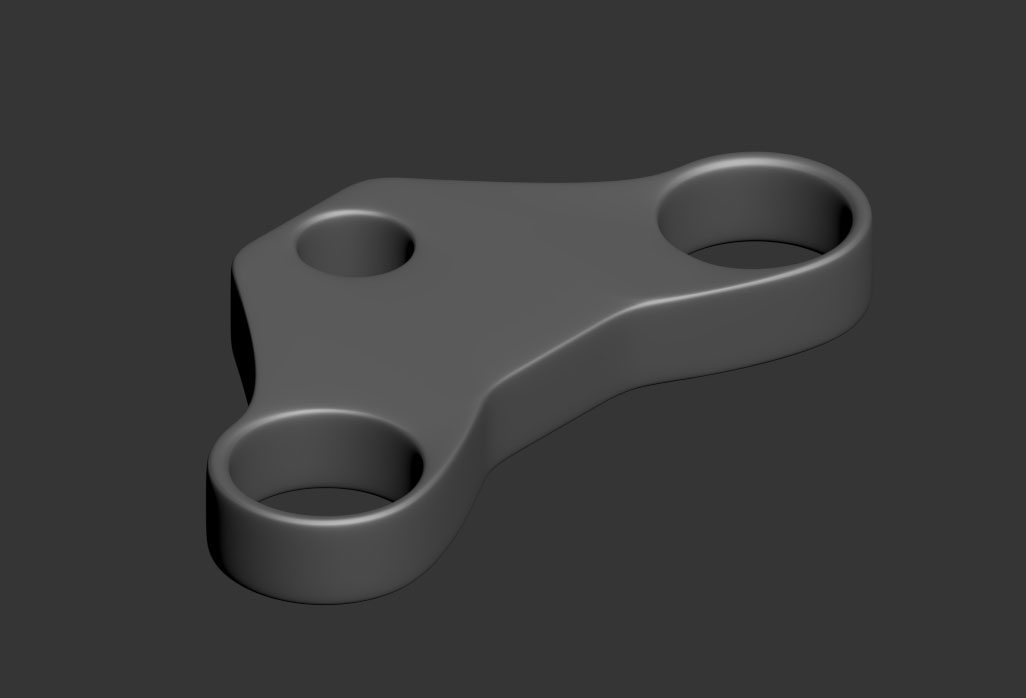
Connected all the vertex together to give it its edges and gave it a meshsmooth.
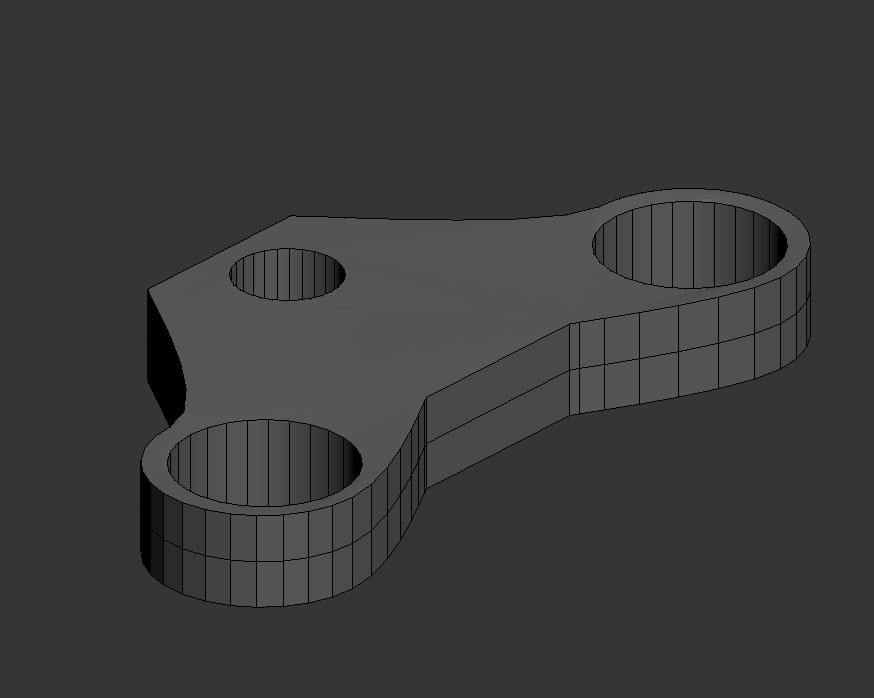
giving it a surface I was able to get it into its 3D shape with the holes in it.
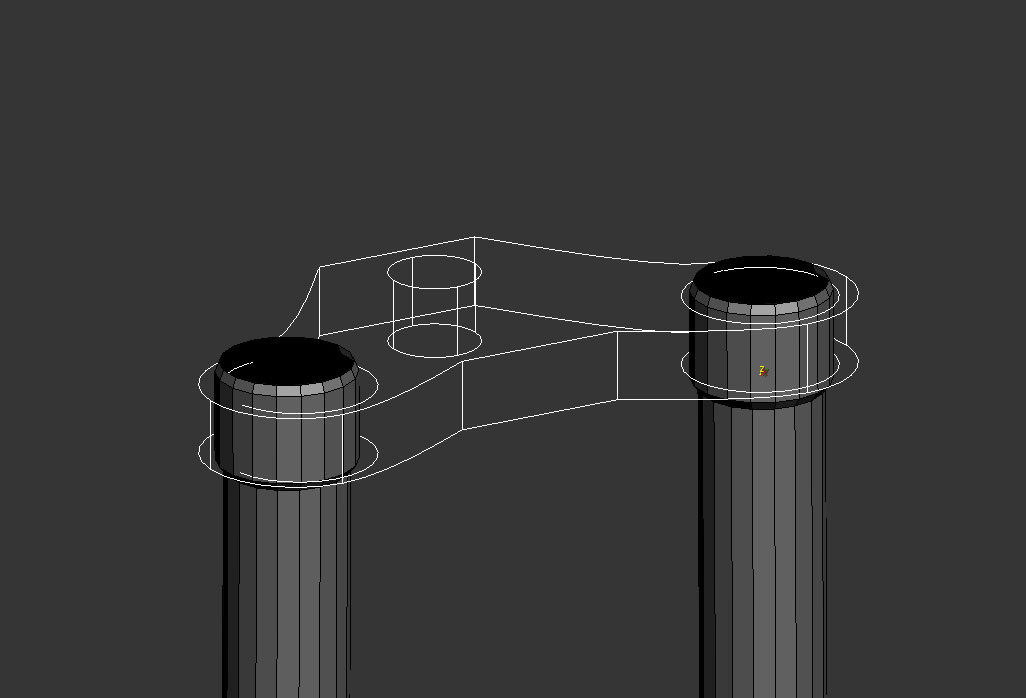
starting to work on the piece that connects the fork and the main frame. I started with spline modeling getting the shape of it and then getting 3 circular splines attached to it. Then I made a copy of that spline and cross sectioned it.
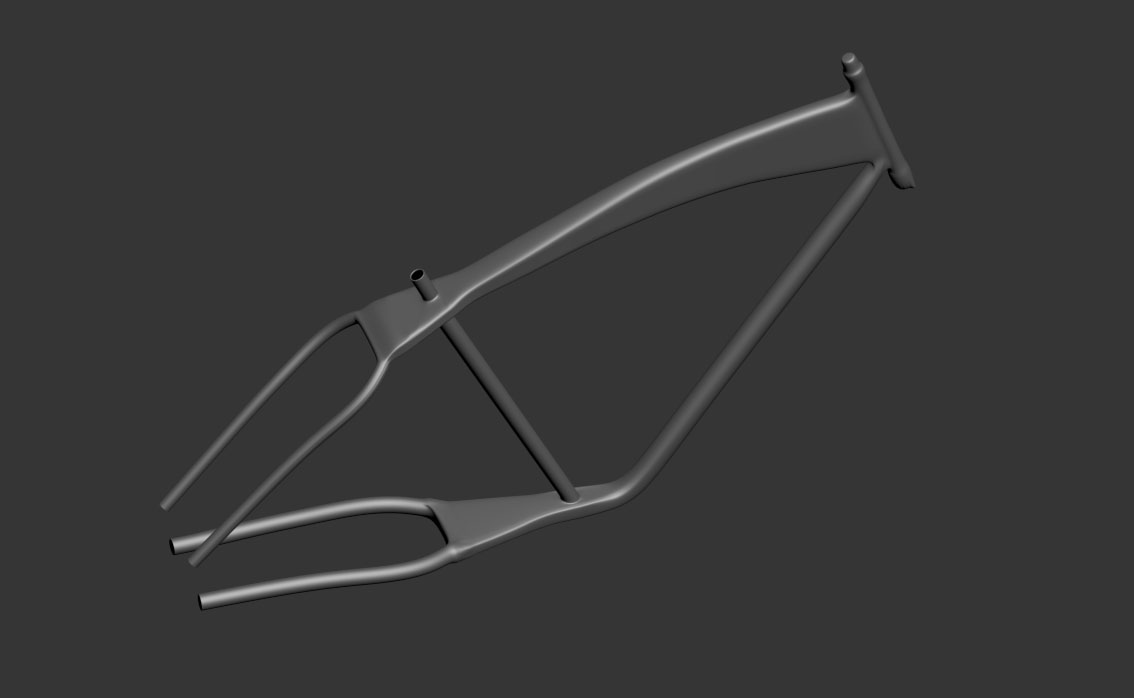
This is the main frame weld together.
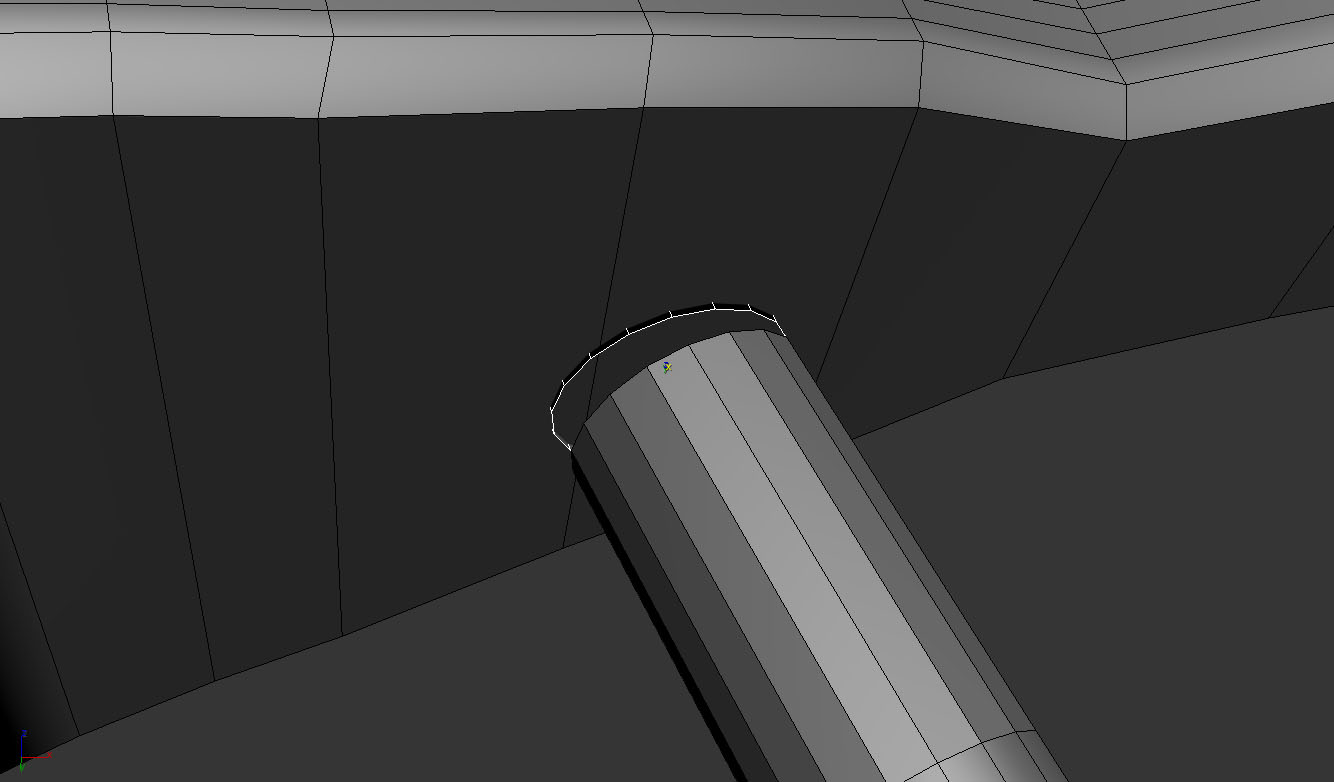
This week I started by using the same method of the headlight to weld more of the main frame of the bicycle. I used it by using the procutter to get its circular shape and then weld the middle tube to the main frame both in top and bottom
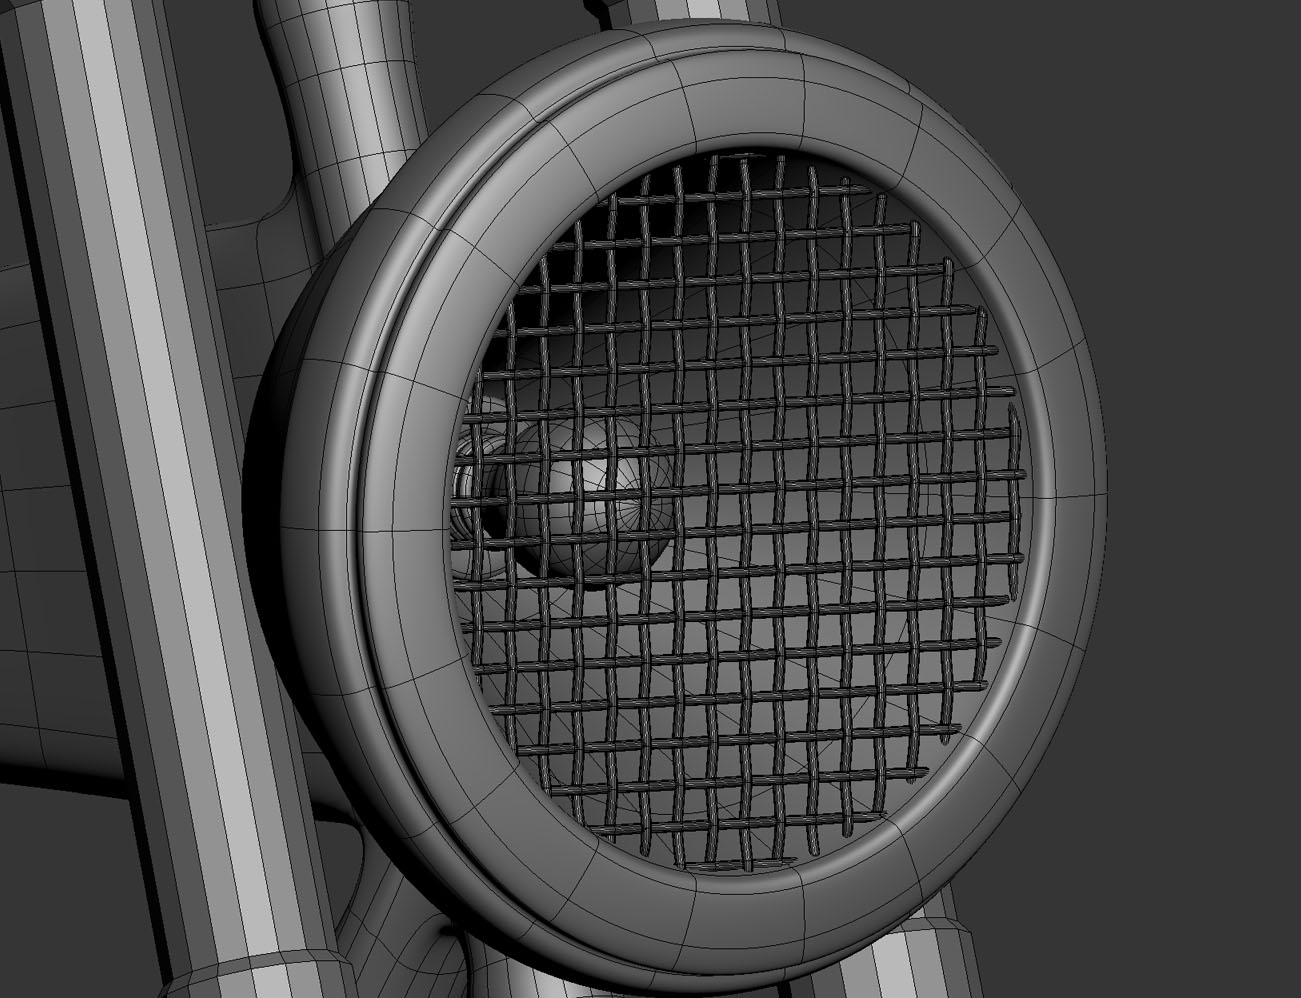
Placed it all together and got the results I was looking for.
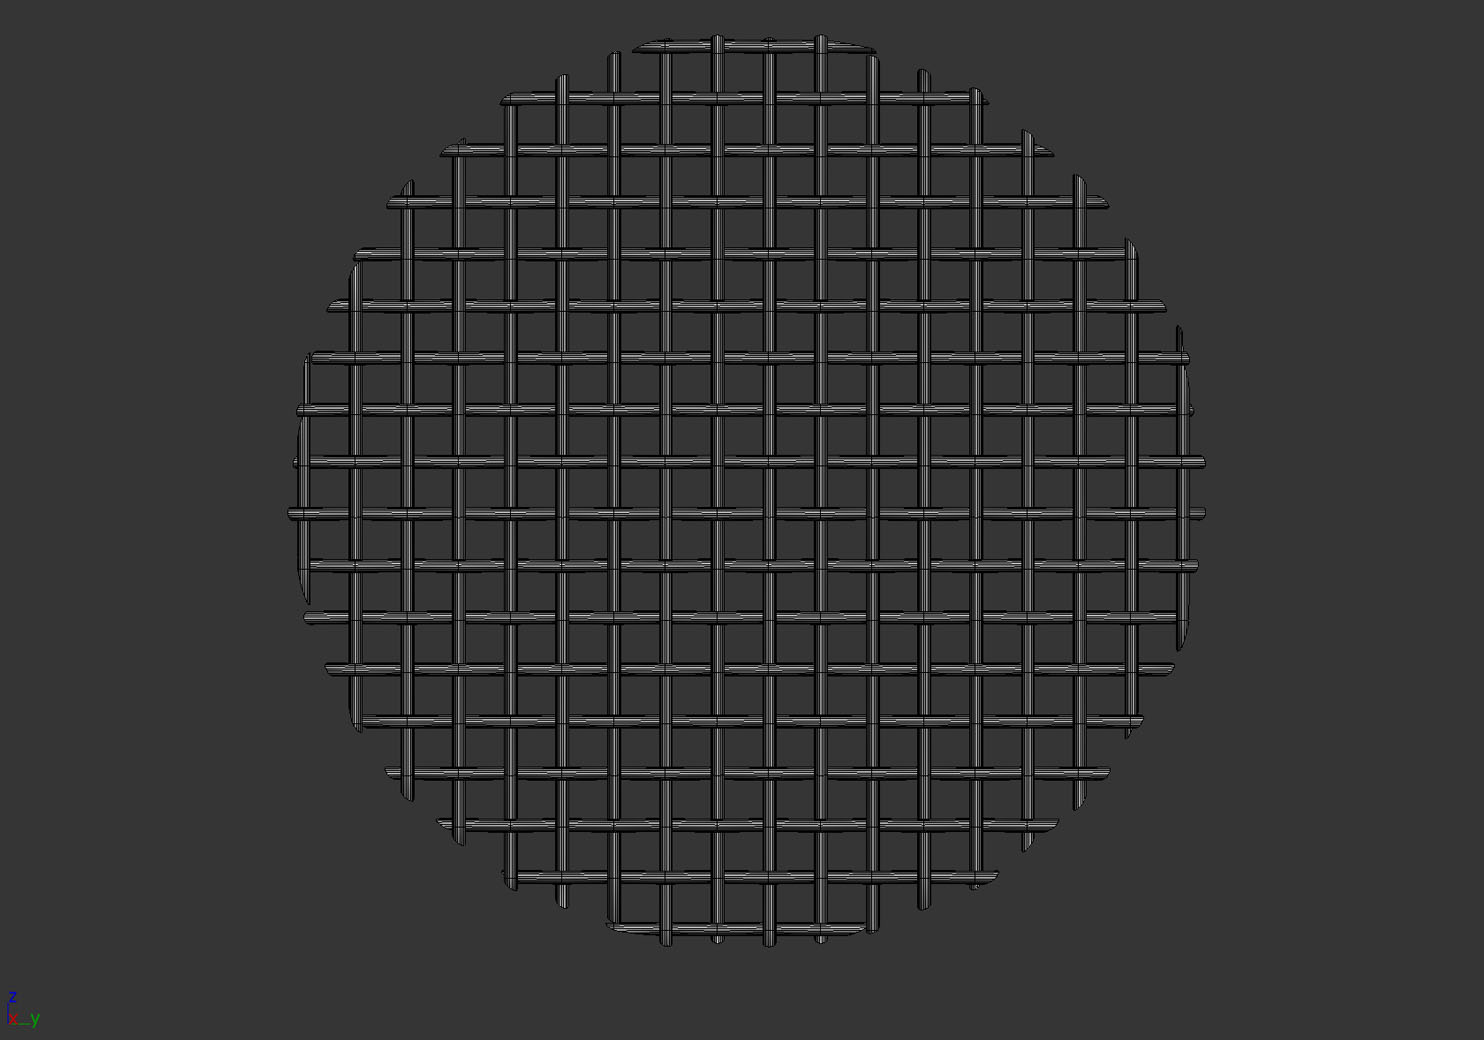
I then used the procutter to cut the rail into the circular shape and deleted the unnecessary rails.
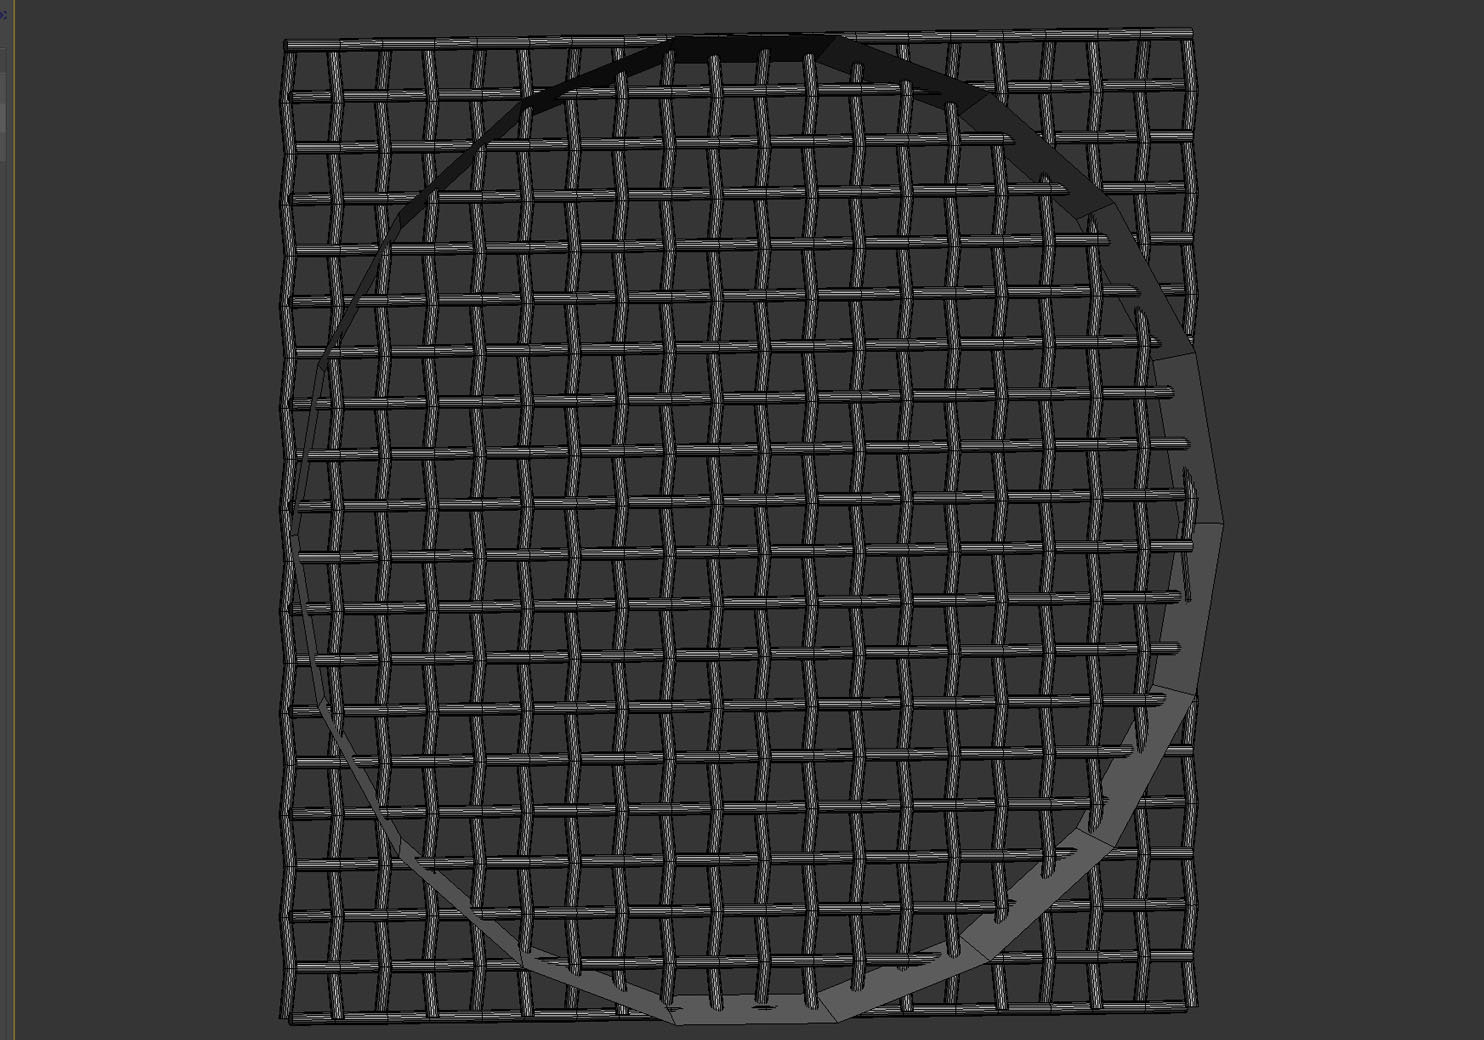
In the previous step were I created the swift loop I went ahead and grabbed the surrounding polygons and made a clone of it to separated from the piece. Placing it right on top of the railings.
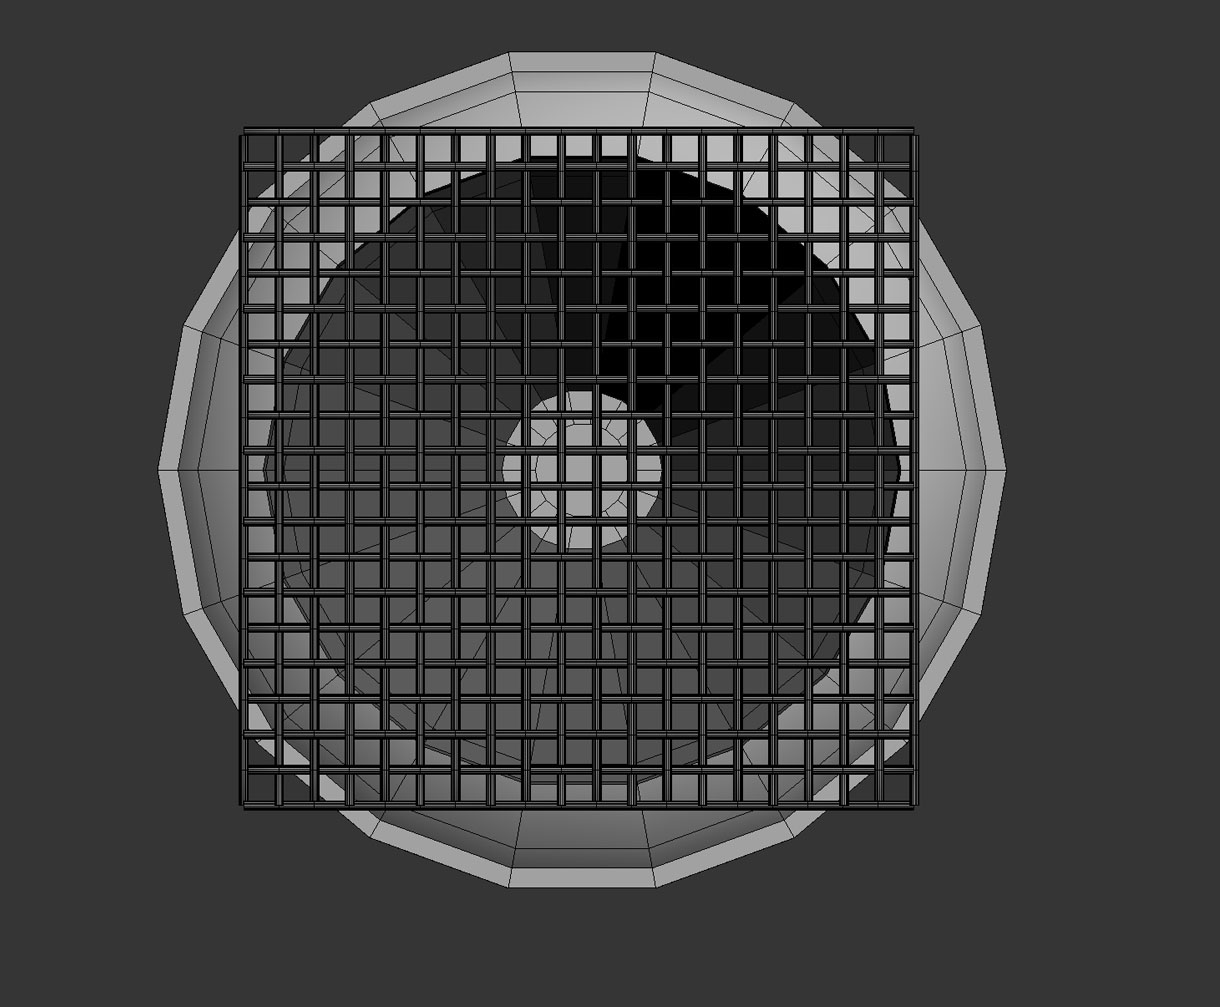
After I made and 19 instance both going left to right and bottom to top.
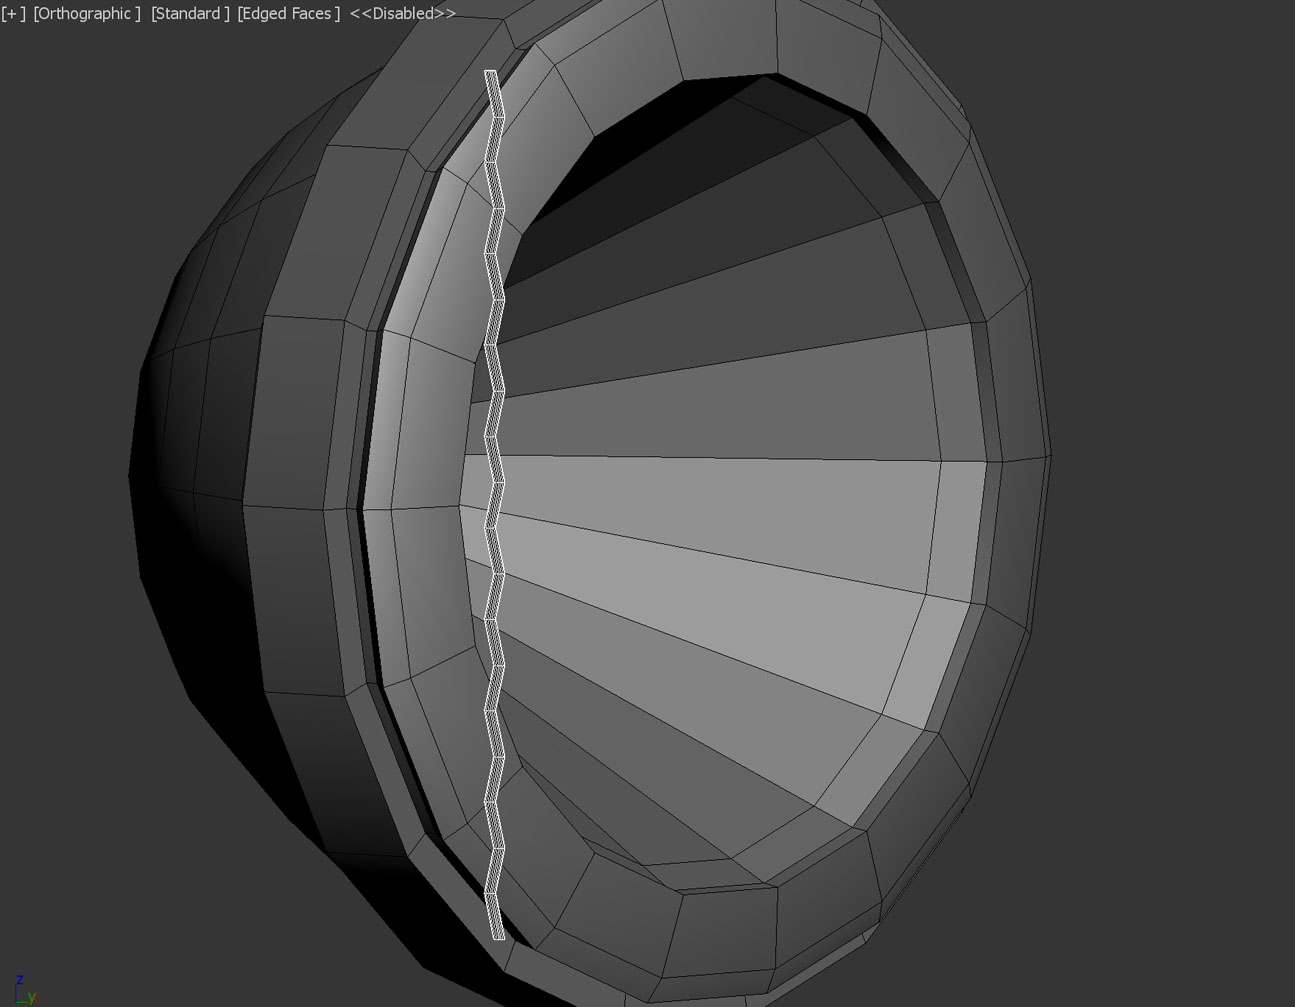
I then created a cylinder and compared it sizing to the headlight model. I grabbed everyother edge and moved it upwards to get the twist look to it.
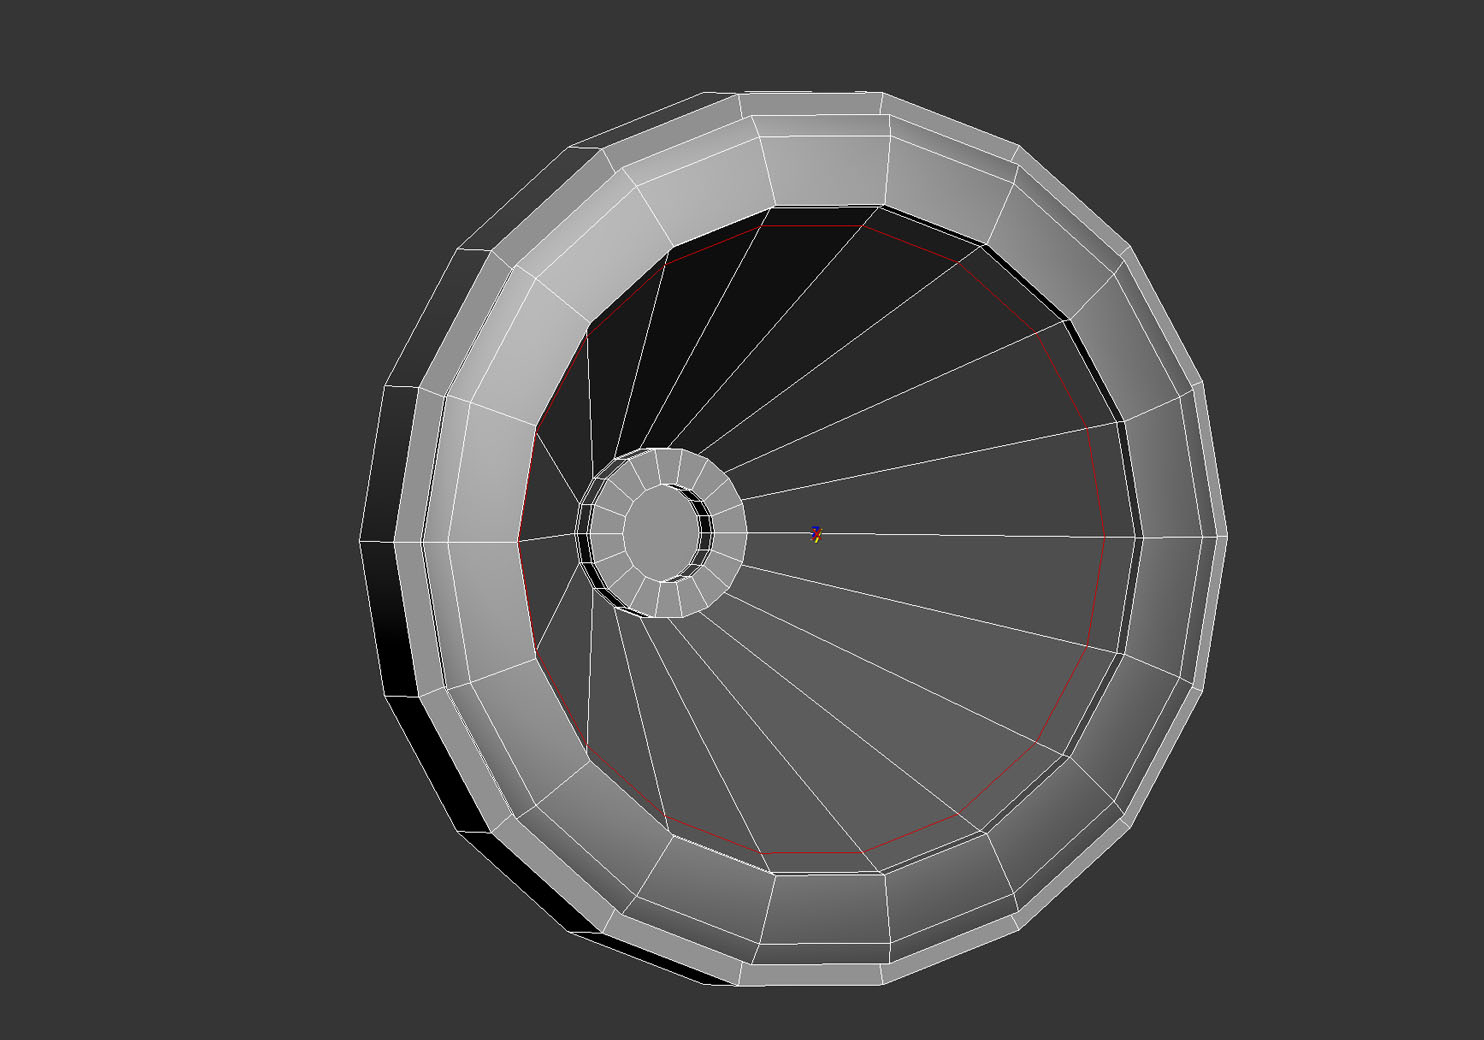
I moved on to makin the railing that is in the headlight. I started by making a swift loop around the base since I will needed for a purpose later.
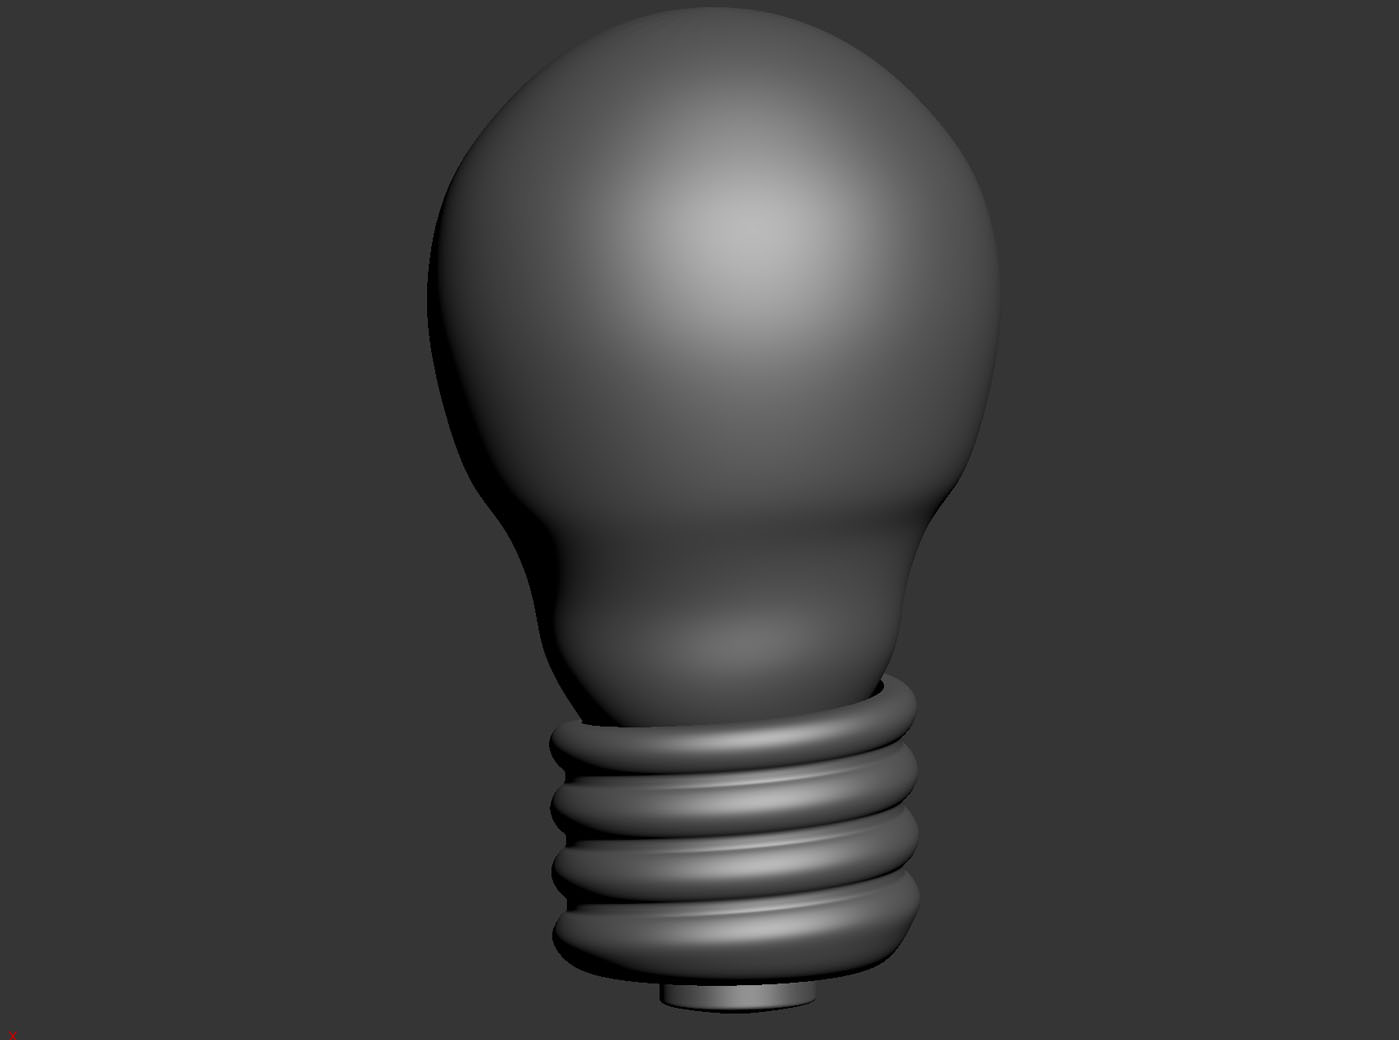
This is what the lightbulb ended up looking.
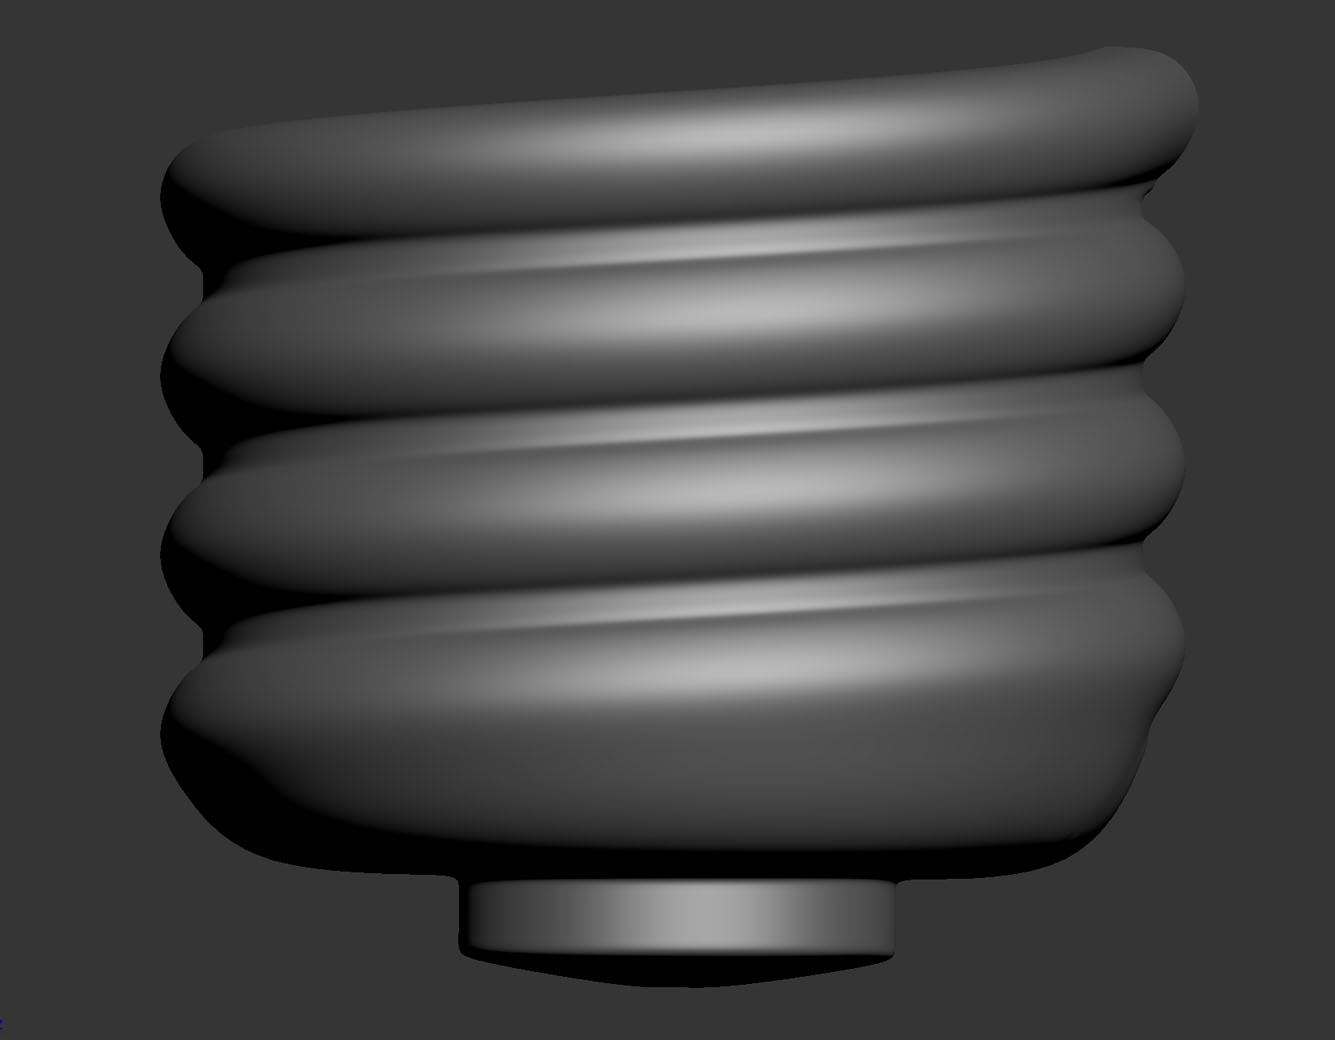
I gave it a few loops and separating them I grabbed the polygons on the inside and deleted them. After I welded the vertex inside the piece to get the results below.

For the bottom of the Lightbulb I went ahead and used a dynamic object using the spring.
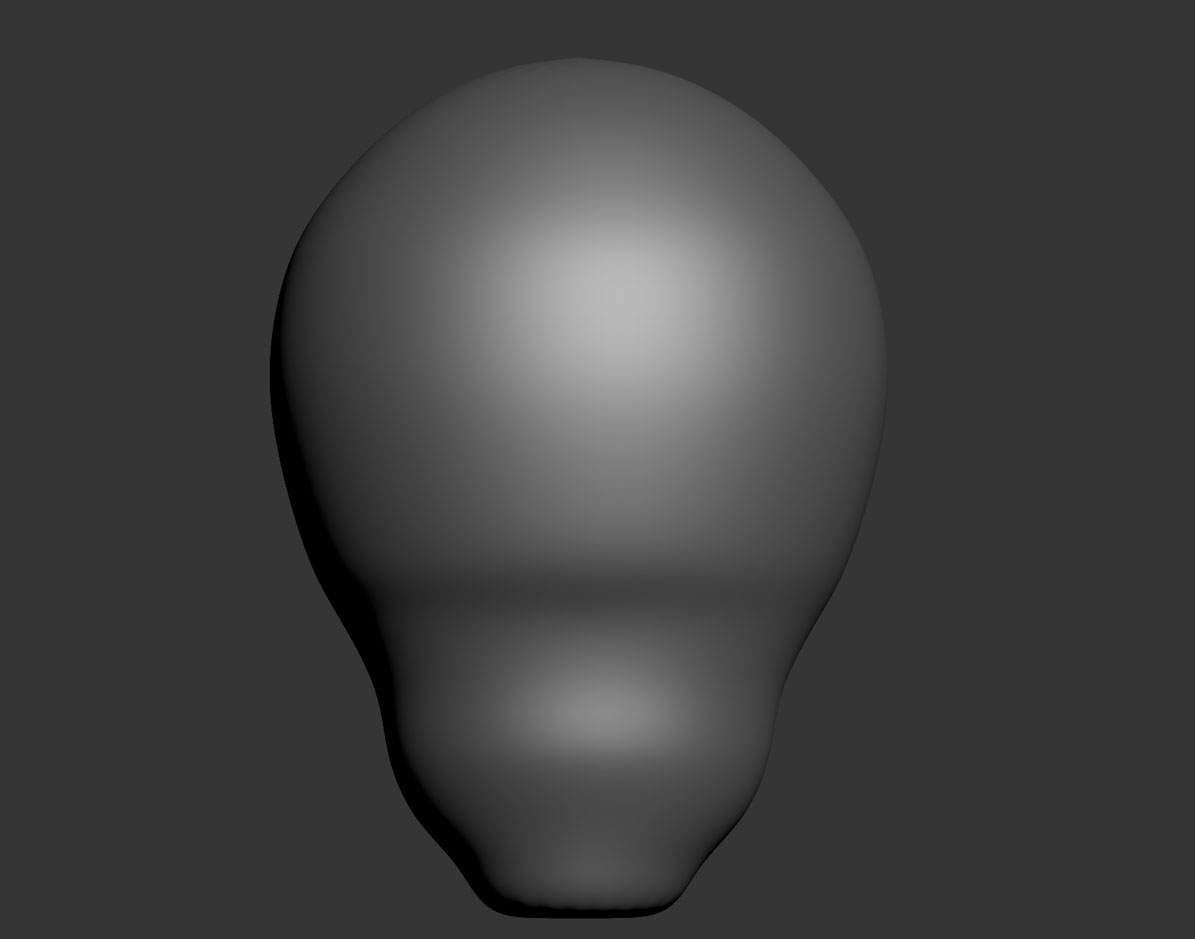
The lightnulb was created really simple by using a sphere, deleting the bottom polygons and givint it a lighbulb shape. I didn't focus much in the bottom since it will be covered.
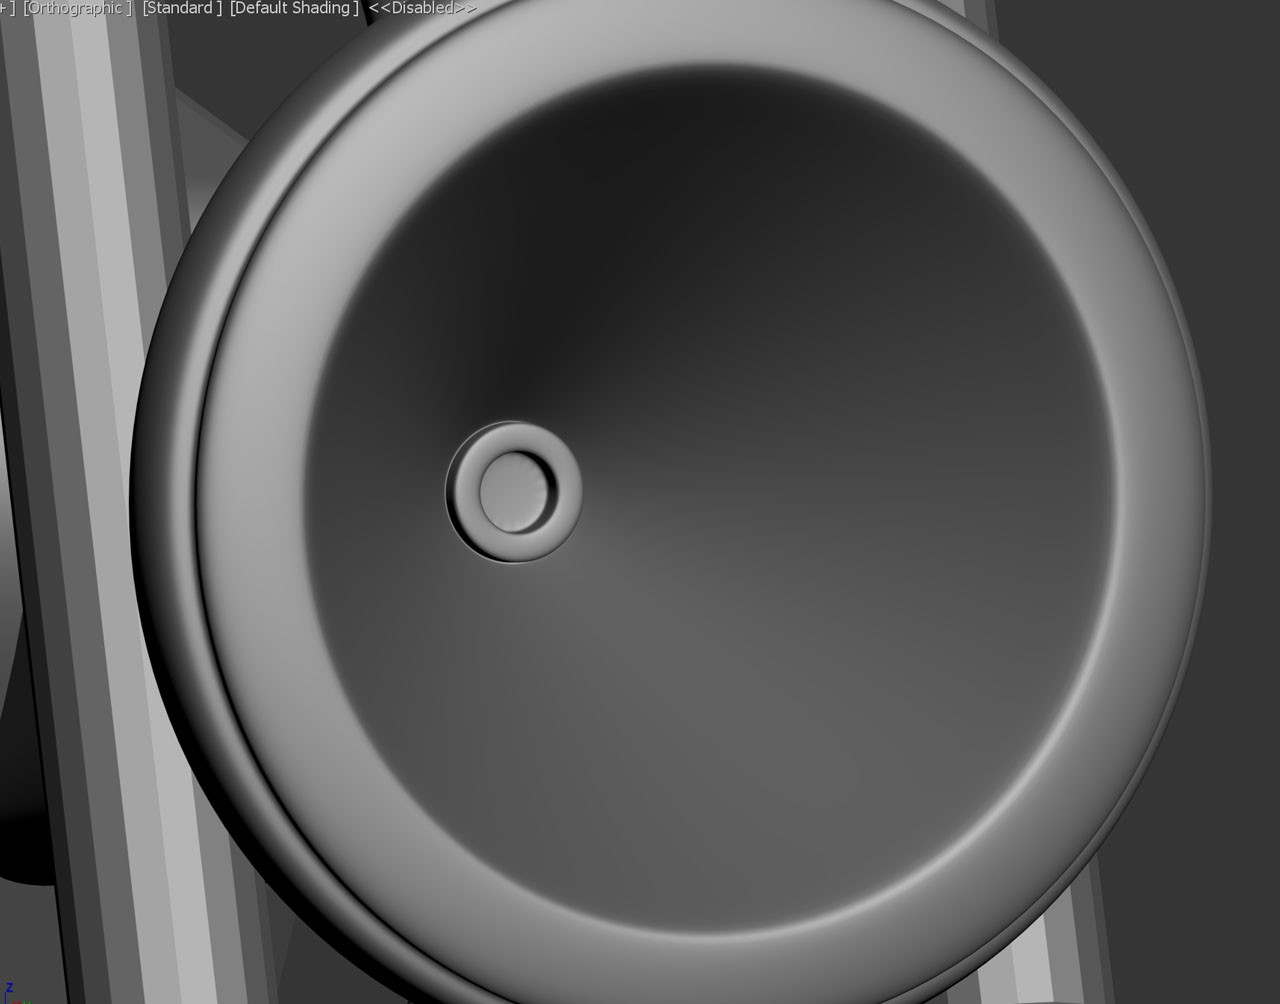
I had it to planar in the middle so I decided to remove the polygon in the middle, grabbed the border and just moved it inwards to give me depth. After, weld it all the vertex around the border and weld them together. I used a chamfer after to get a circular piece inbetween and extruded it out and inset it. Since there will be a lightbulb on top of it.
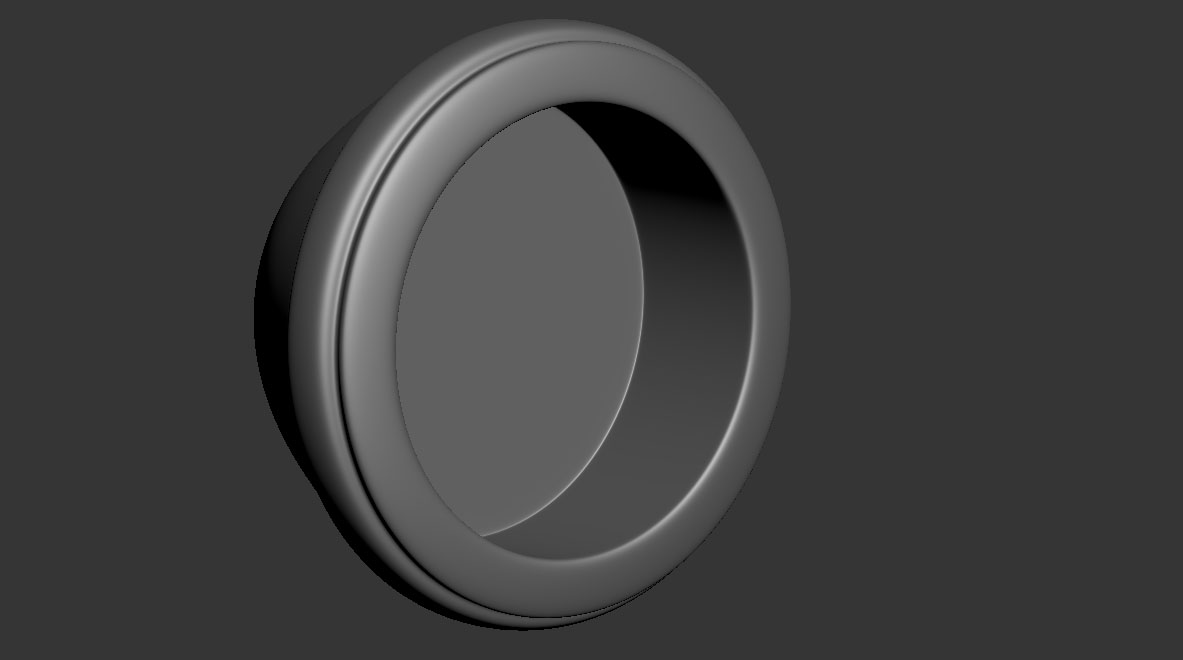
I went ahead and moved to the main headlgiht of the bicycle. I just started to extrude and inseting the piece to get it close to my reference.
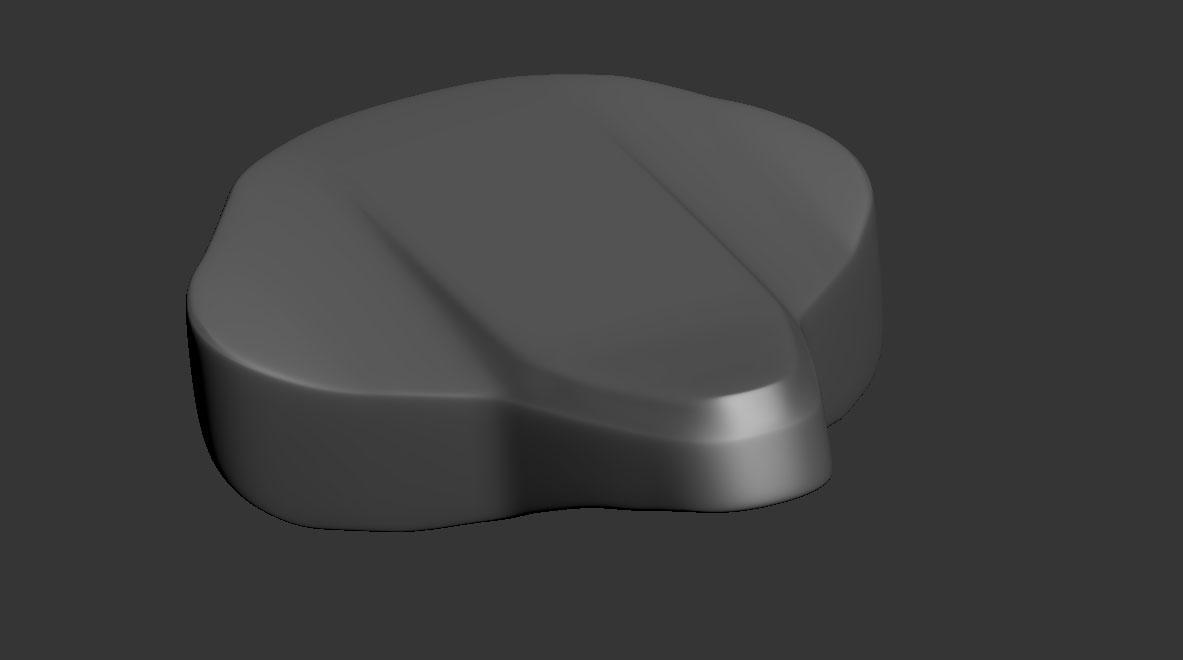
for this week i just started with the bicycle seat giving it some shape and geometry to it. making quads of it and giving it volume.
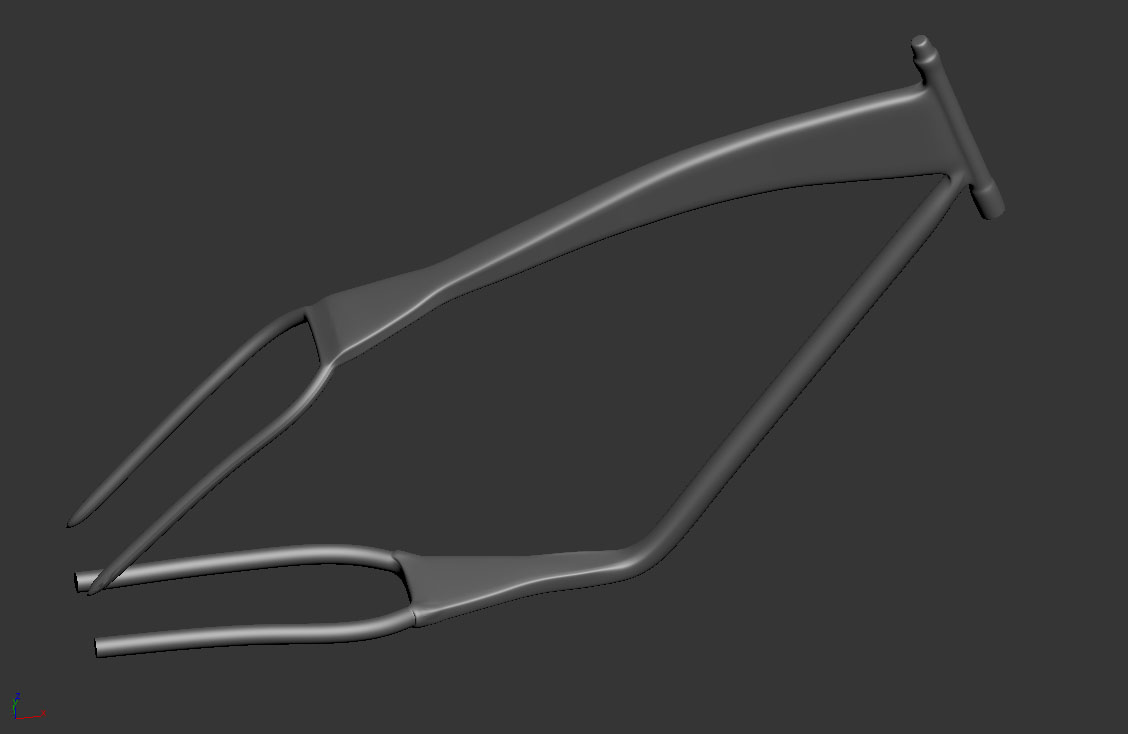
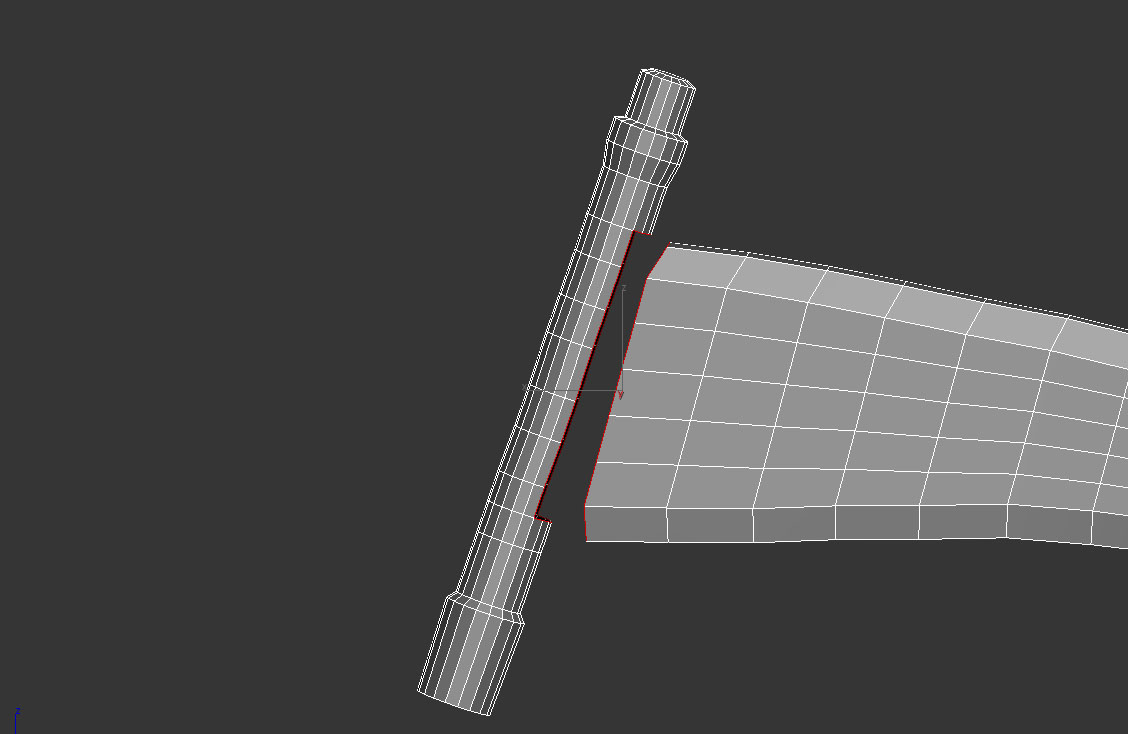
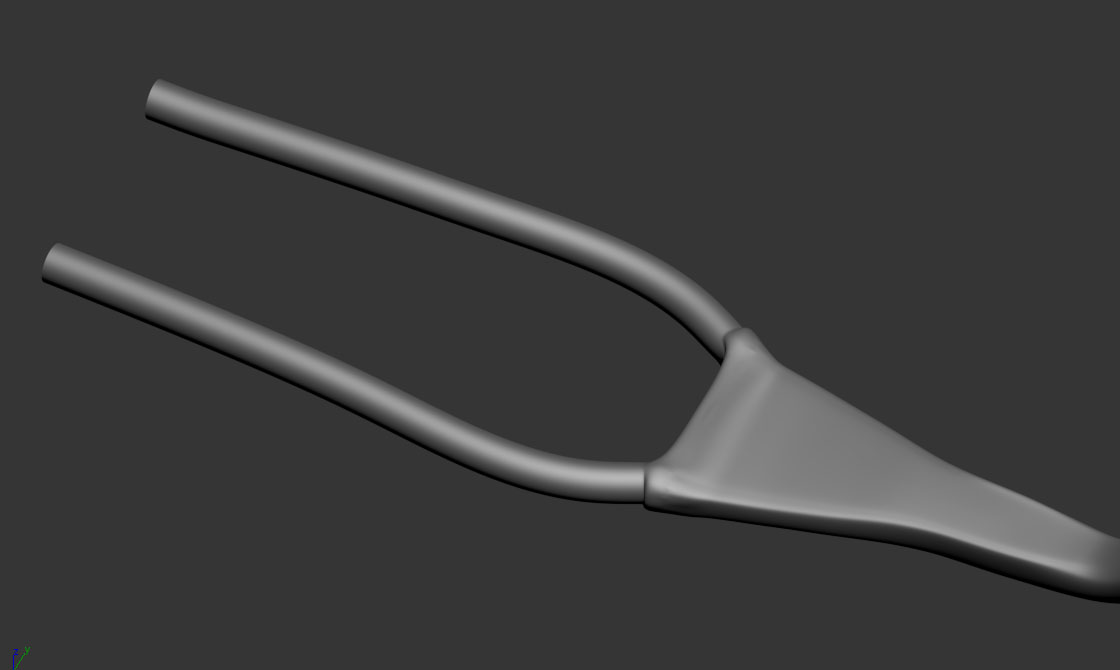
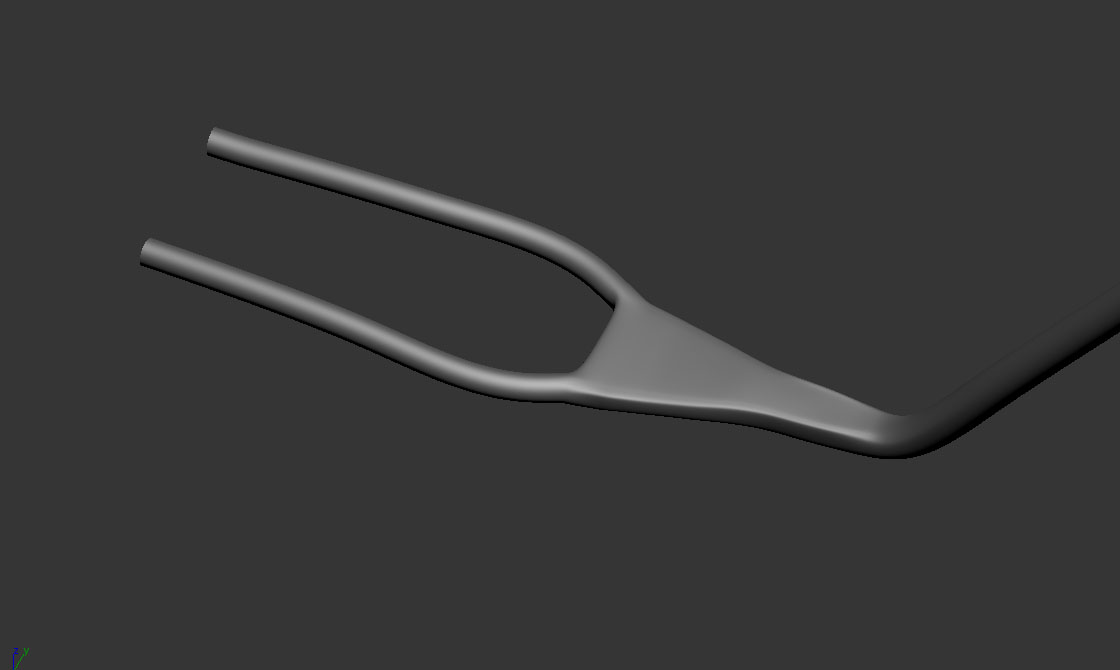
And welded the main body frame of the bicycle
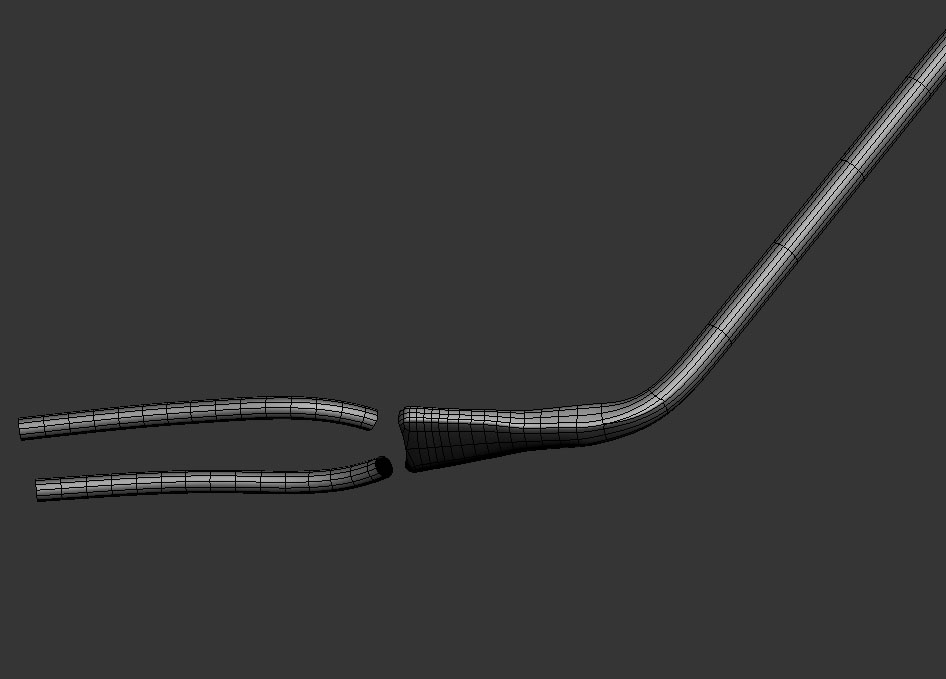
Next I will be focusing on the welding of the main frame.
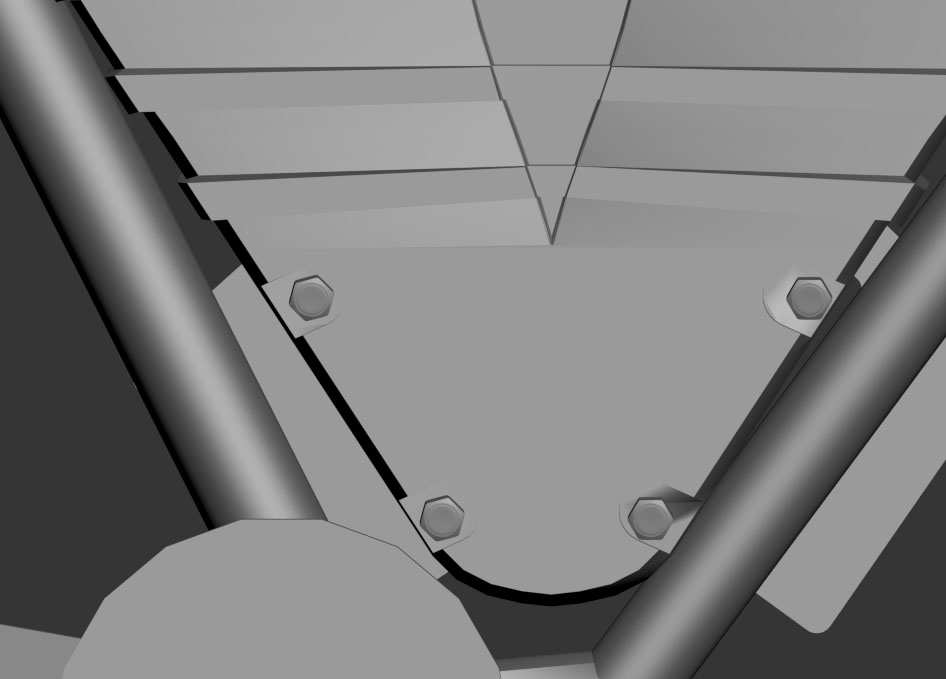
This will be were the nuts and bolts will be place after I fix more of that battery when I go over details.
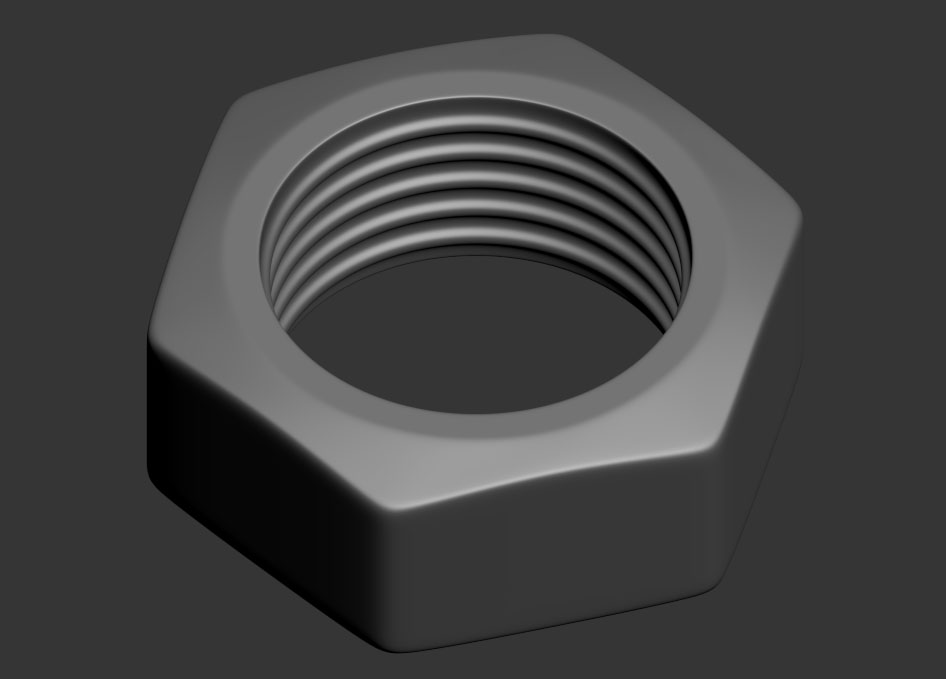
Meshsmooth the nut to 3 iterations.
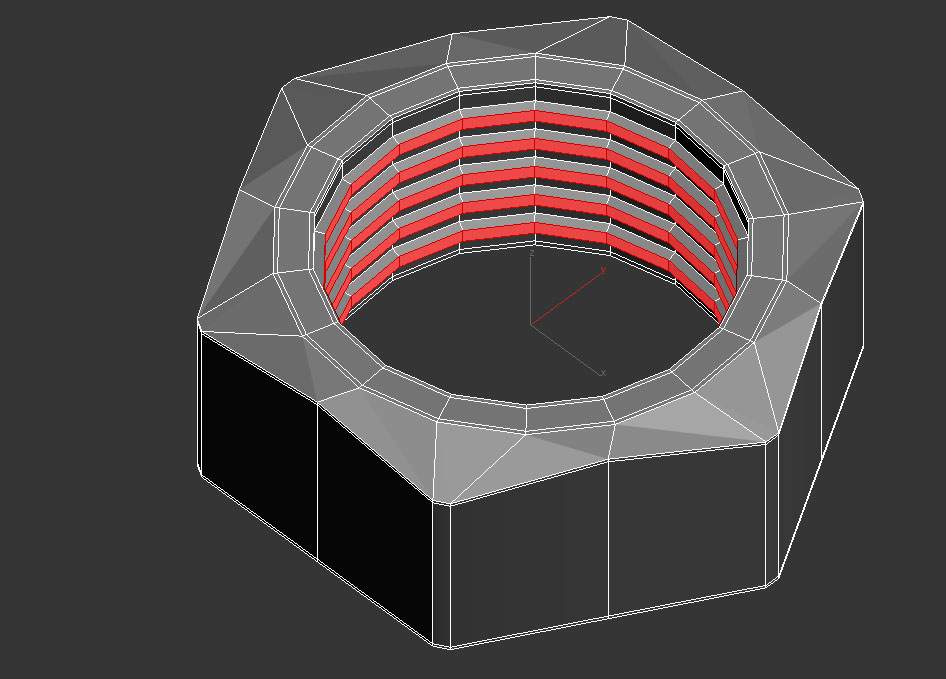
Giving the nut its looking loops and inside of it I connected the inner edges to give it 10 edges going around. Grabbed every other Polygons and gave it a bevel inwards .
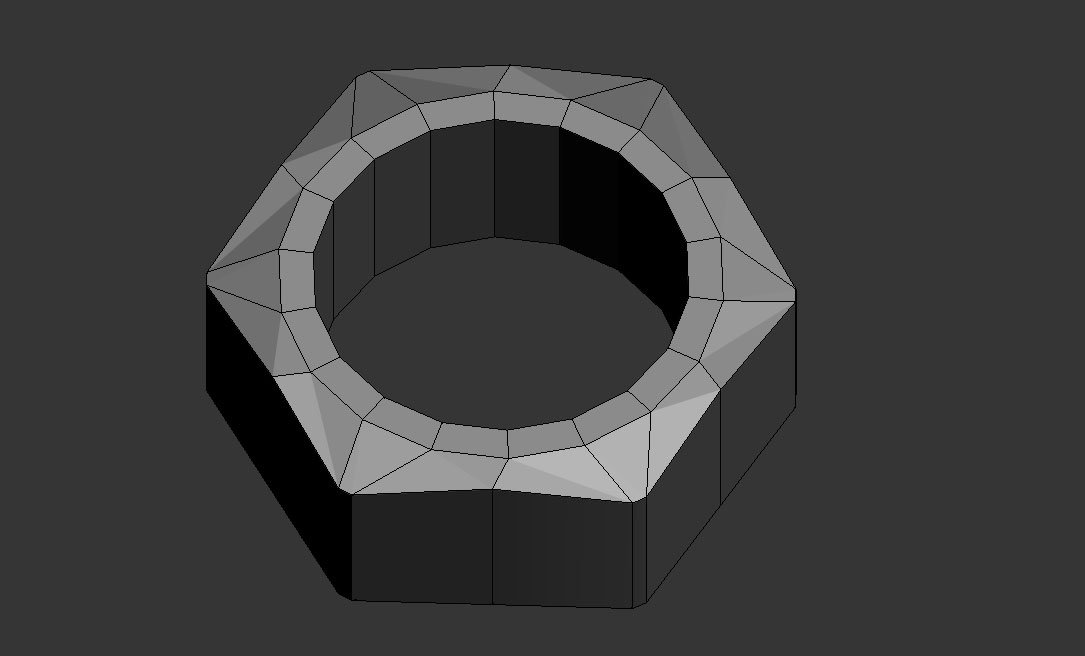
I deleted the center polygon and extruded inwards for the bottom to be the same as the top.
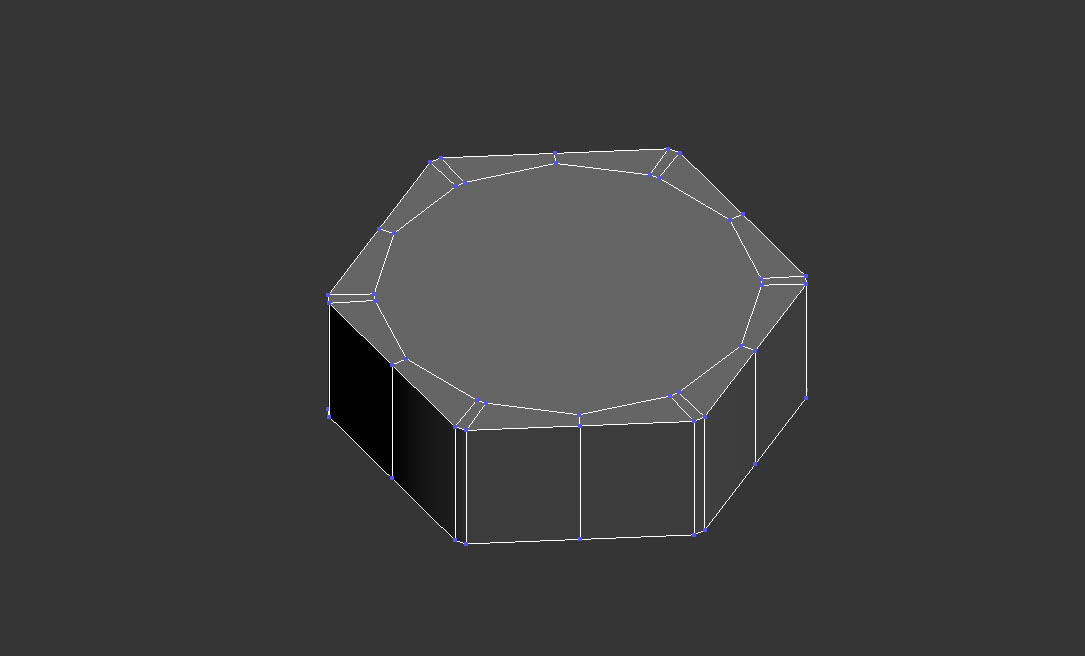
Moving im forward i will be needing a few nuts and bolts so for now I created a nut by creating and Ngon with 6 sides. Grabbed the Top and bottom borders and connect it them to give me more side edges. I grabbed the corner edges and gave them a chamfer and after I got the top and bottom borders and scaled them in moved them up a bit and scaled inwards again to give me the nut shape. After I capped the top of it and then grabbing the polygon that it made I clicked the Ngon botton to give it a circular shape.
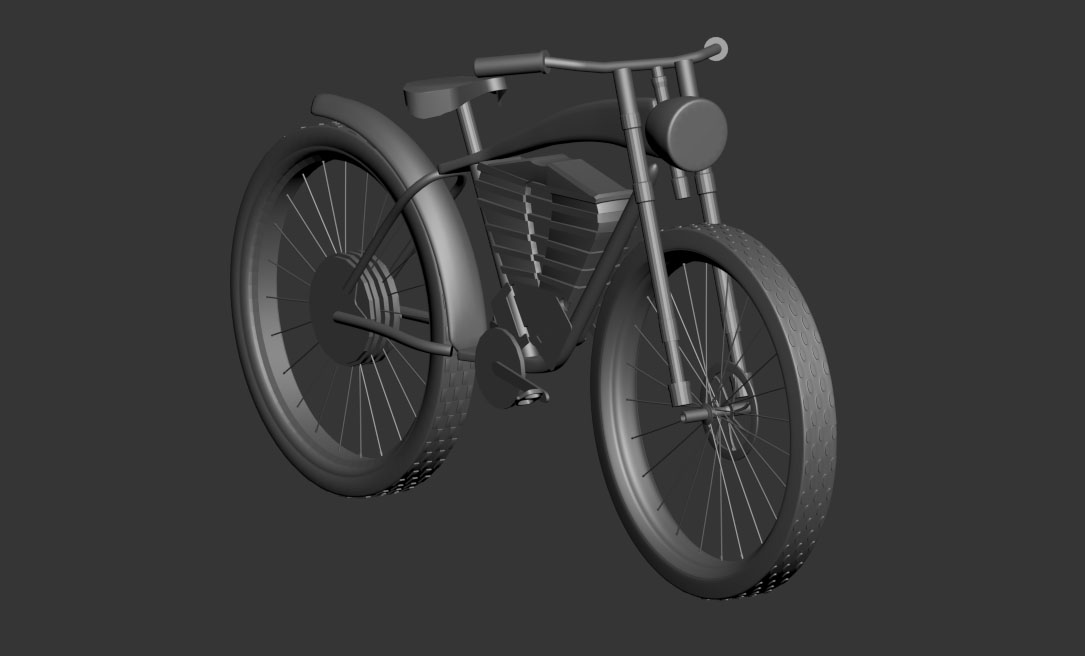
I then made copies of all of those and made them in the back back tire. This is how the bicylce is looking so far.
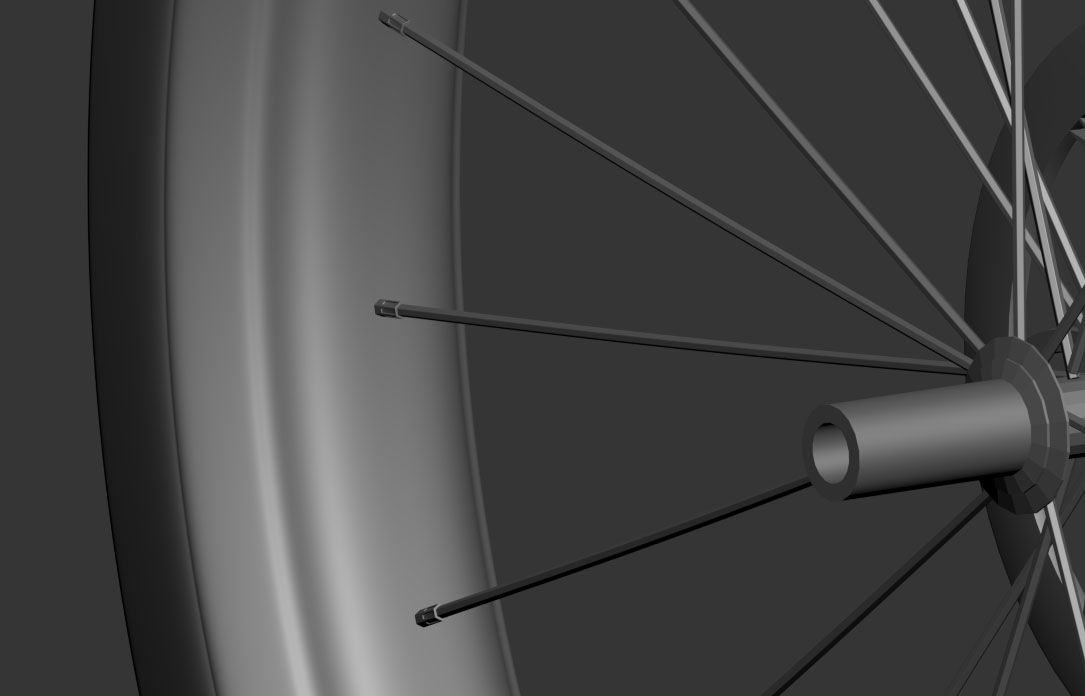
with one spoke being made I went ahead and made copies of to both its left and its right side and then aligning them all with the same lengths.
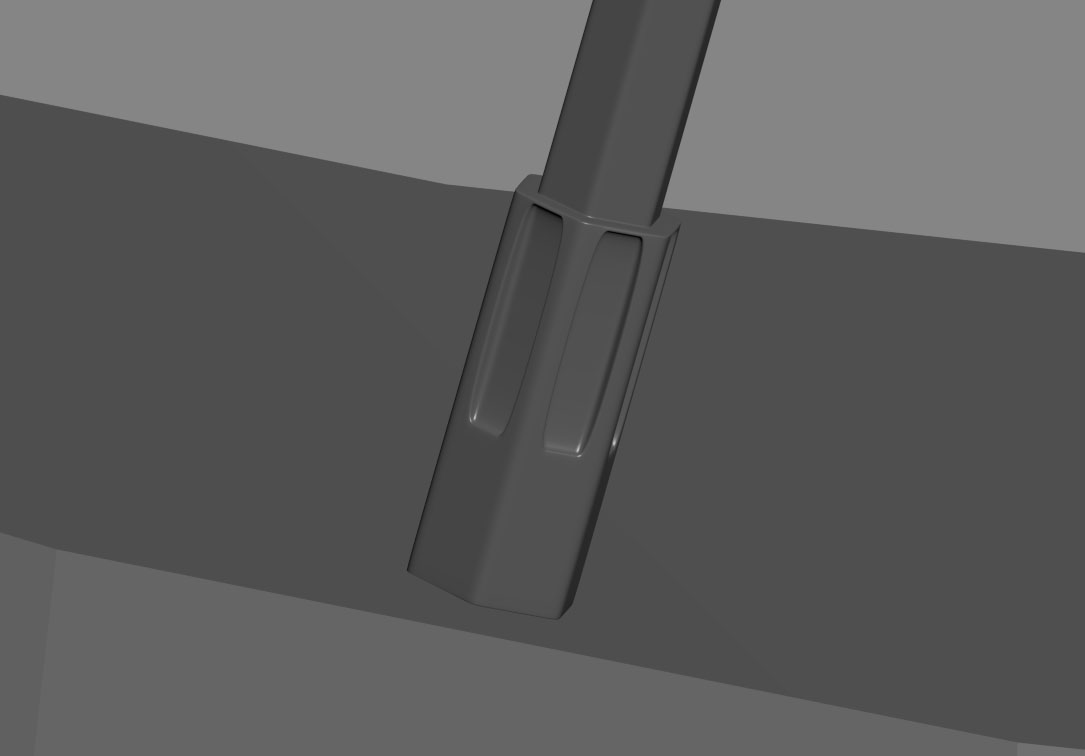
Moving on I made a better version of the bicycle spokes. by creating them out of an Ngon and giving it its shape extruding it outwards like a tube. I grabbed the inner polygons and inset them as well as extrude them in.
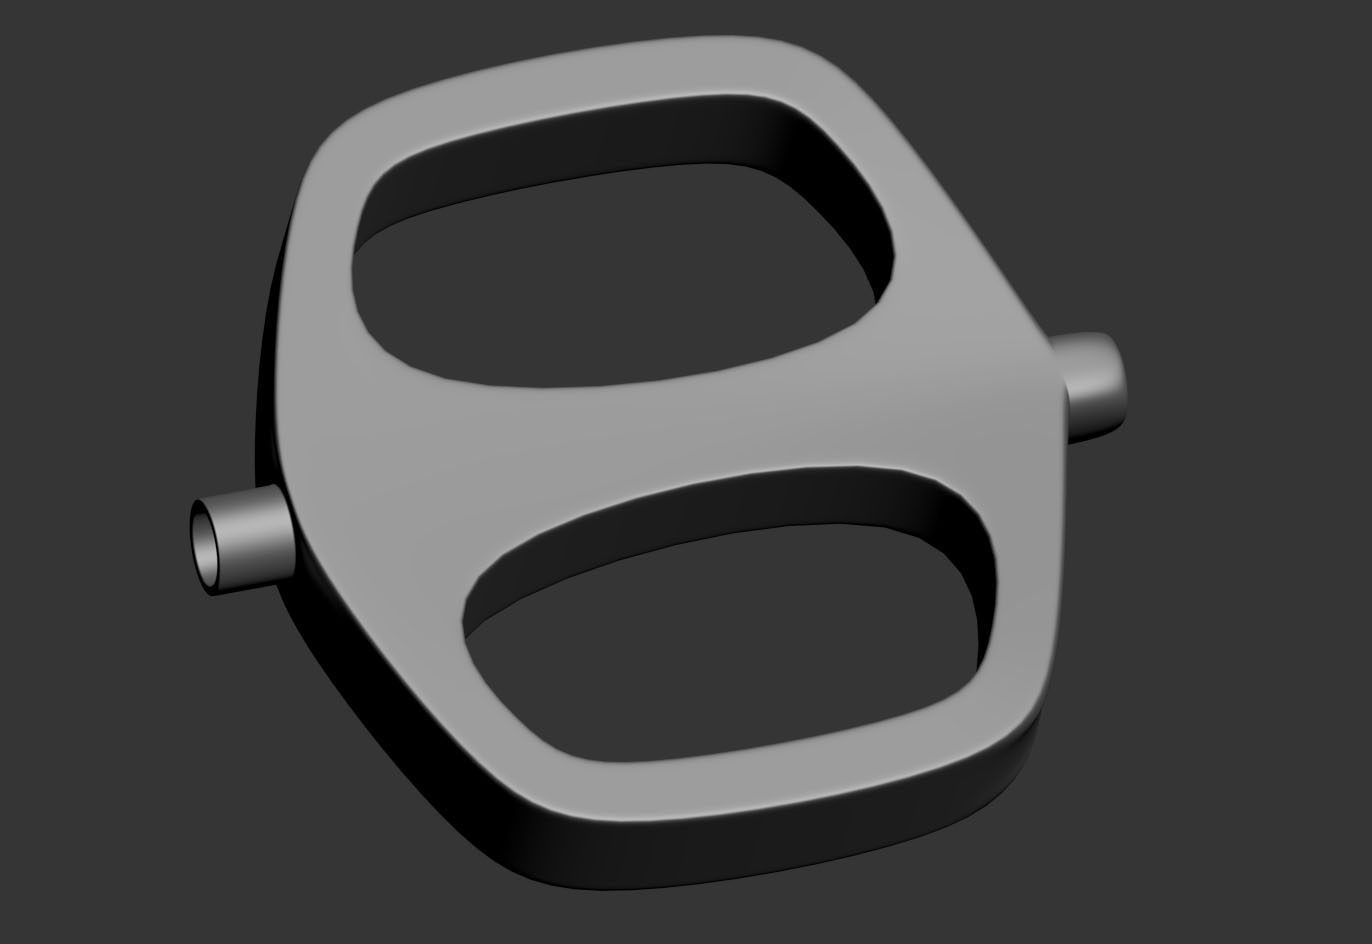
This is how the pedal turn out so far. I will come back after to give it its details.
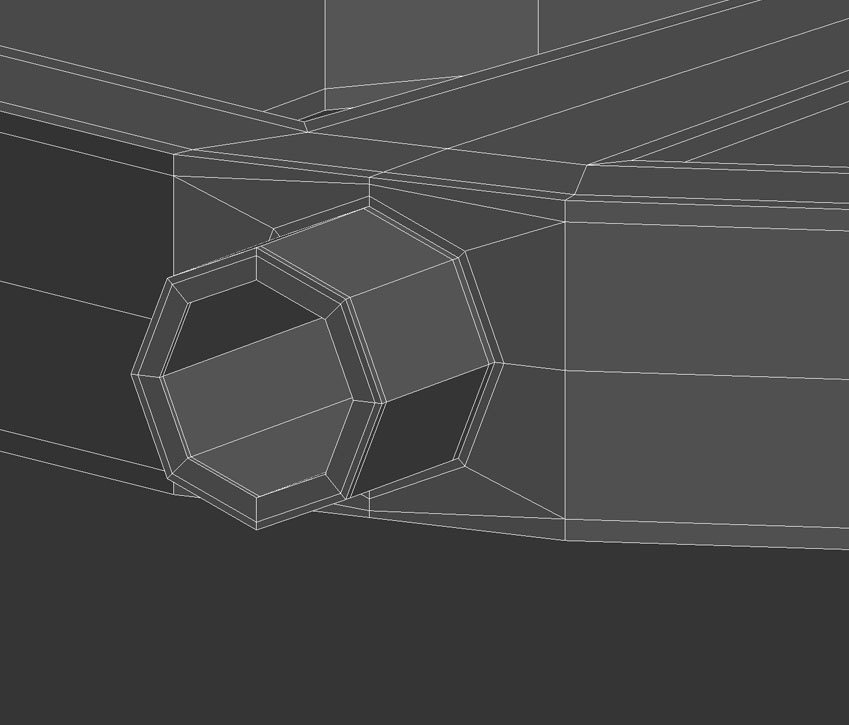
The Ngon gave me four new vertex that I had to connect to the corners. and then I deleted the middle polygon, grabbed the border it created and scaling in and extruding with the shift button I gave it locking loops and the shape shown in the bottom image.
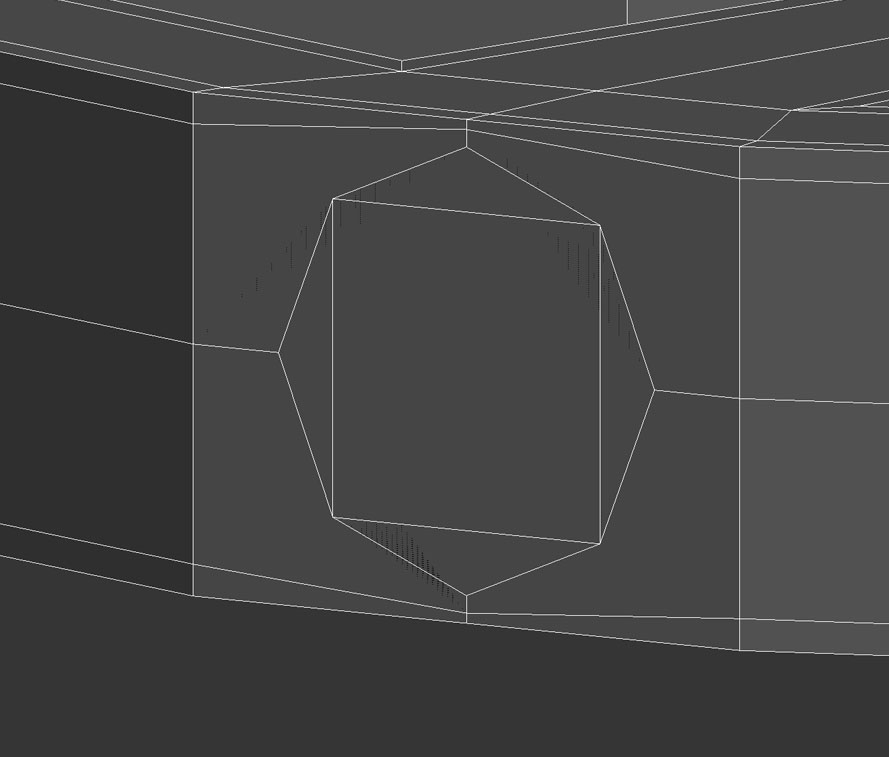
Moving on to the back I ring the middle edges and connect them to give me a vertex in the middle. With the vertex select it I went ahead and chamfer that giving me four edges and connected them. After I got the new edges it created and scaled its offset to 142 giving me that Ngon.
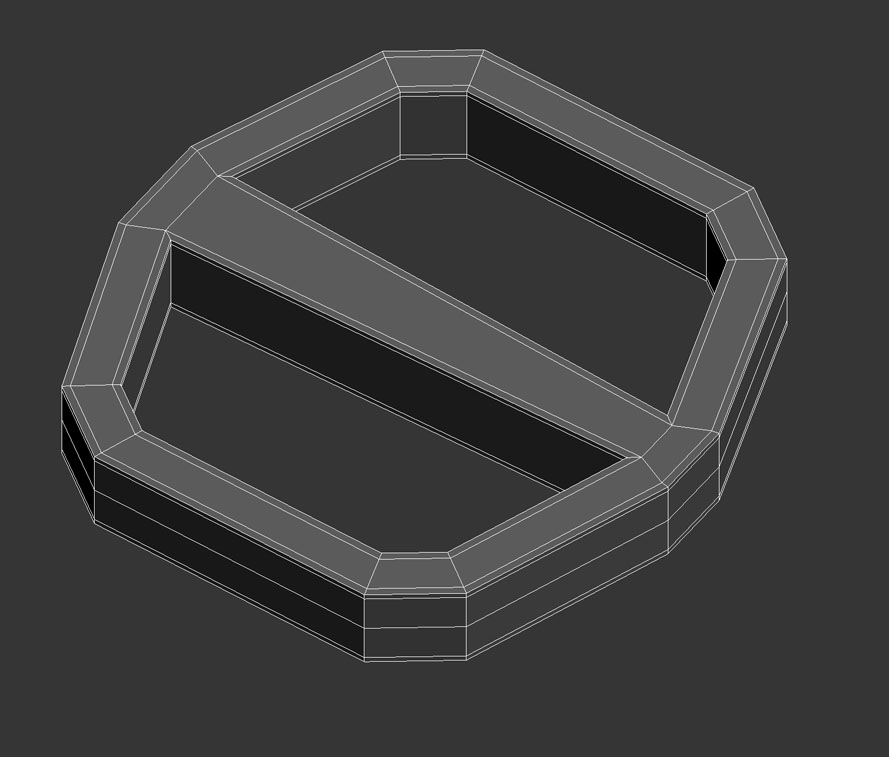
With that I was able to give it a surface modifier and convert that to an edible poly. then I grabbed the outer and inner border and holding down the shift button I pulled on its z axis to give it volume as well as its locking loops. After I just gave it a symmetry modifier to mirror its side and have the same effect in the bottom.
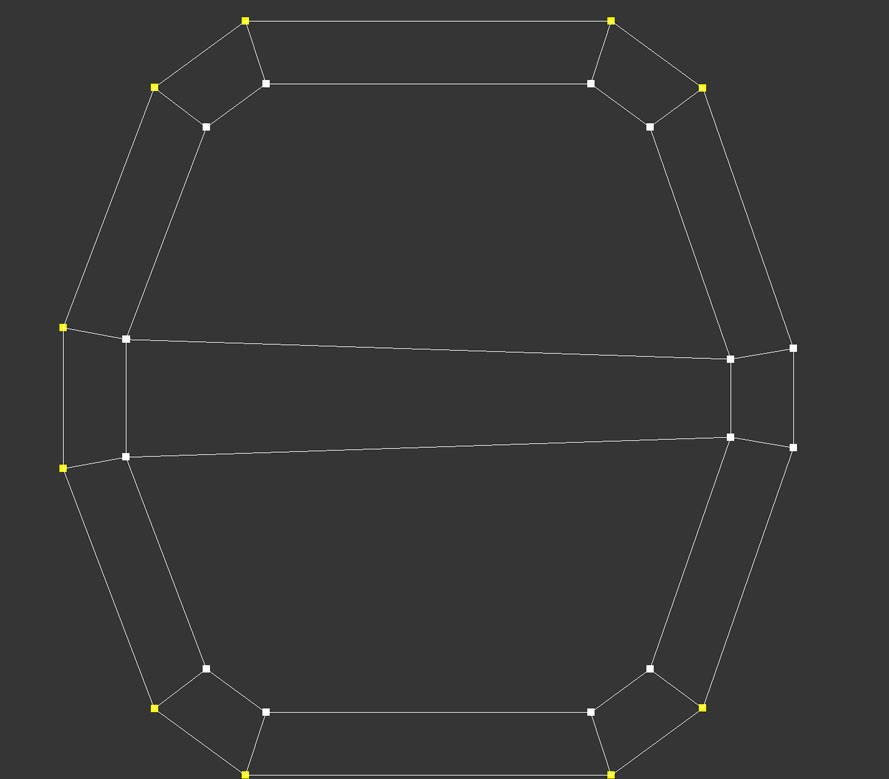
Then using the spline modifier I went ahead and got the outline and check the center box to scale in a new spline to a smaller size. Then I was able to cross section them and to give it more of a shape inside I created the middle lines and weld them together to a threshold of .01".
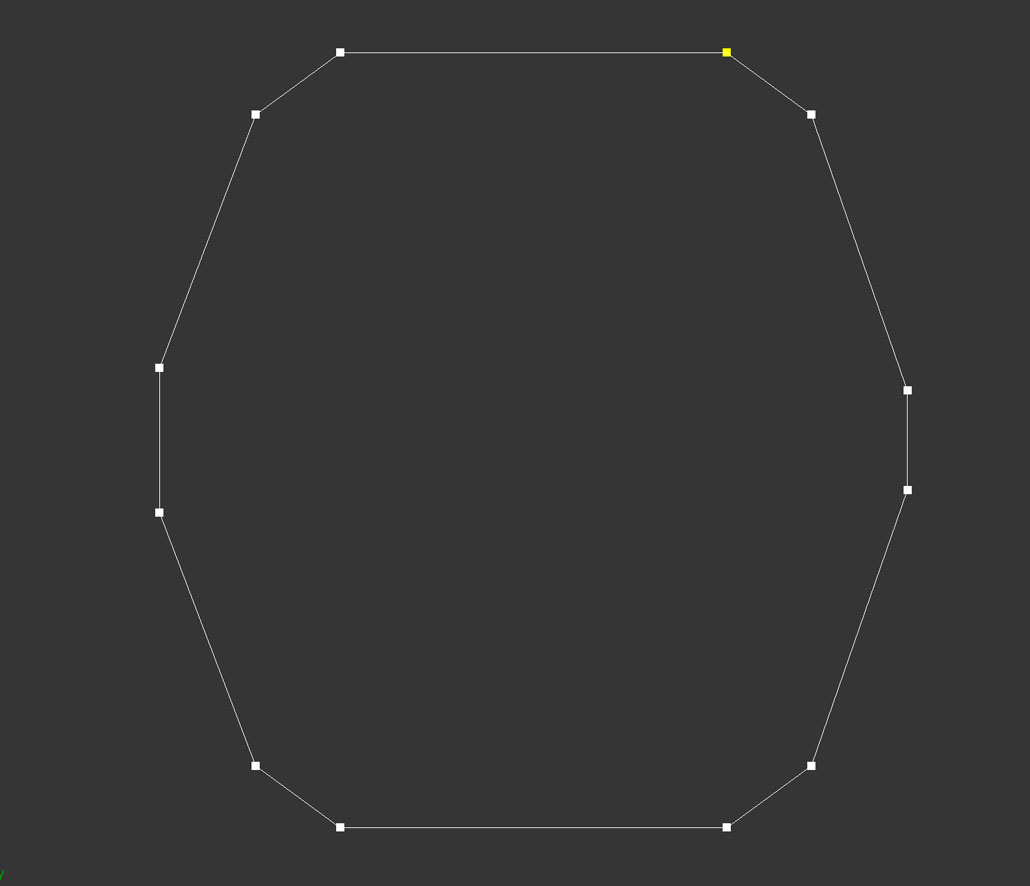
Moving on forward I started to make the pedals by making a rectangle spline. Converting the vertex into corners I was able to select the left and right segments to divide them which created two vertex. After I grabbed the two new vertex and scaled them outwards. Creating again all the vertex into corners I grabbed all of them and chamfer them outwards.
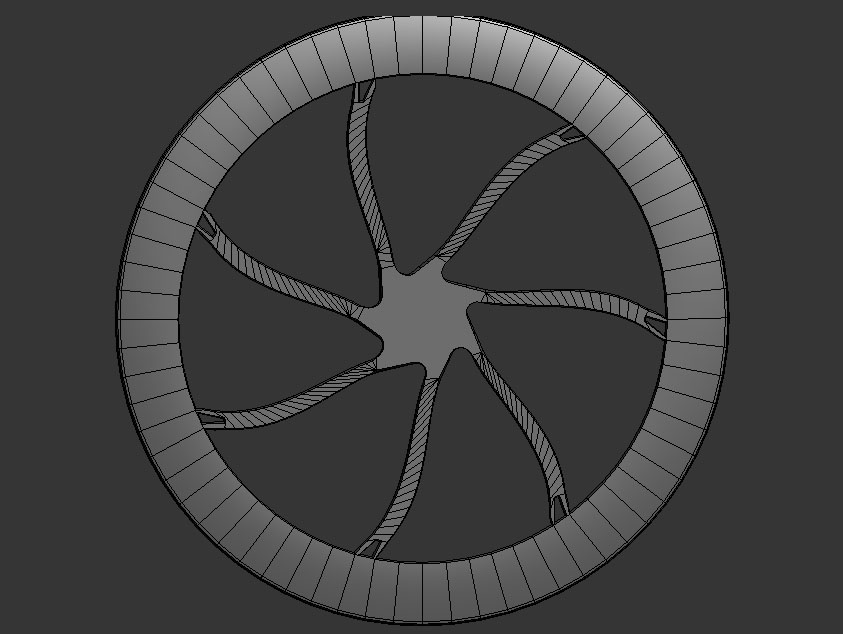
Next I attached all the lose vertex to each other exept for the middle since there will be a whole cut in the middle. I used a bend to bend the polygons but it made it look weird. for now this would be an okay place holder to get the idea of the disk I will have to go back and figure out another method.
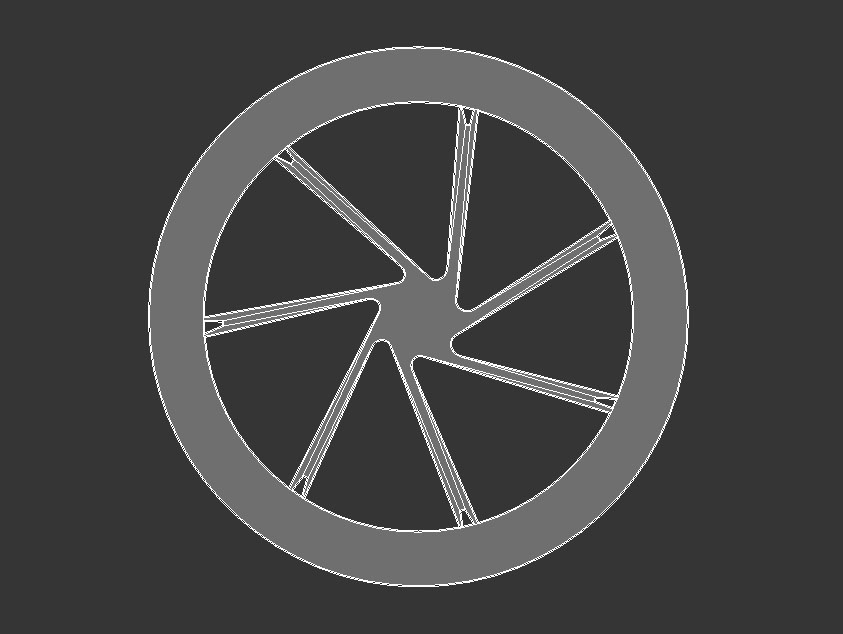
Then I made two circle spline and attached them all together giving them a surface modifier.
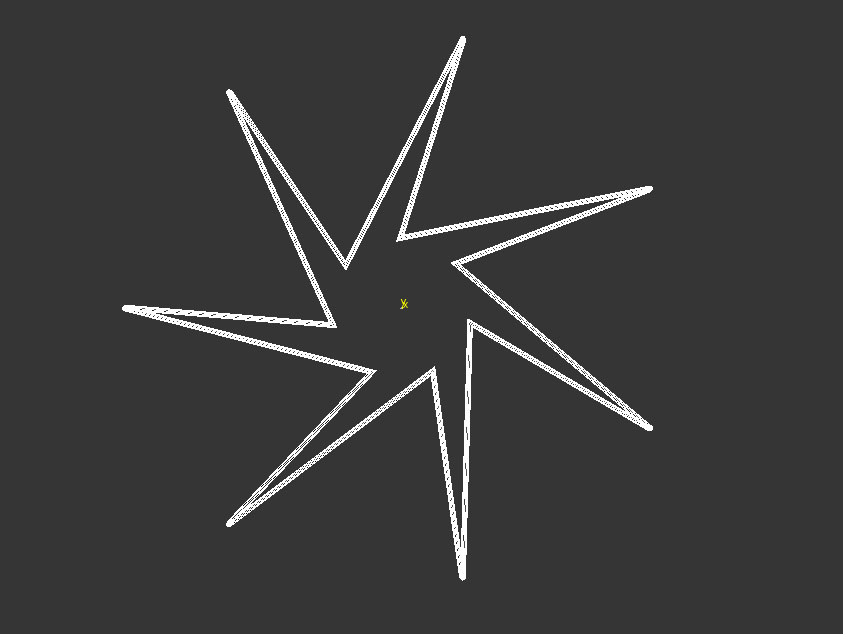
The started this week by creating the Bicycle Disc Brake that goes inbetween the front tire. I started by creating a star spline and disforming it to a twisty shape.
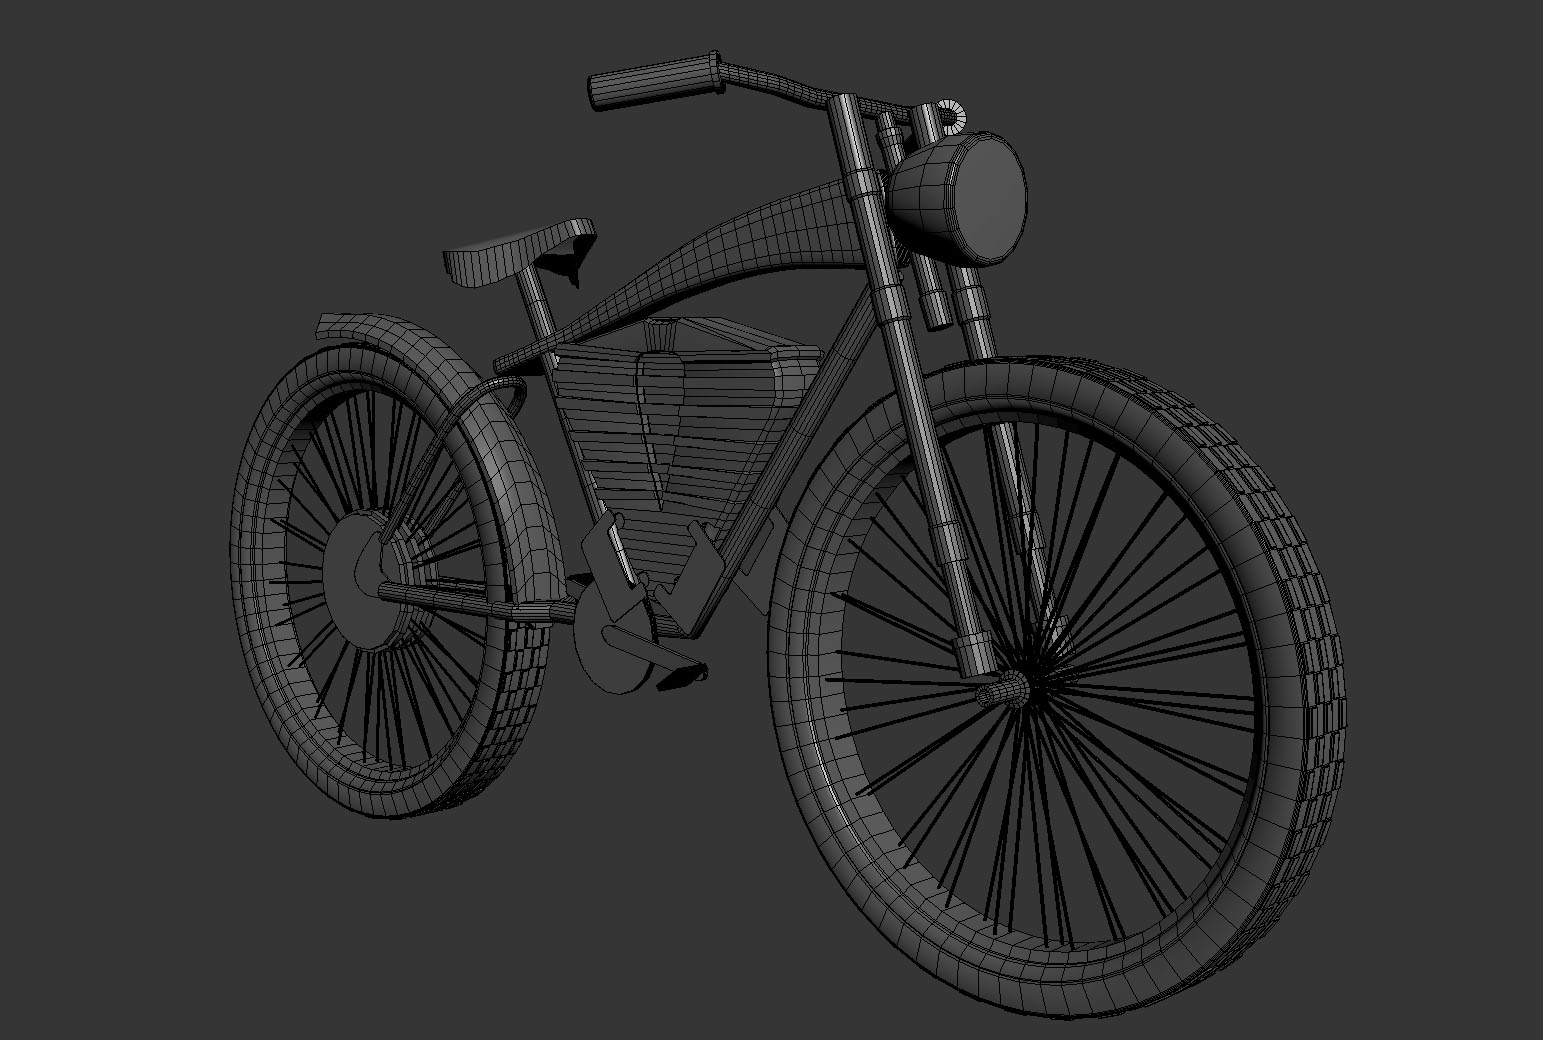
This is the bicycle so far.
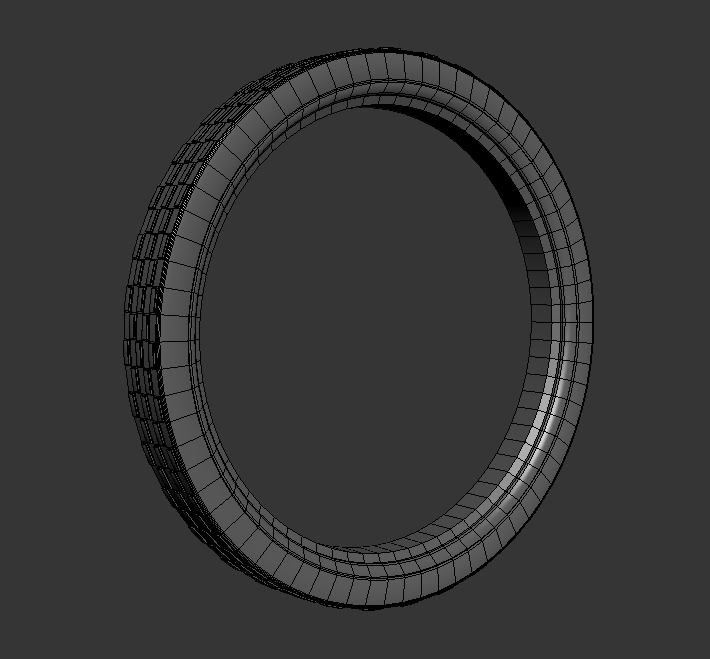
After getting the tires original shape I grabbed its outer edges and scaled them and extruded them inwards. I will then start focusing back on the battery and the inner parts of the bicycle with the metal wires.
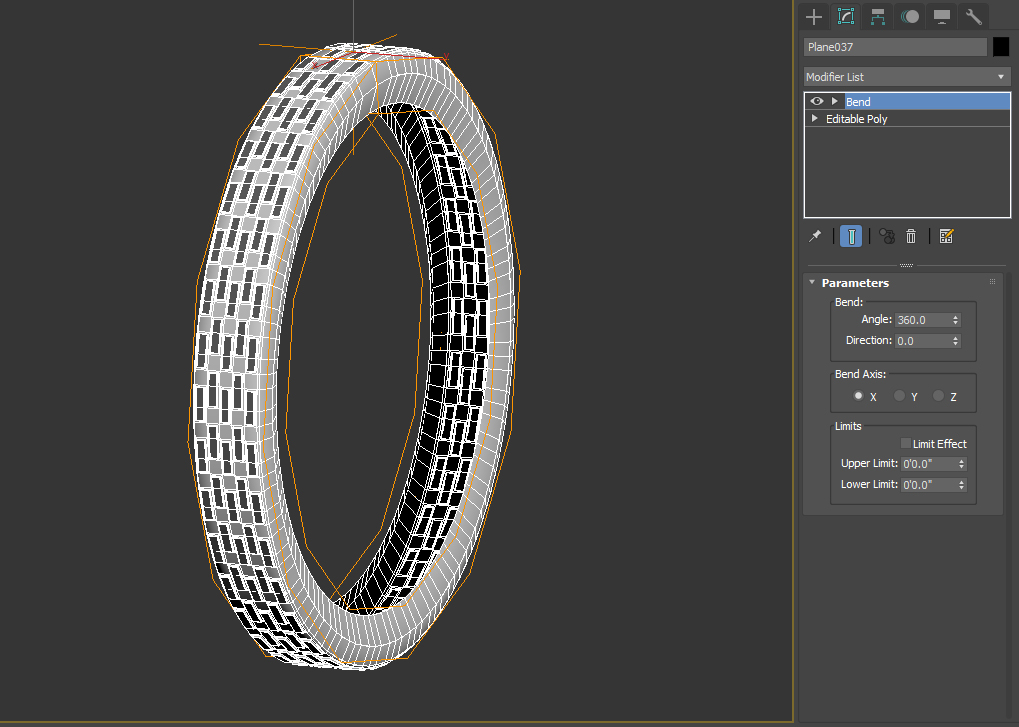
Once all the pieces were together I gave it a bend modifier and bend it 360 degrees on its X Axis to give it its round shape. The problem I ran into here was that I tried to tile it like my reference were the rectangles are in-between each piece, but made every single piece be on top of each other leaving gaps that would be weird if I weld them together.
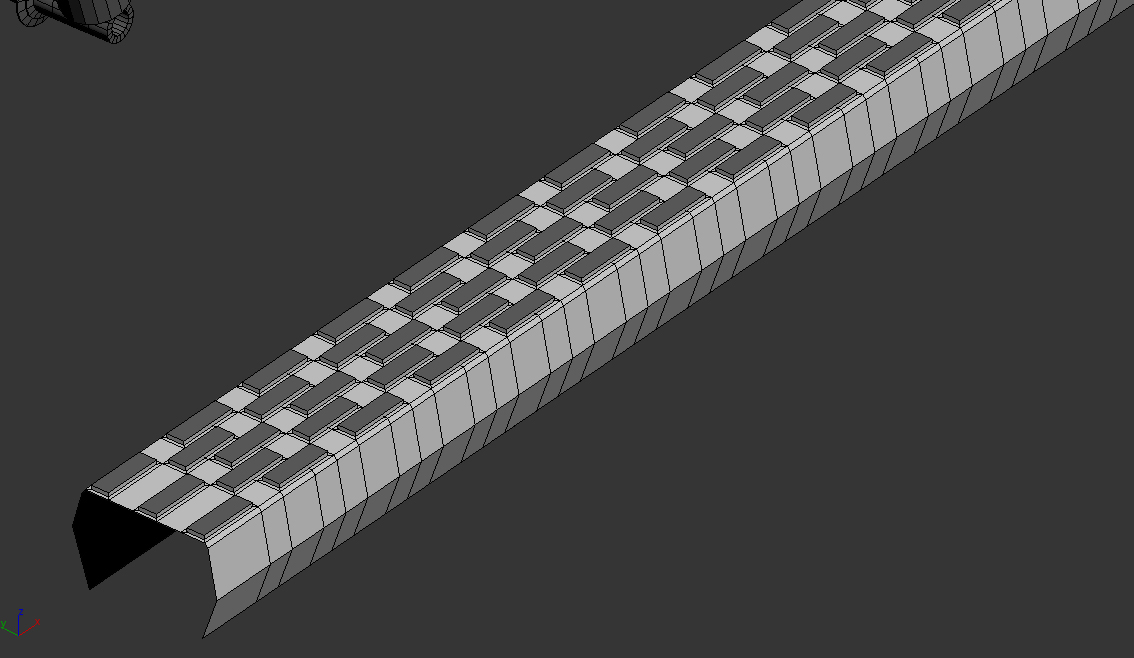
After I grabbed the outer edges and while holding shift gave them a sort of round shape on how the tire will be placed. When I was satisfied with the results I went into my array tab and gave it 36 segments and separated them with my X Axis making them into an instance. After I had to make the first piece an individual to then be able to attached all the other pieces of arrays together.
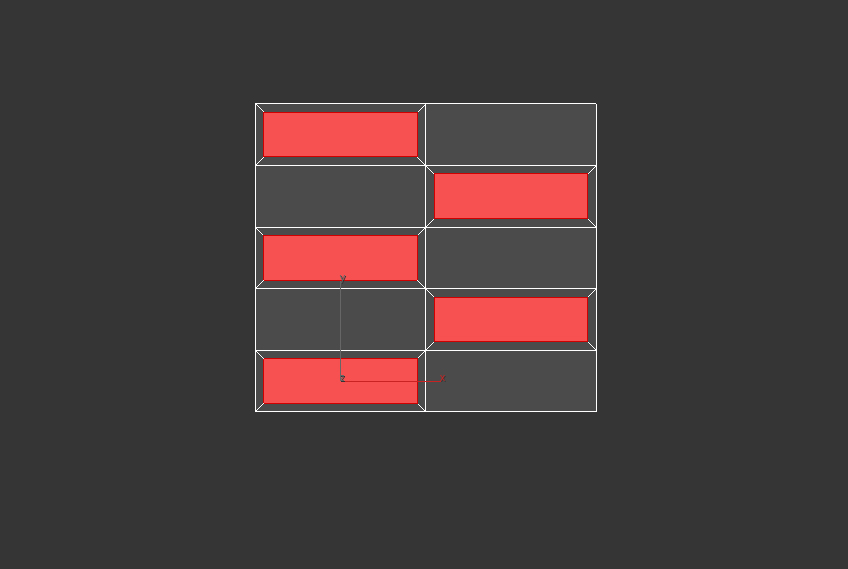
Leaving the battery shield to work on it later, I moved on to making a better version of the tire. I started by making a plane with 10 rectangles. Then I grabbed the red polygons and gave them an inset and extruded them out.
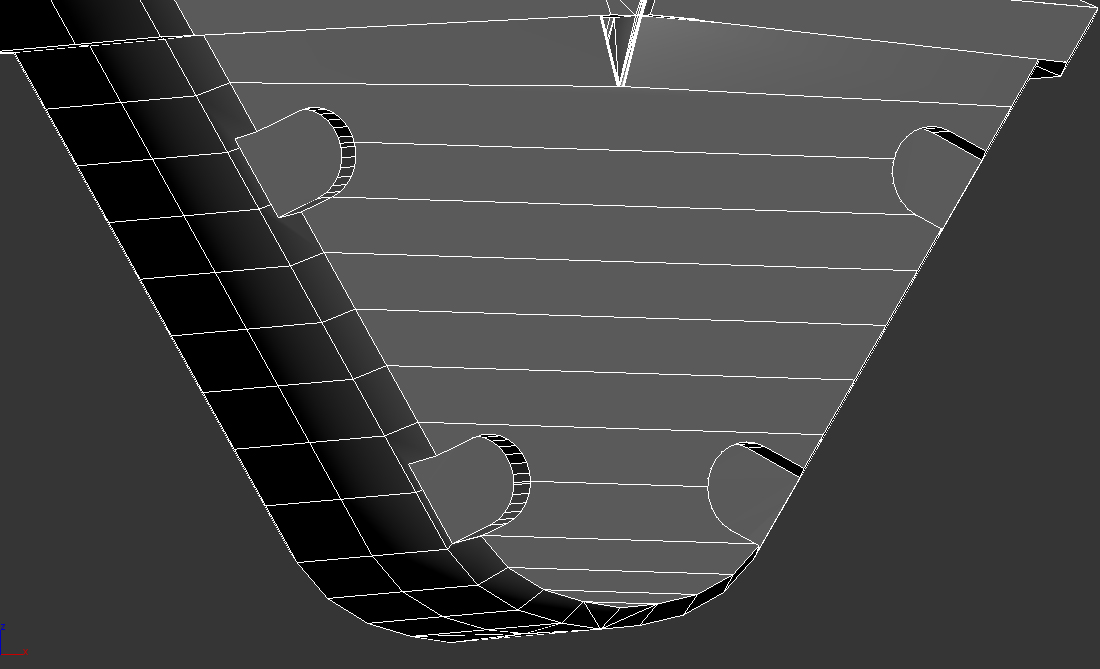
With that I was able to converted into an edible poly, gave it its extrude to cut it from the piece, and used a Boolean as well to subtract it from the battery. Then I just grabbed the edges from the cuts holding down my shift key and dragging down to give it its depth and capping its border. After I just split the piece in two from the front and back and mirror it on its Y axis and weld the vertices together.
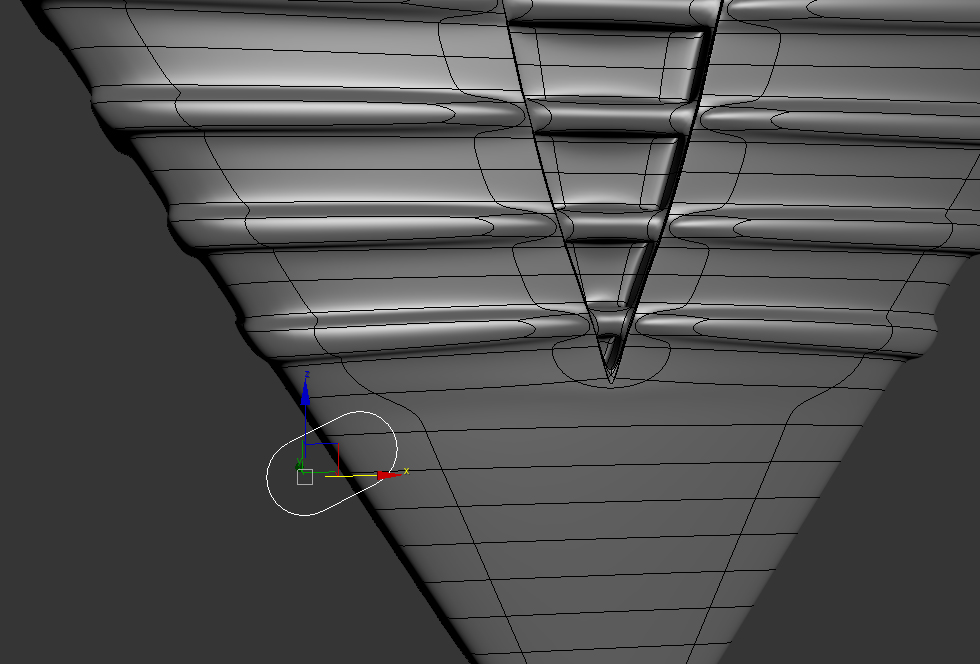
The next approach I took was to make a spline of a shape where the metal plates holding the battery's side would go.
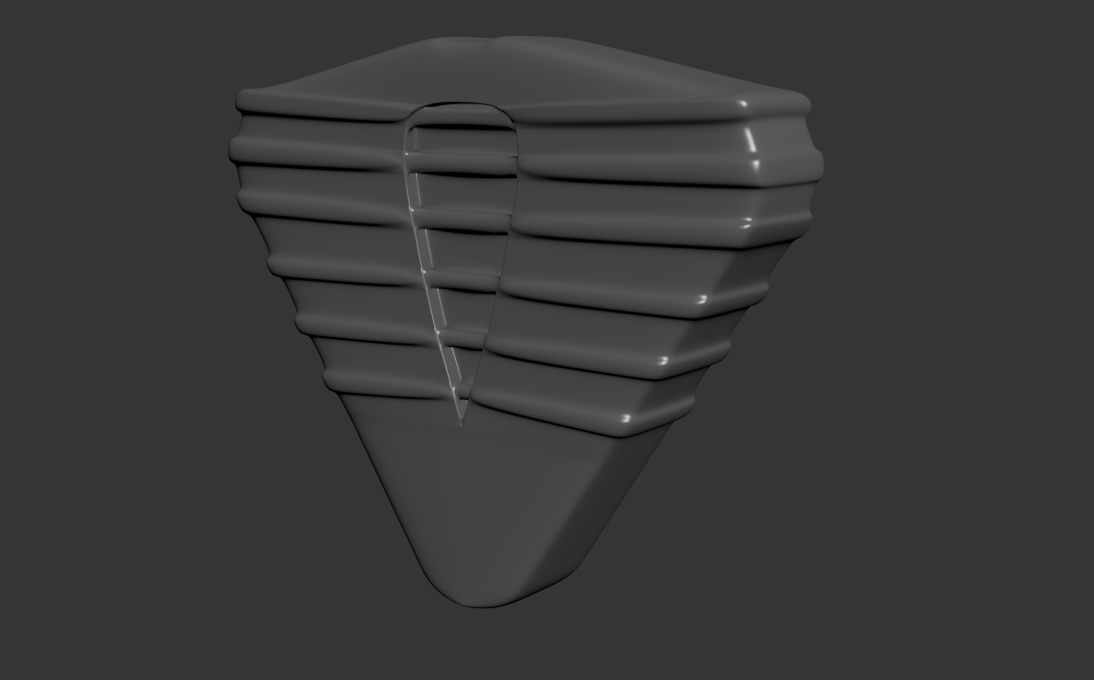
This week I started out by modeling the battery shield which consisted of first making it wall quads since the basic block out had no edges but on its sides. After getting it into quads I focused on one side of it since the other side would be exactly the same I would just have to mirror it. so I started by getting the center cut by making the shape out of a spline, converting it into an edible poly, extruding it to give it some thickness and then with the Boolean I simply subtracted it from the battery. After I grabbed a the few polygons that are around the shape of the battery and extrude them out. Then I tested them out with a MeshSmooth to its third iteration so see how the results would look.
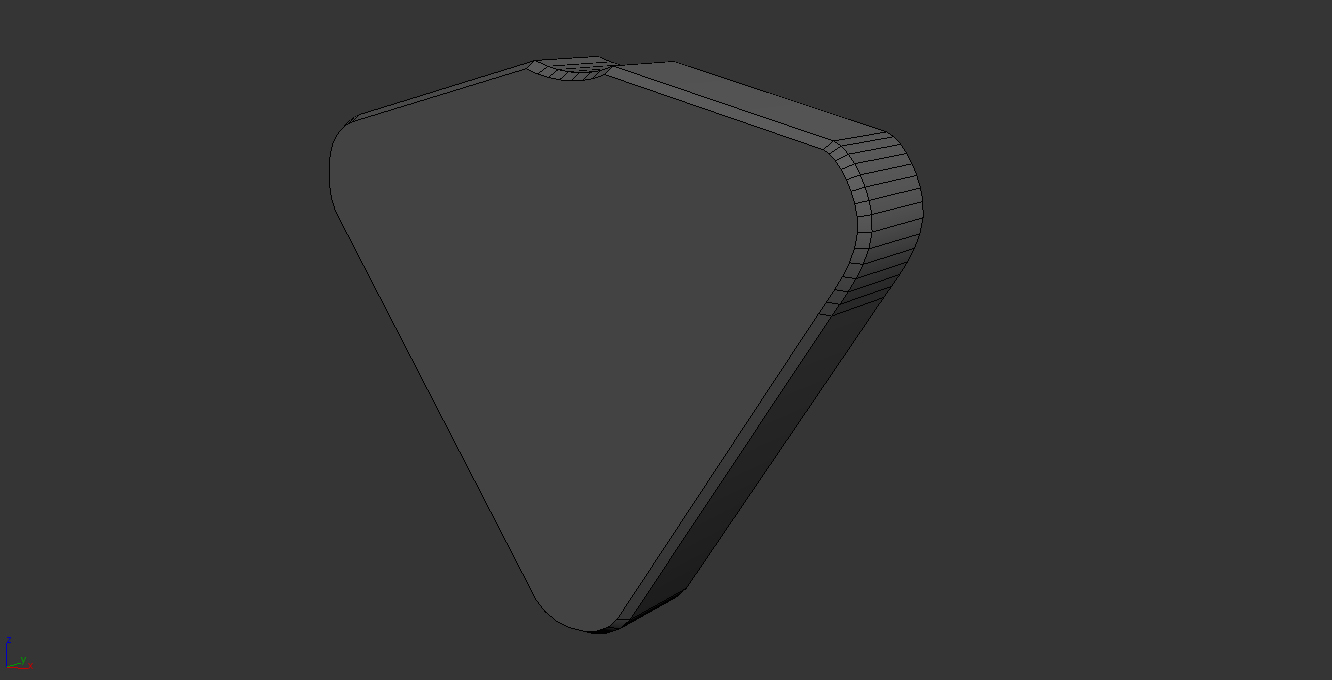
Last week my battery shield for the electric bicycle was really thin so I got it to its proper size and width
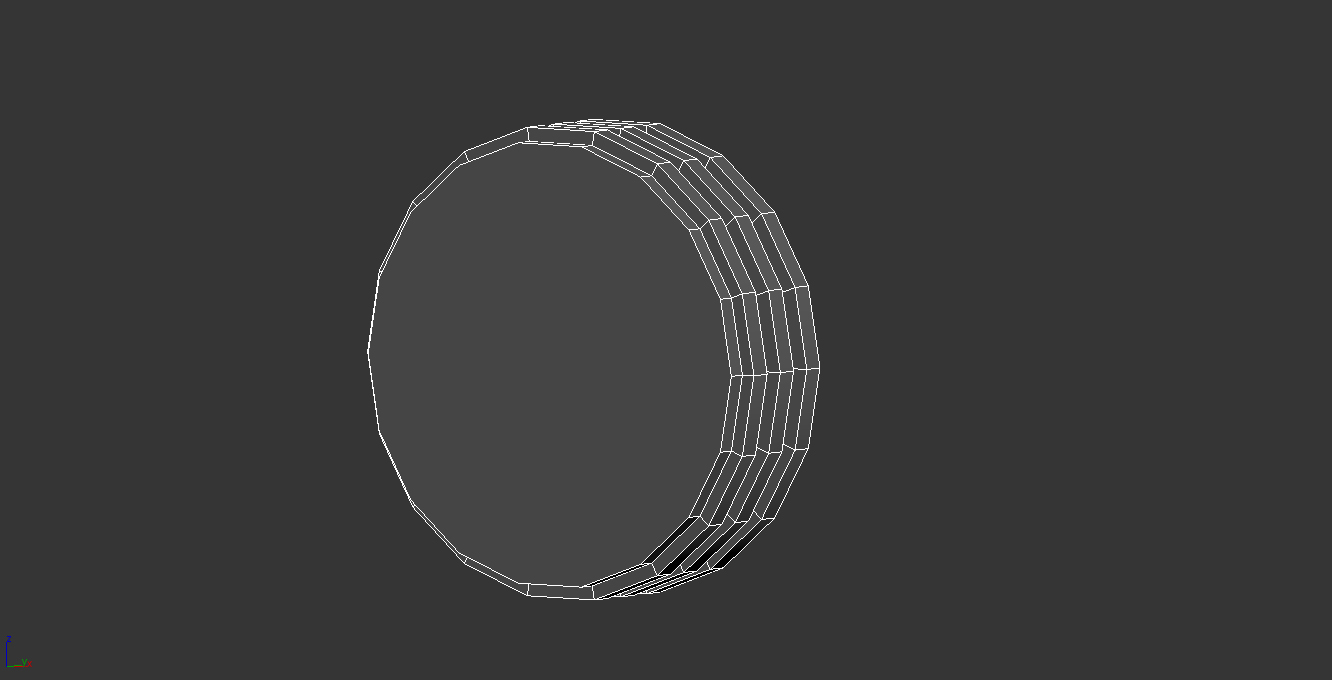
Also from last weeks process was making the back center piece of the back wheel as a simple block out by making a cylinder and getting the inbetween polygons and extruding them inwards.
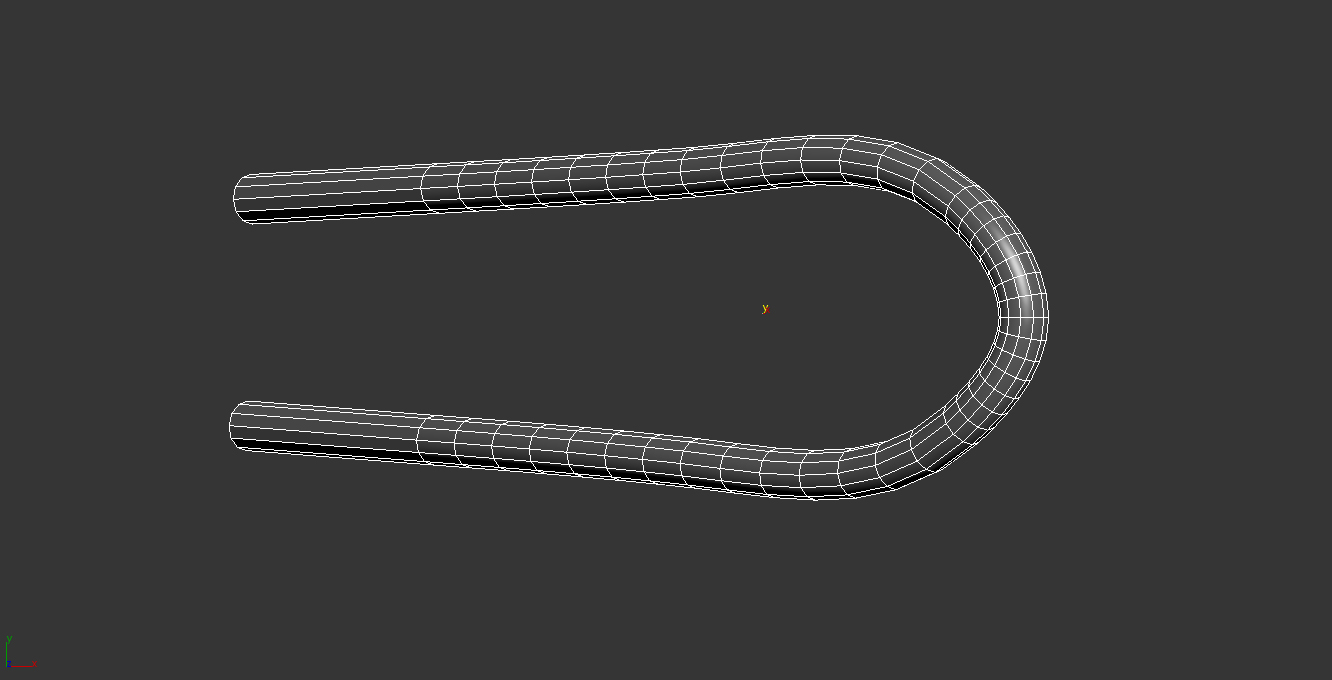
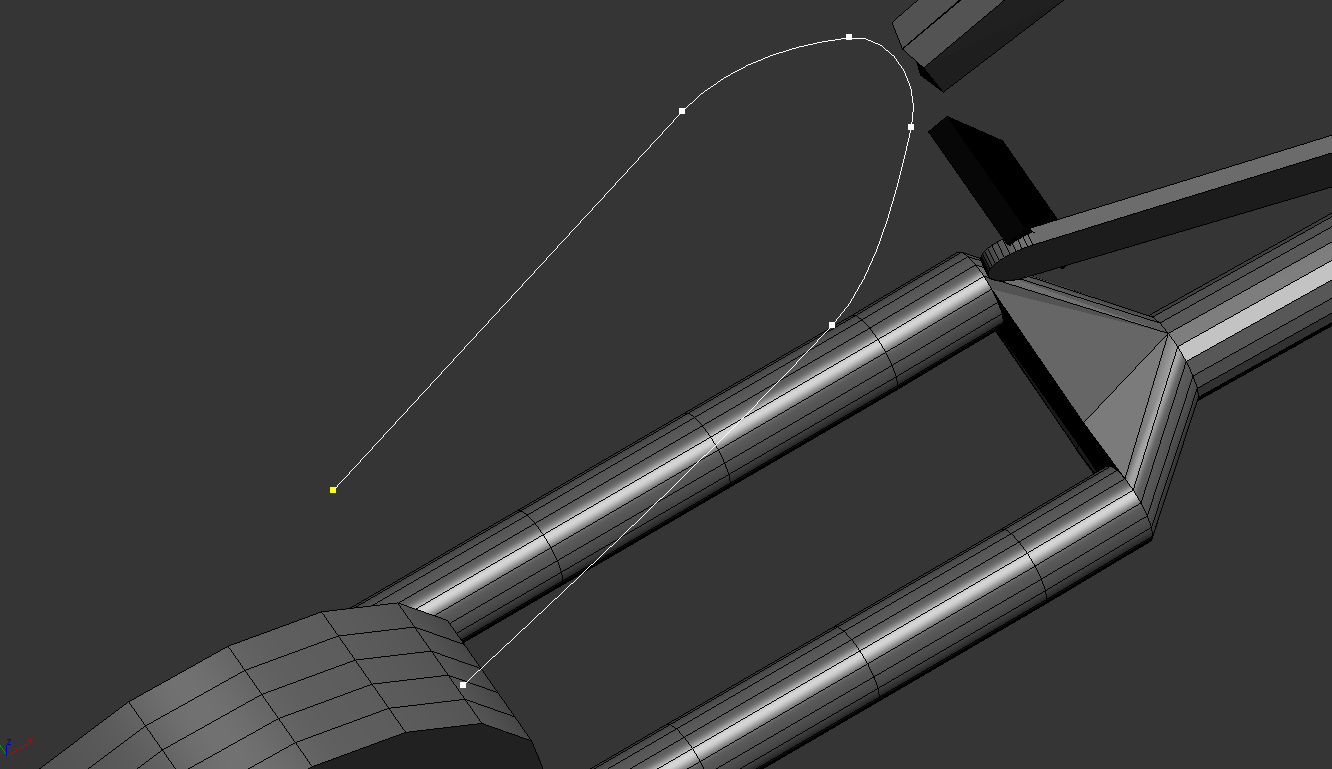
Last week I forgot to update this for my block out which was making the back rail into more of its tube shape then the rectangle shape I had. I simply just made it out of a spline and was able to manipulate its vertices to get it to bend. Looking at my reference i have to go back and make it wider because it seems to small.
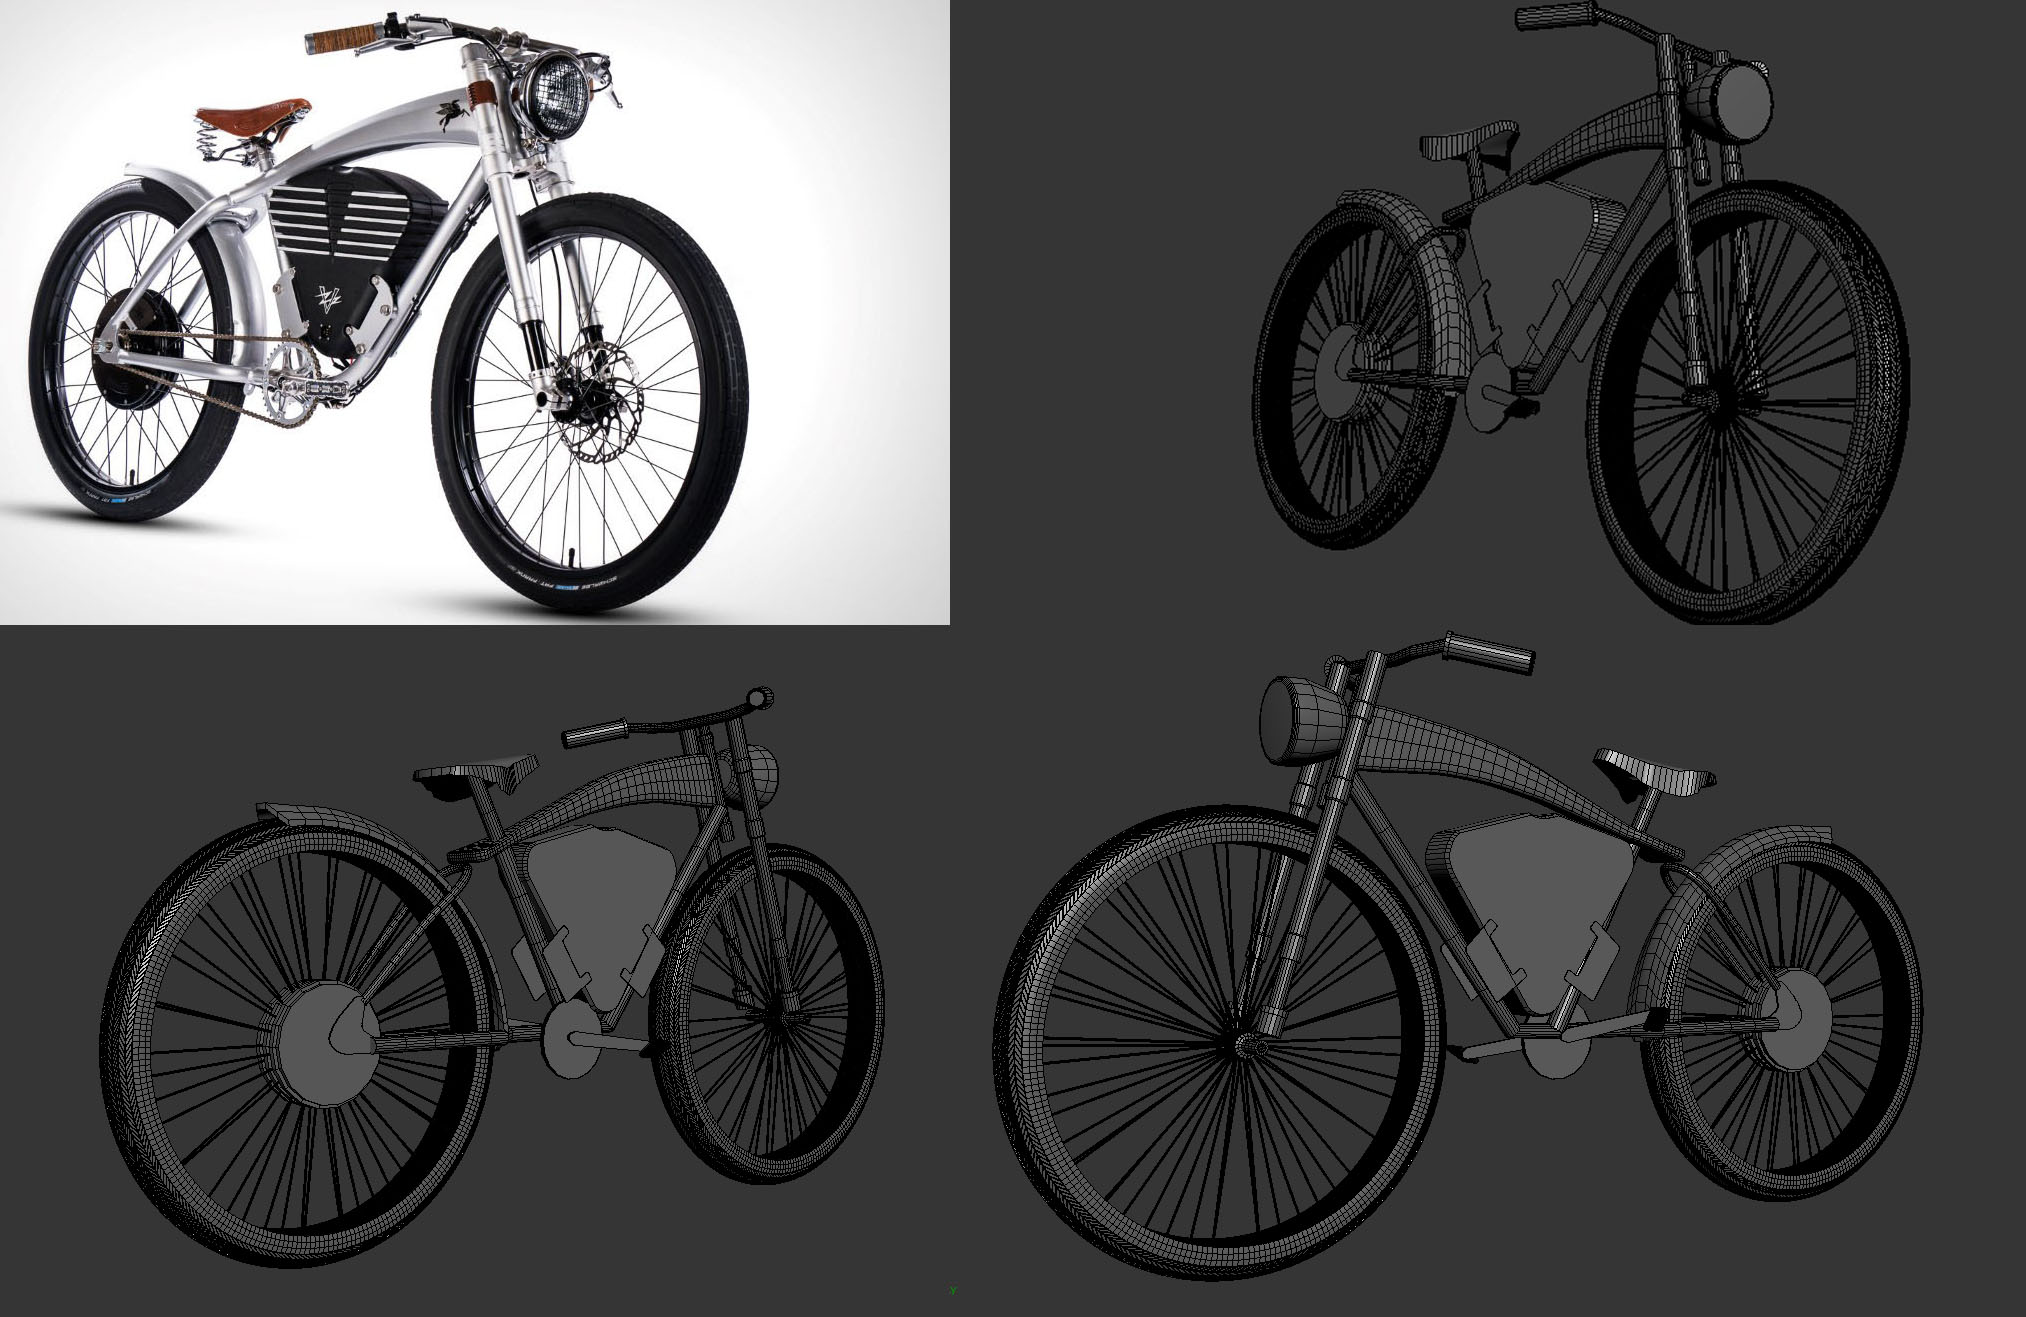
Better Block Out.
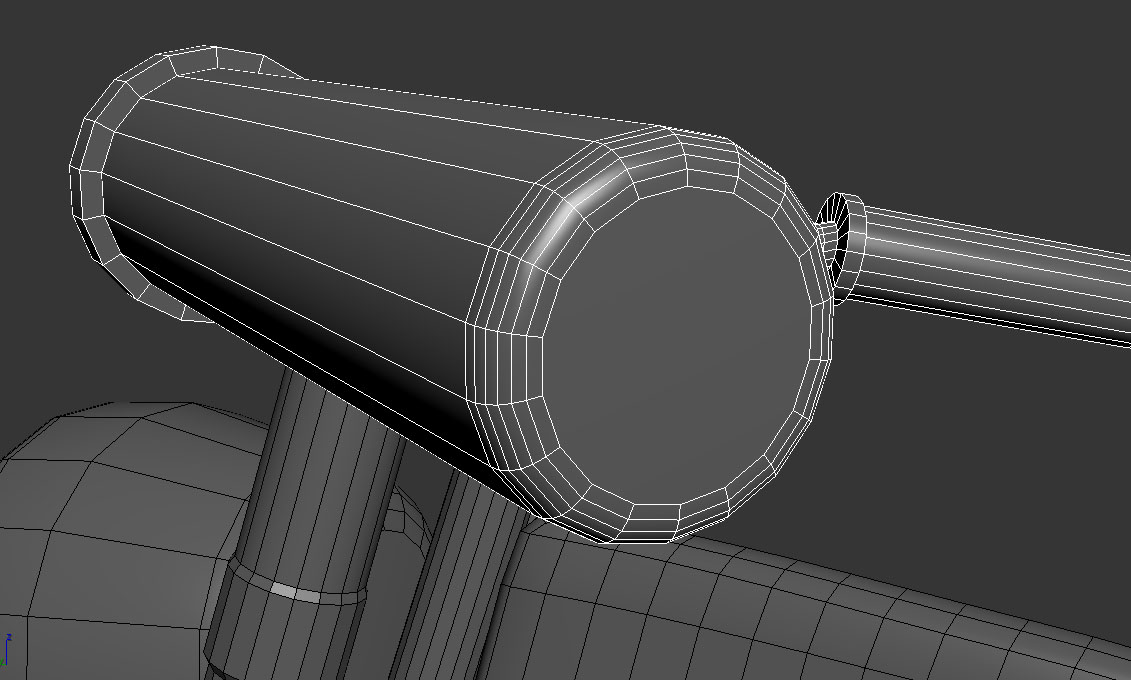
For the handles just to not look like a simple box shape I gave it a chamfer.
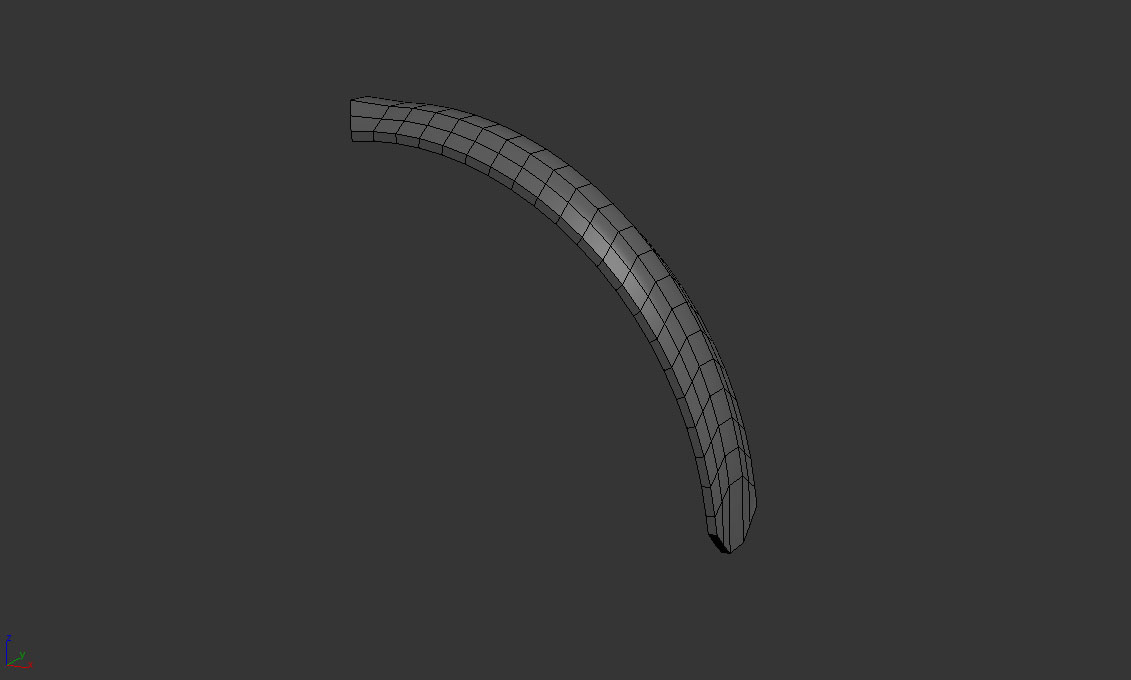
Then gave it volume, grabbed the middle edges, ring them and gave it a connect to get more edged and moved the vertex around to fit my reference.
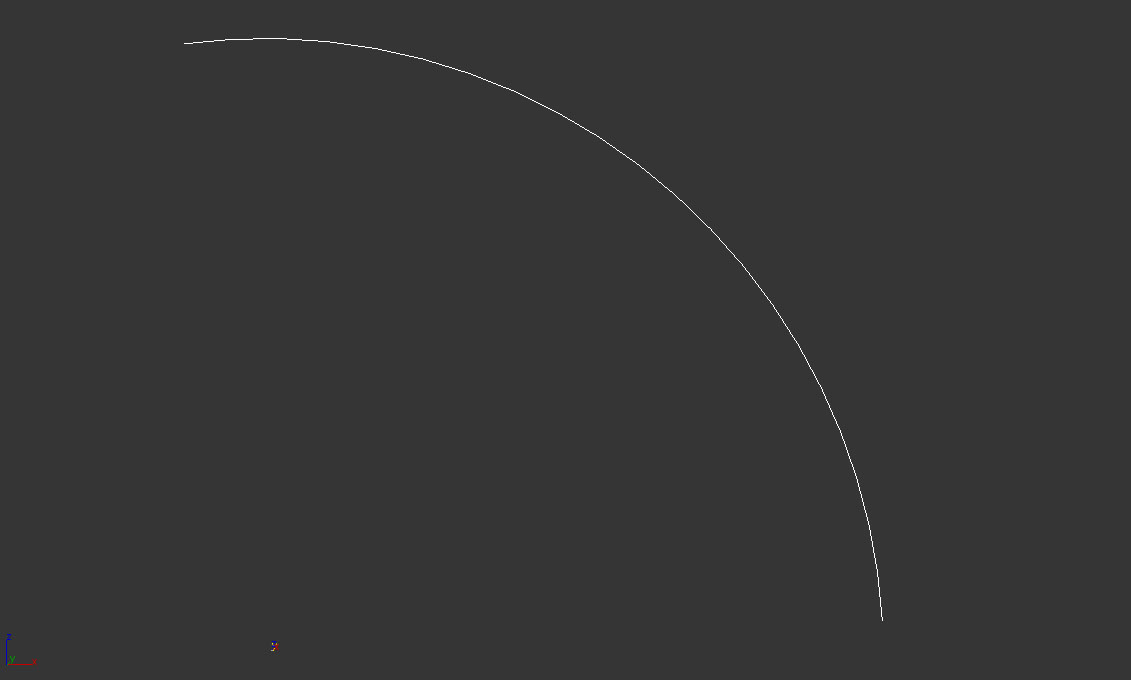
To make the back metal of the covering for the wheel I used a spline arc.
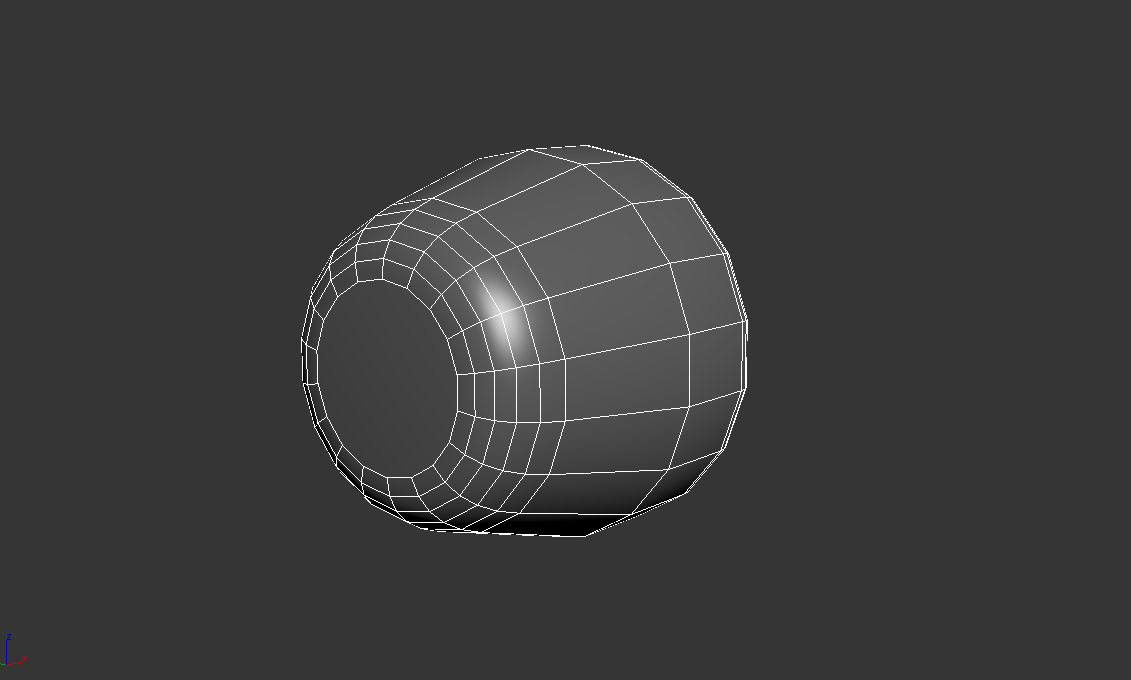
Same as the back of it I extruded it and scaled it down to its proper size and used a chamfer.
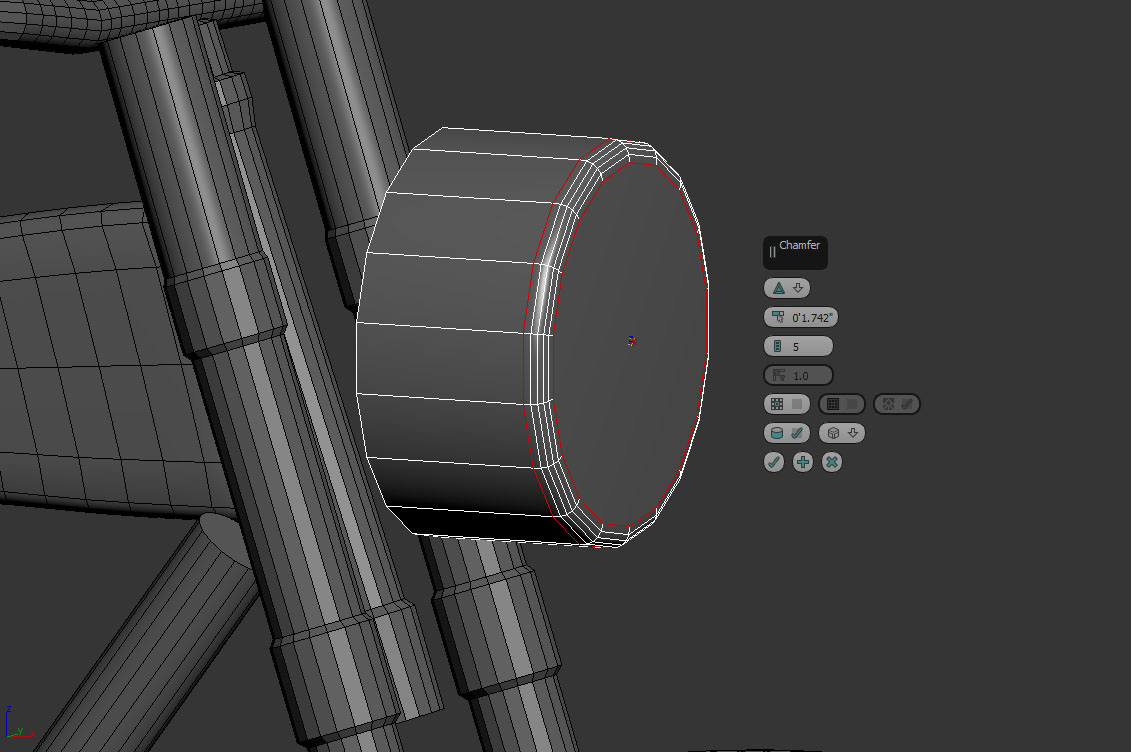
To get it smoother in thew front were the light will be I used a chamfer.
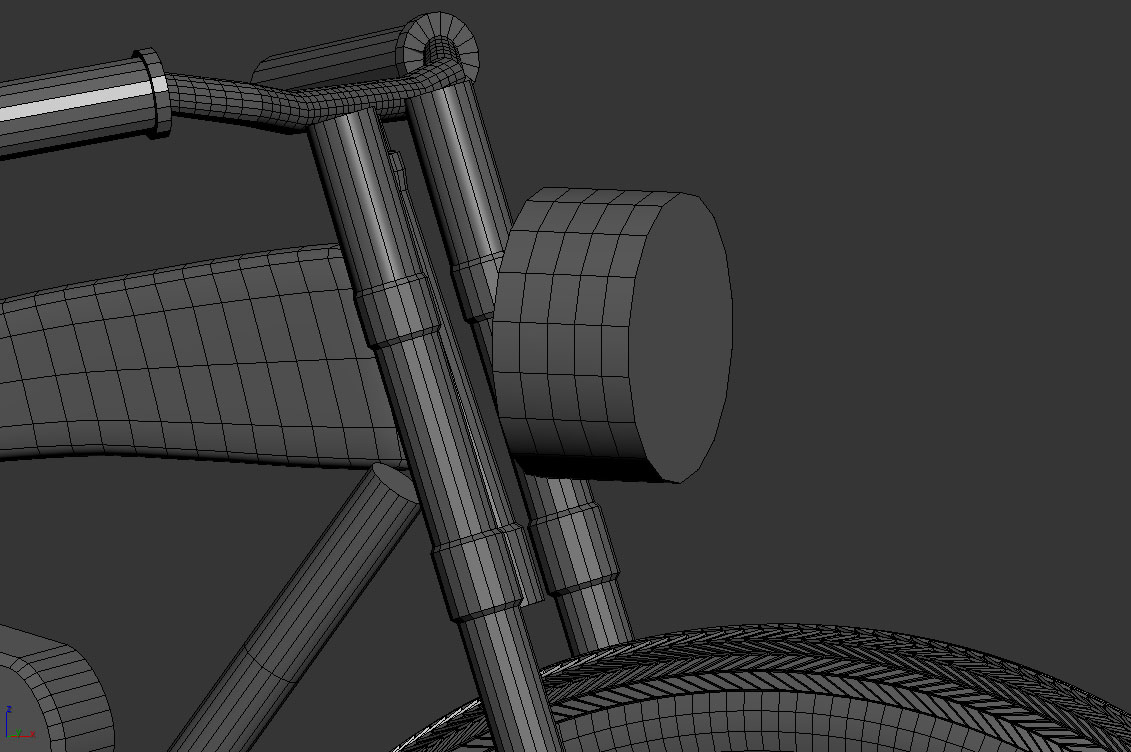
I remodeled the headlight by making a cylinder.
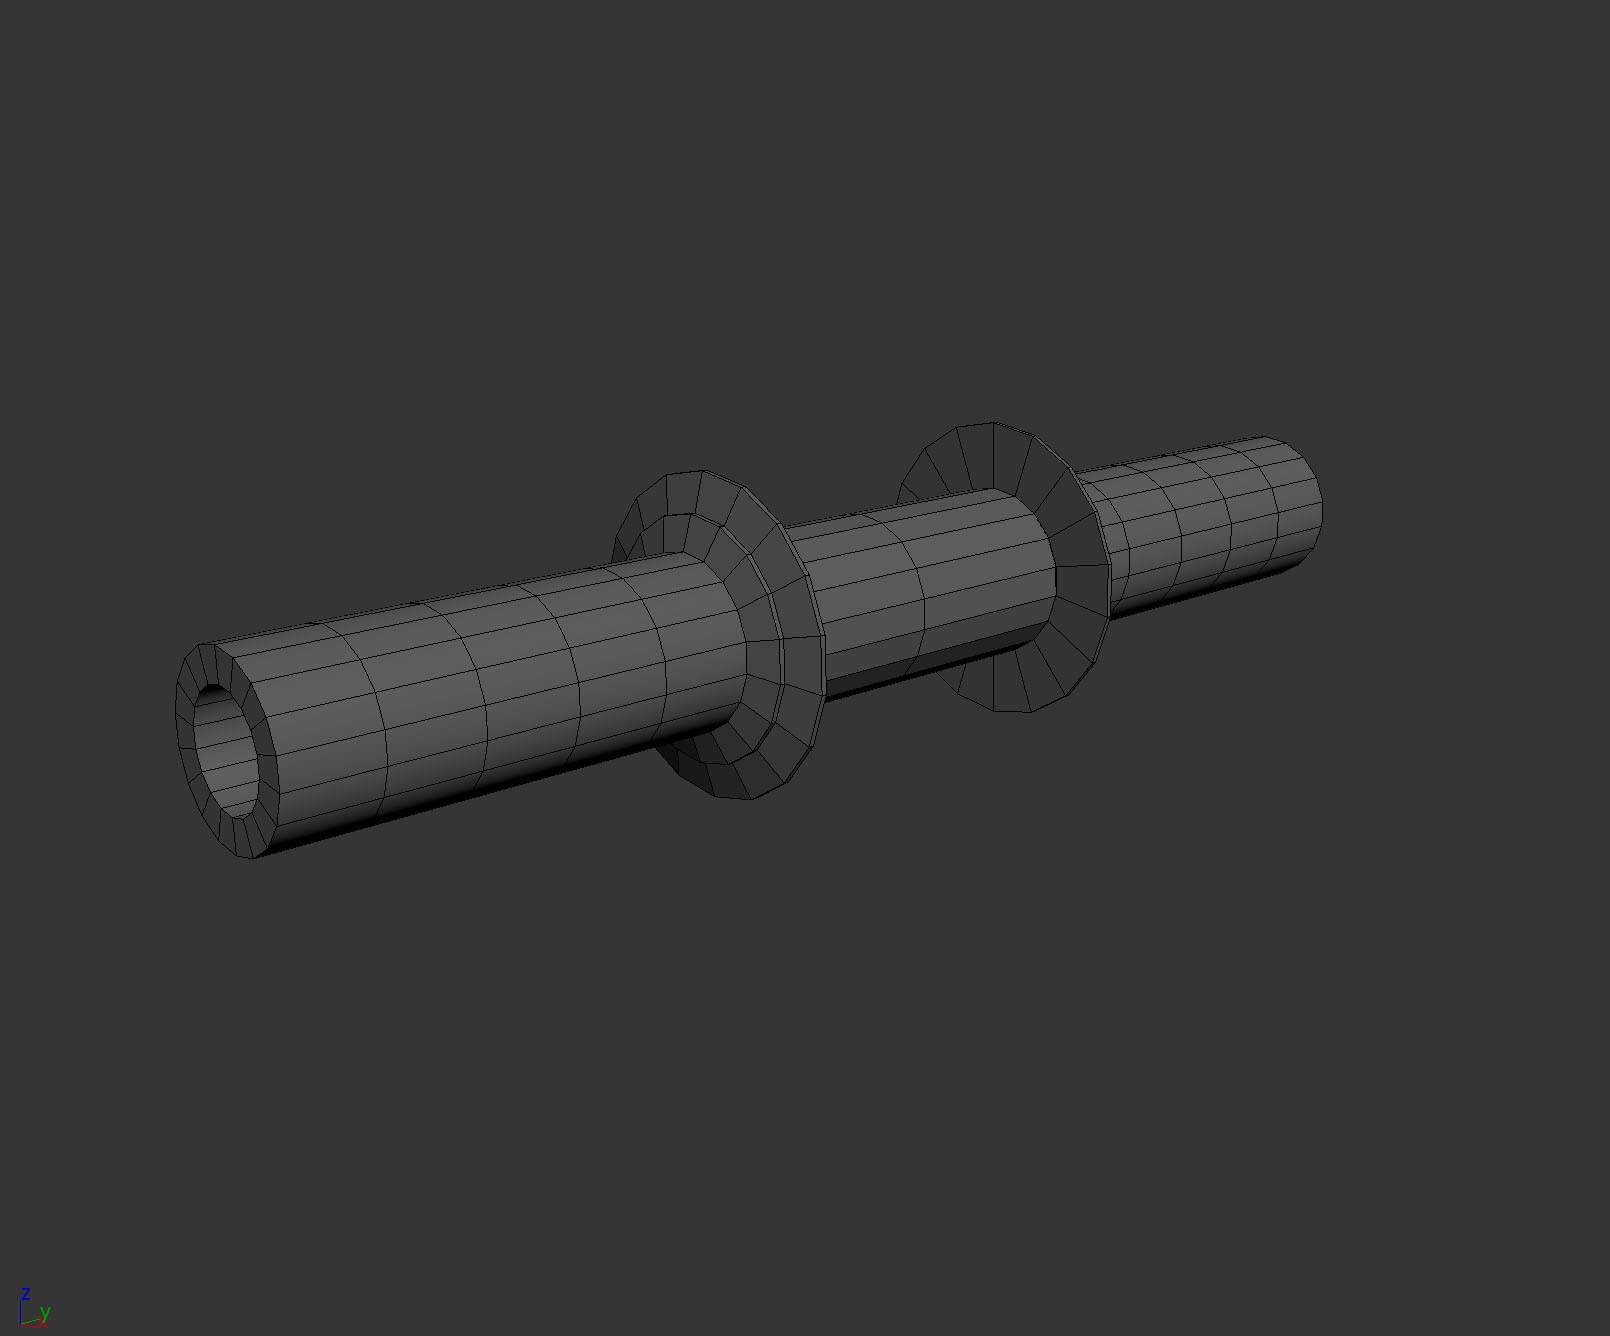
and then simply just used a mirror and weld it together.
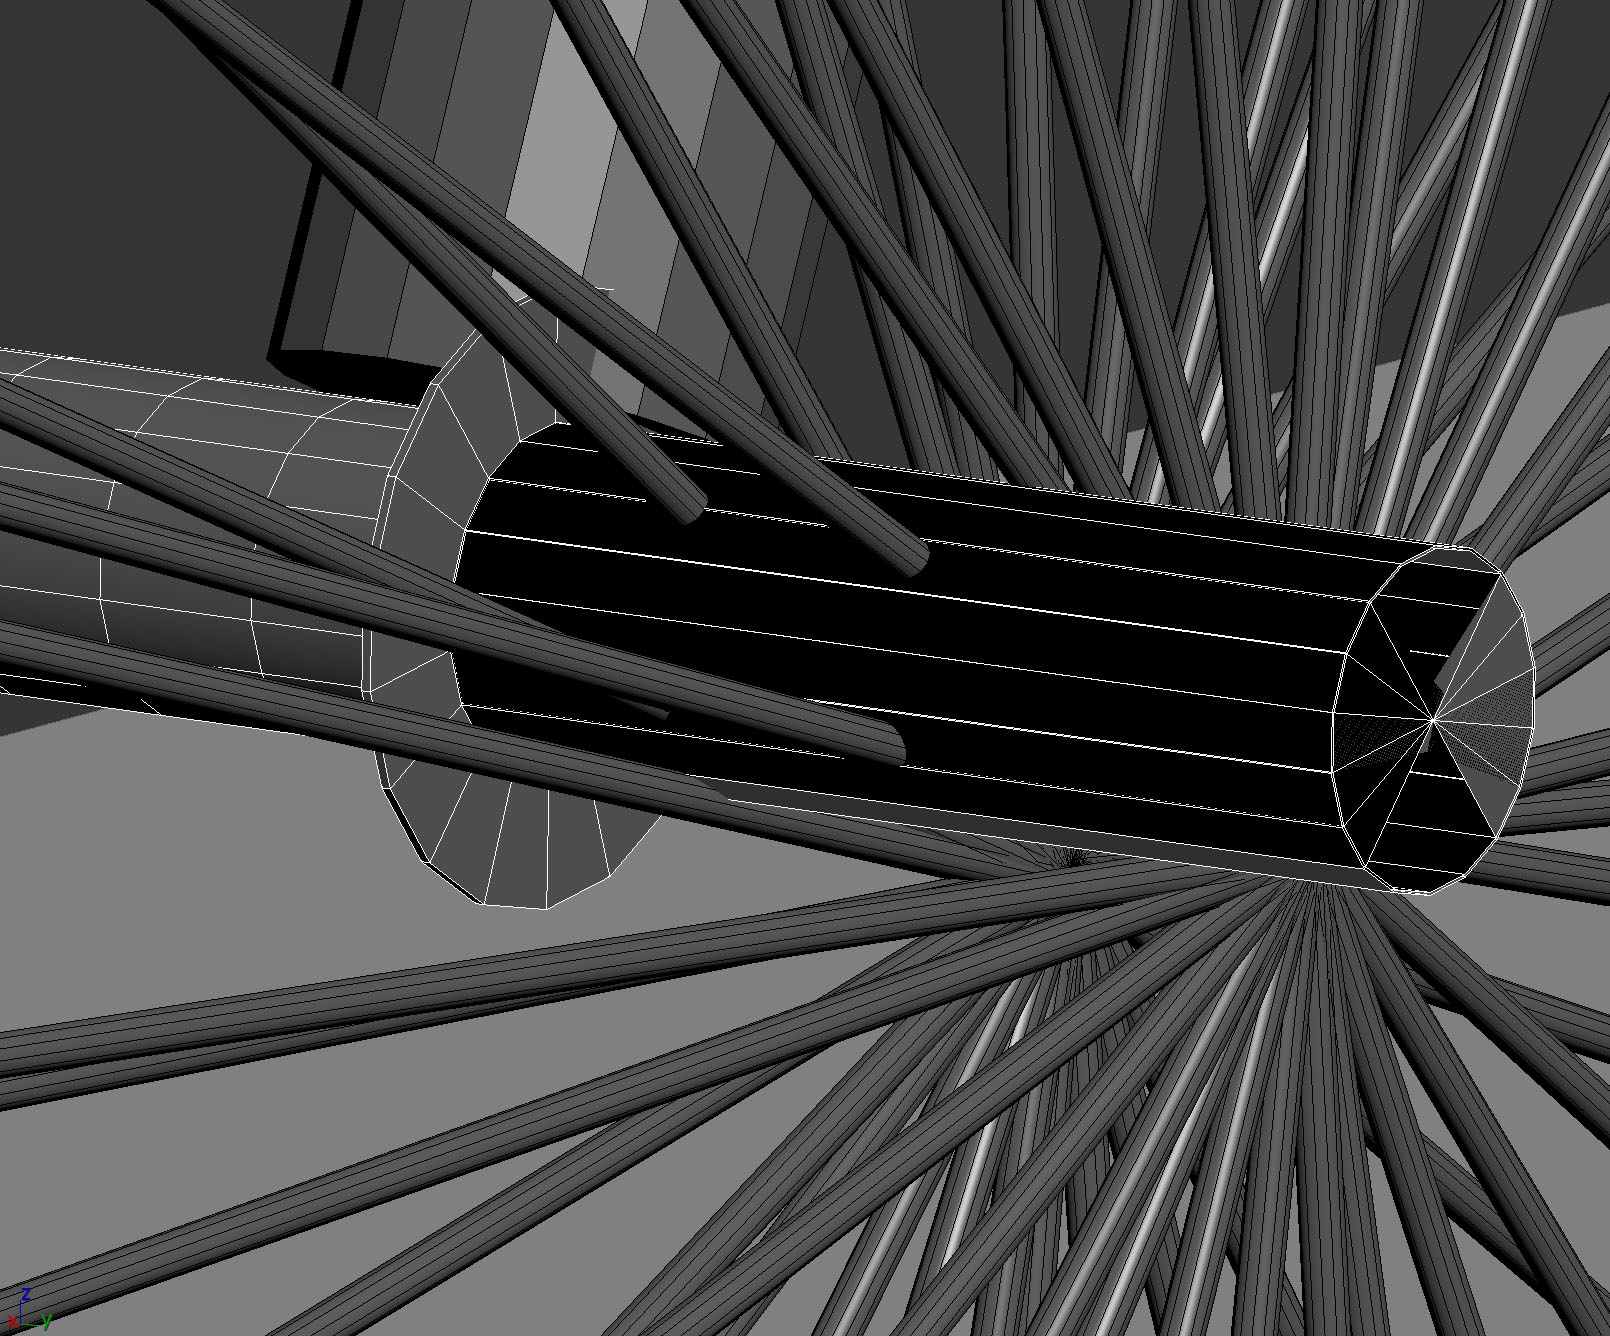
Here I ran into where the inside was showing so I had to flip my polygons.
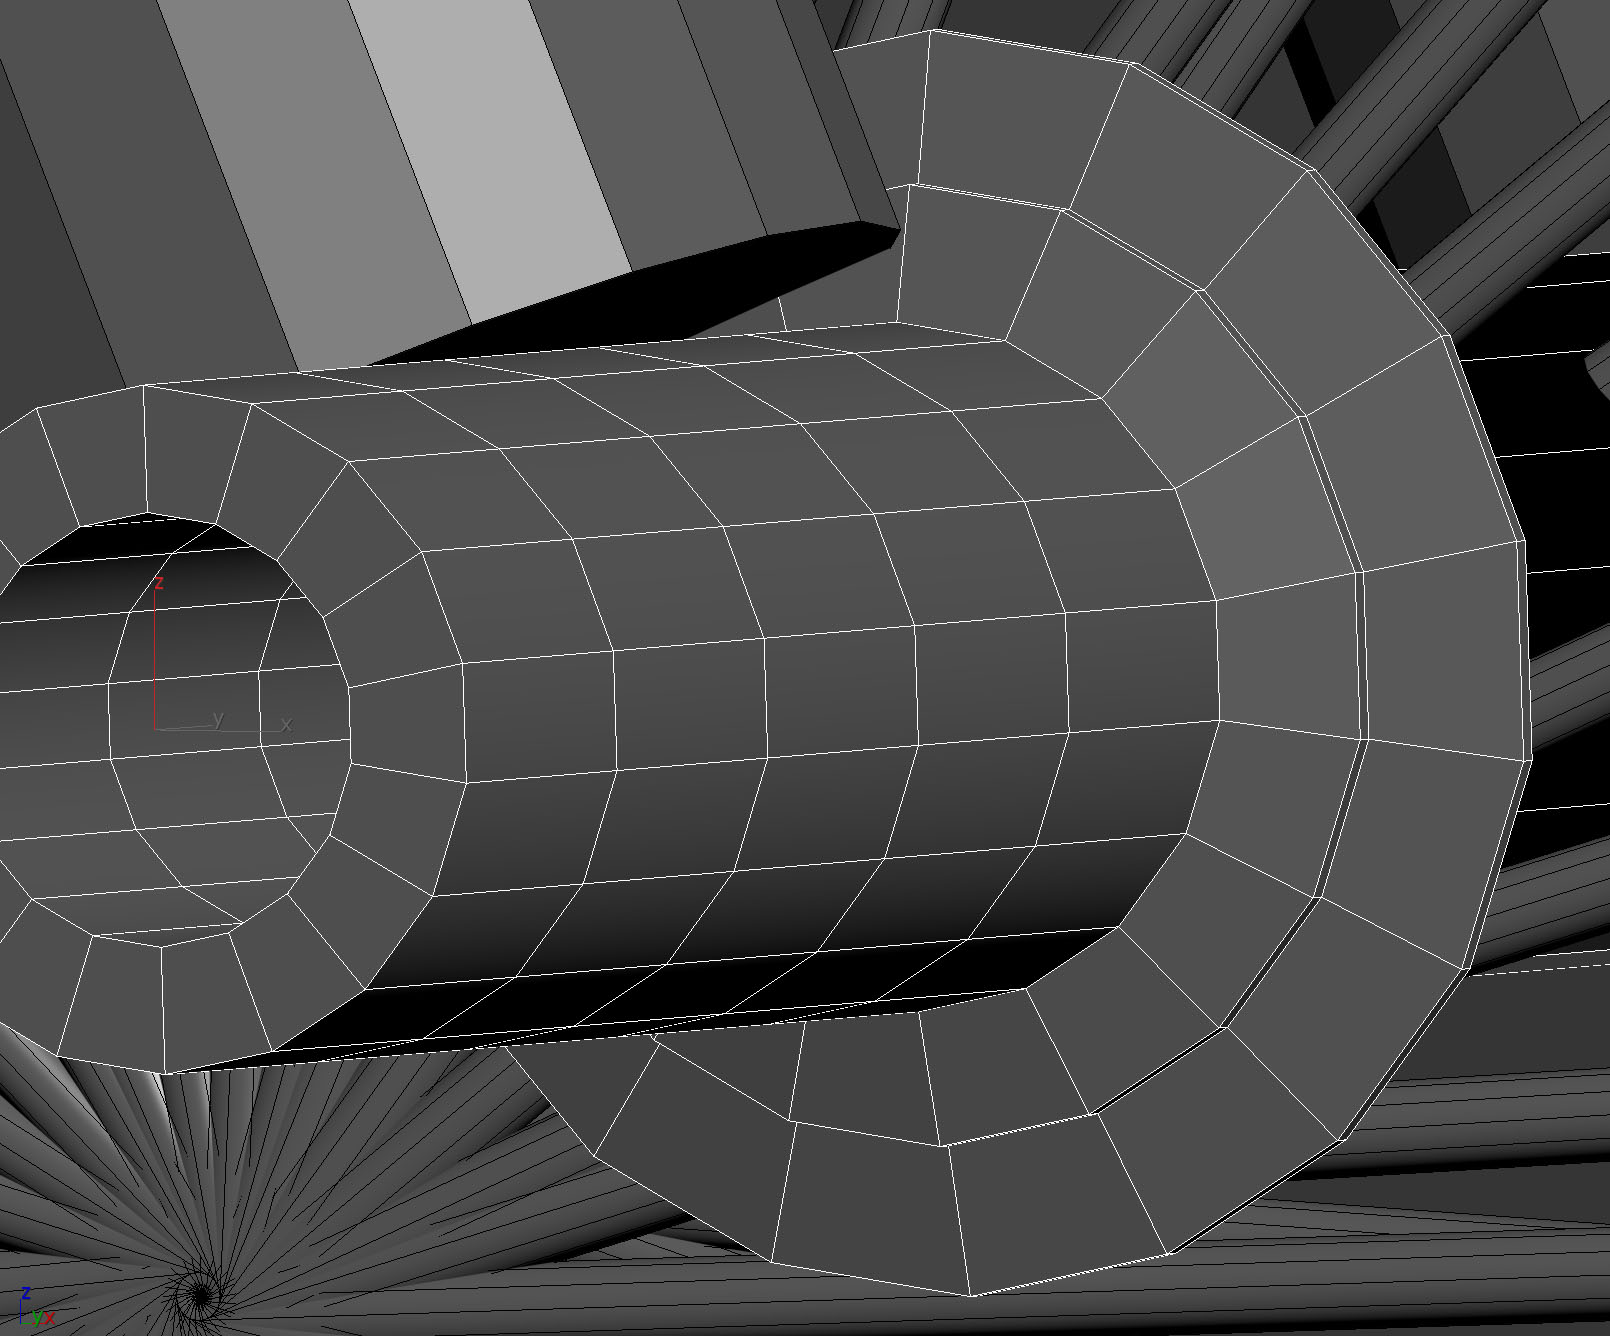
Next on the front of the middle tire I decided to look more at my reference where the wiring would hold and extruded the cylinder.
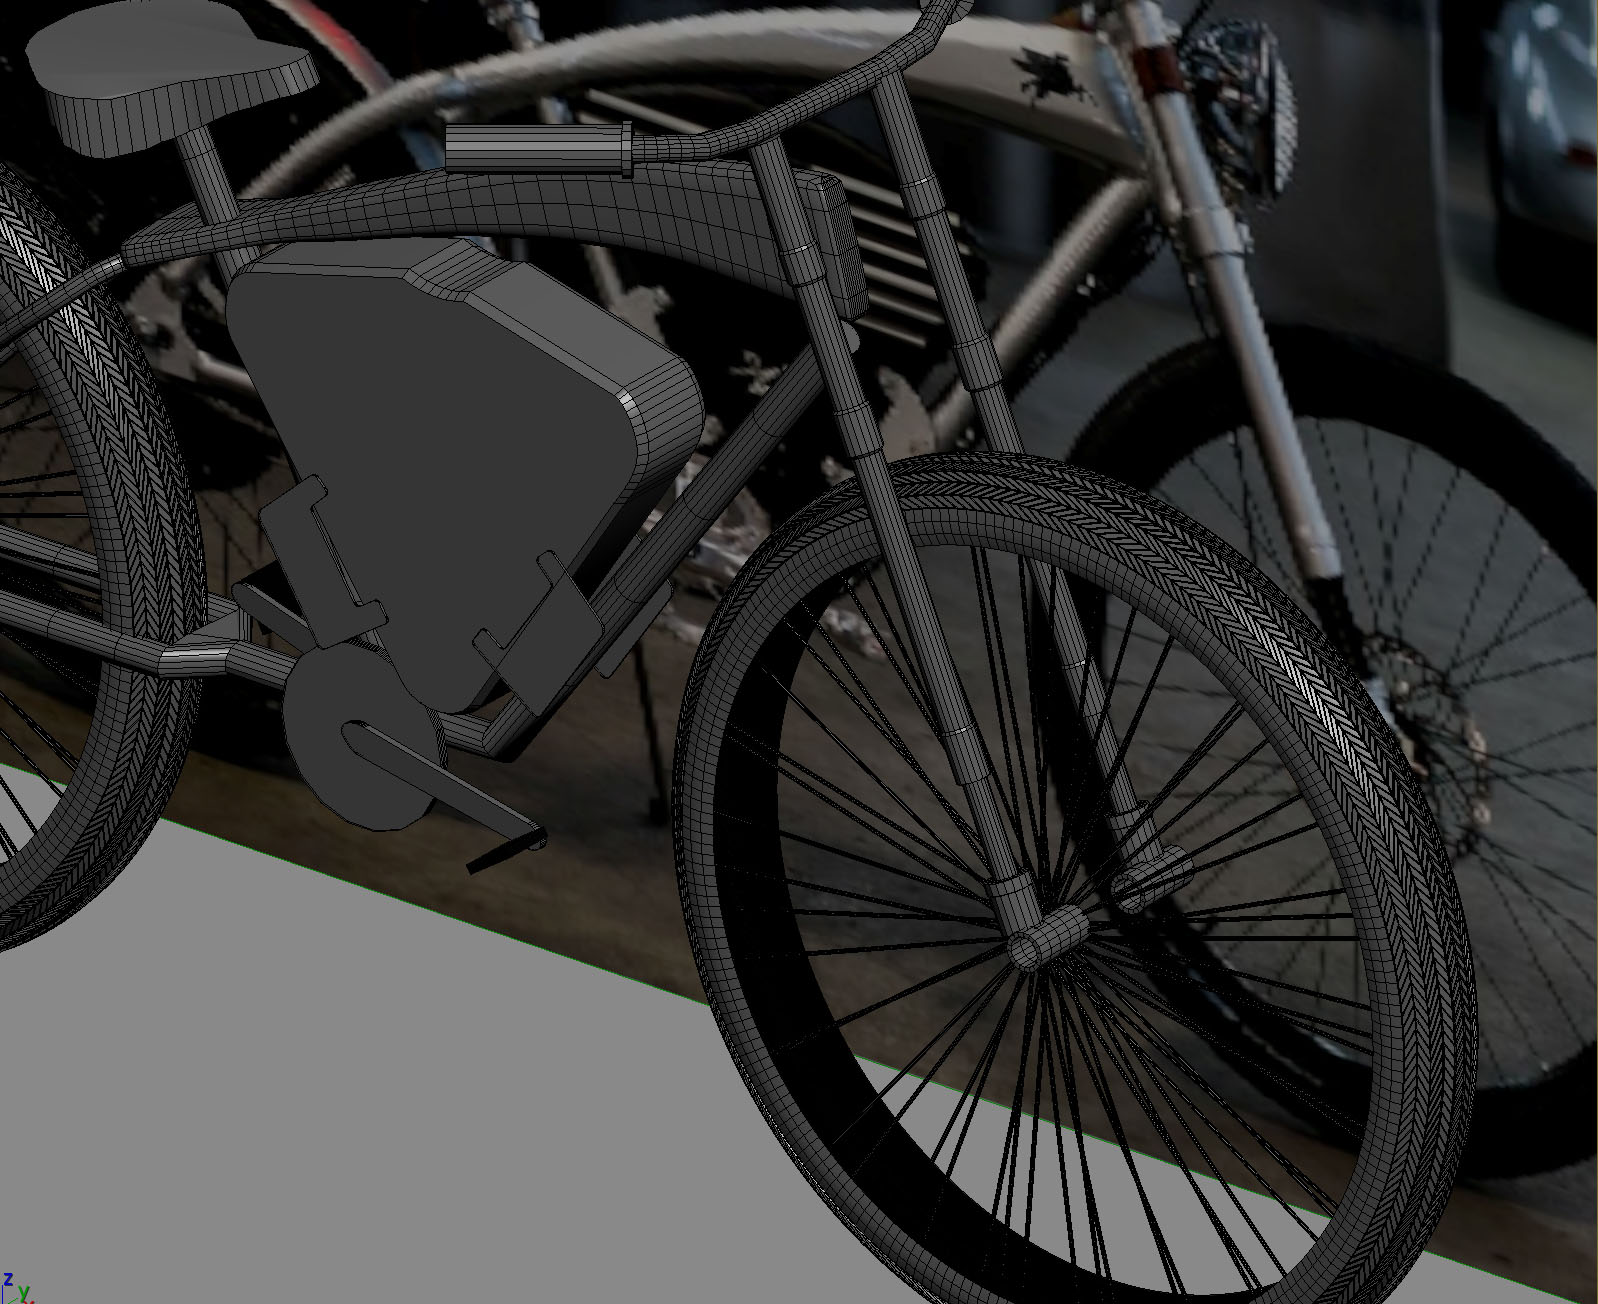
And After made a copy of it to the other side.
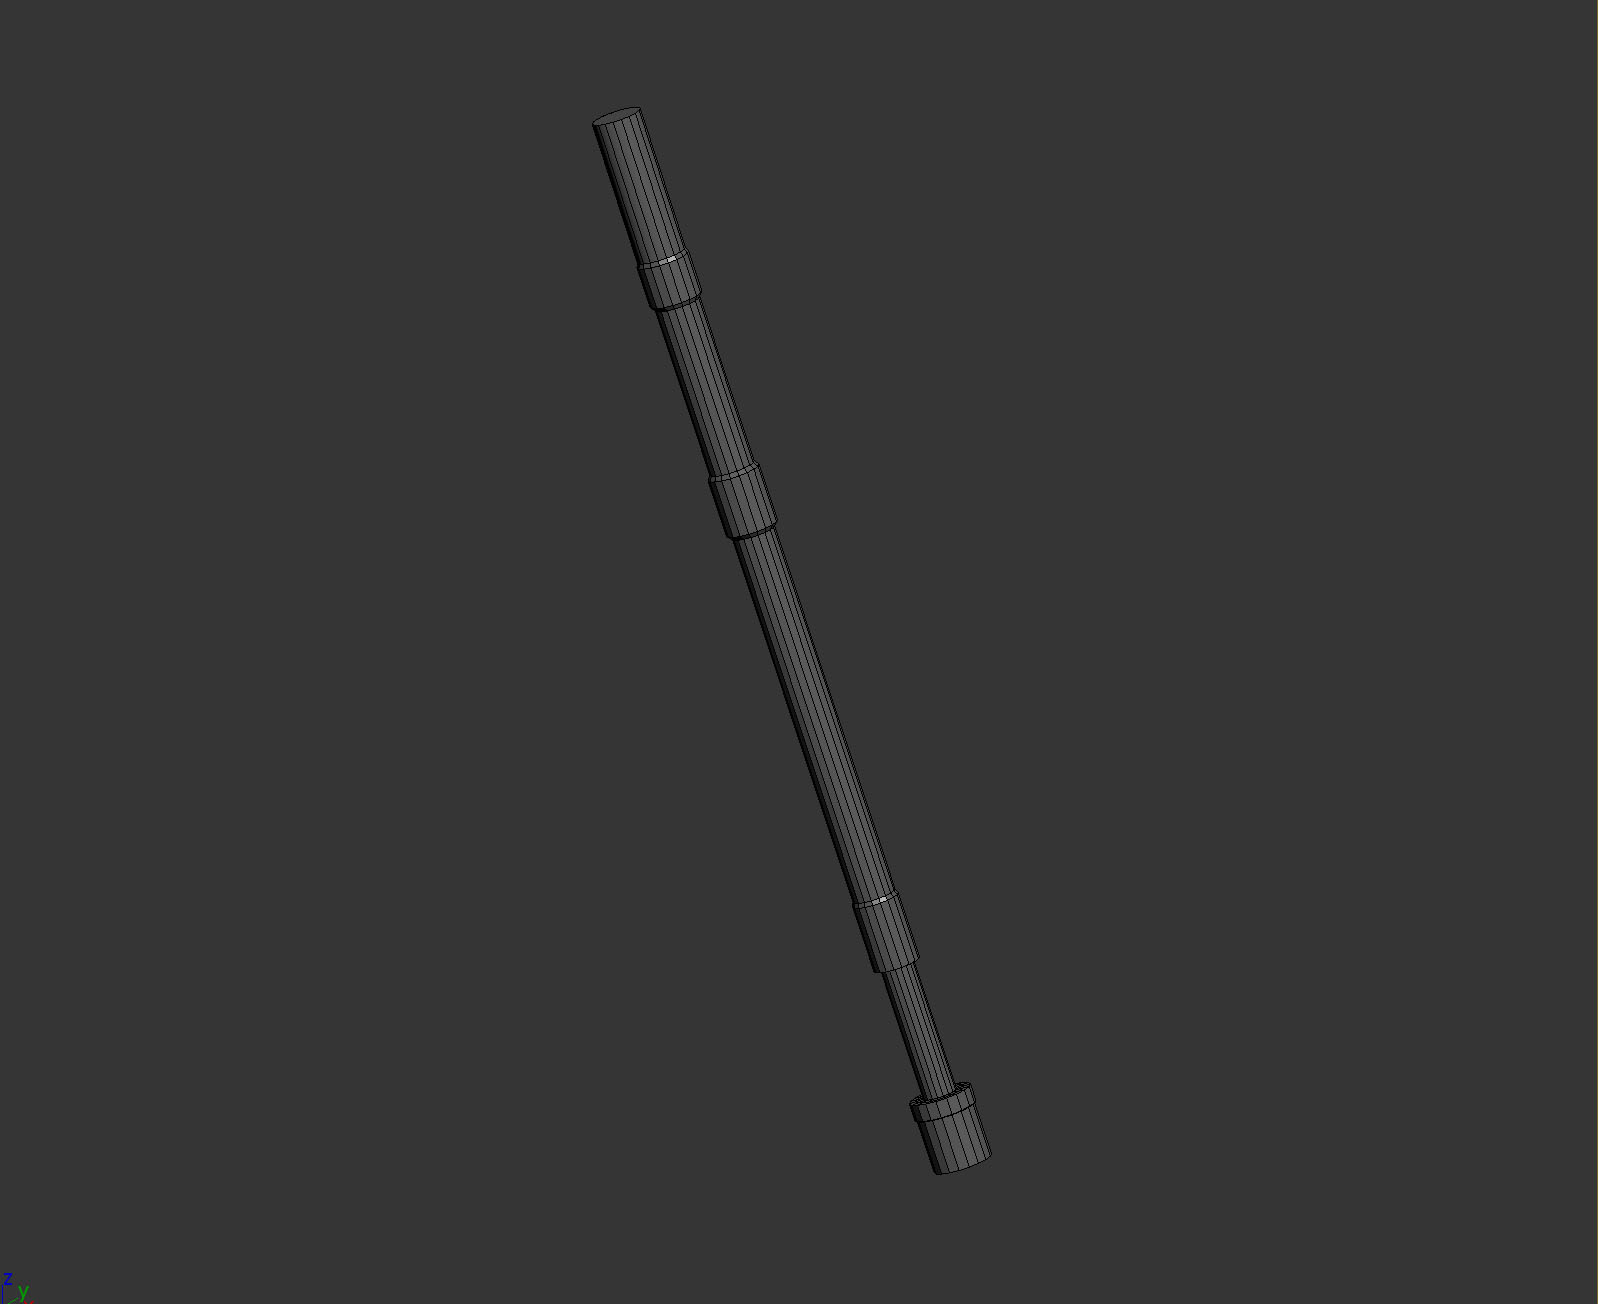
For the front tubes of the bicycle I decided to shape them better to my reference then just have them in blocks, just be simply having a cylinder and extruding, insetting and beveling it.
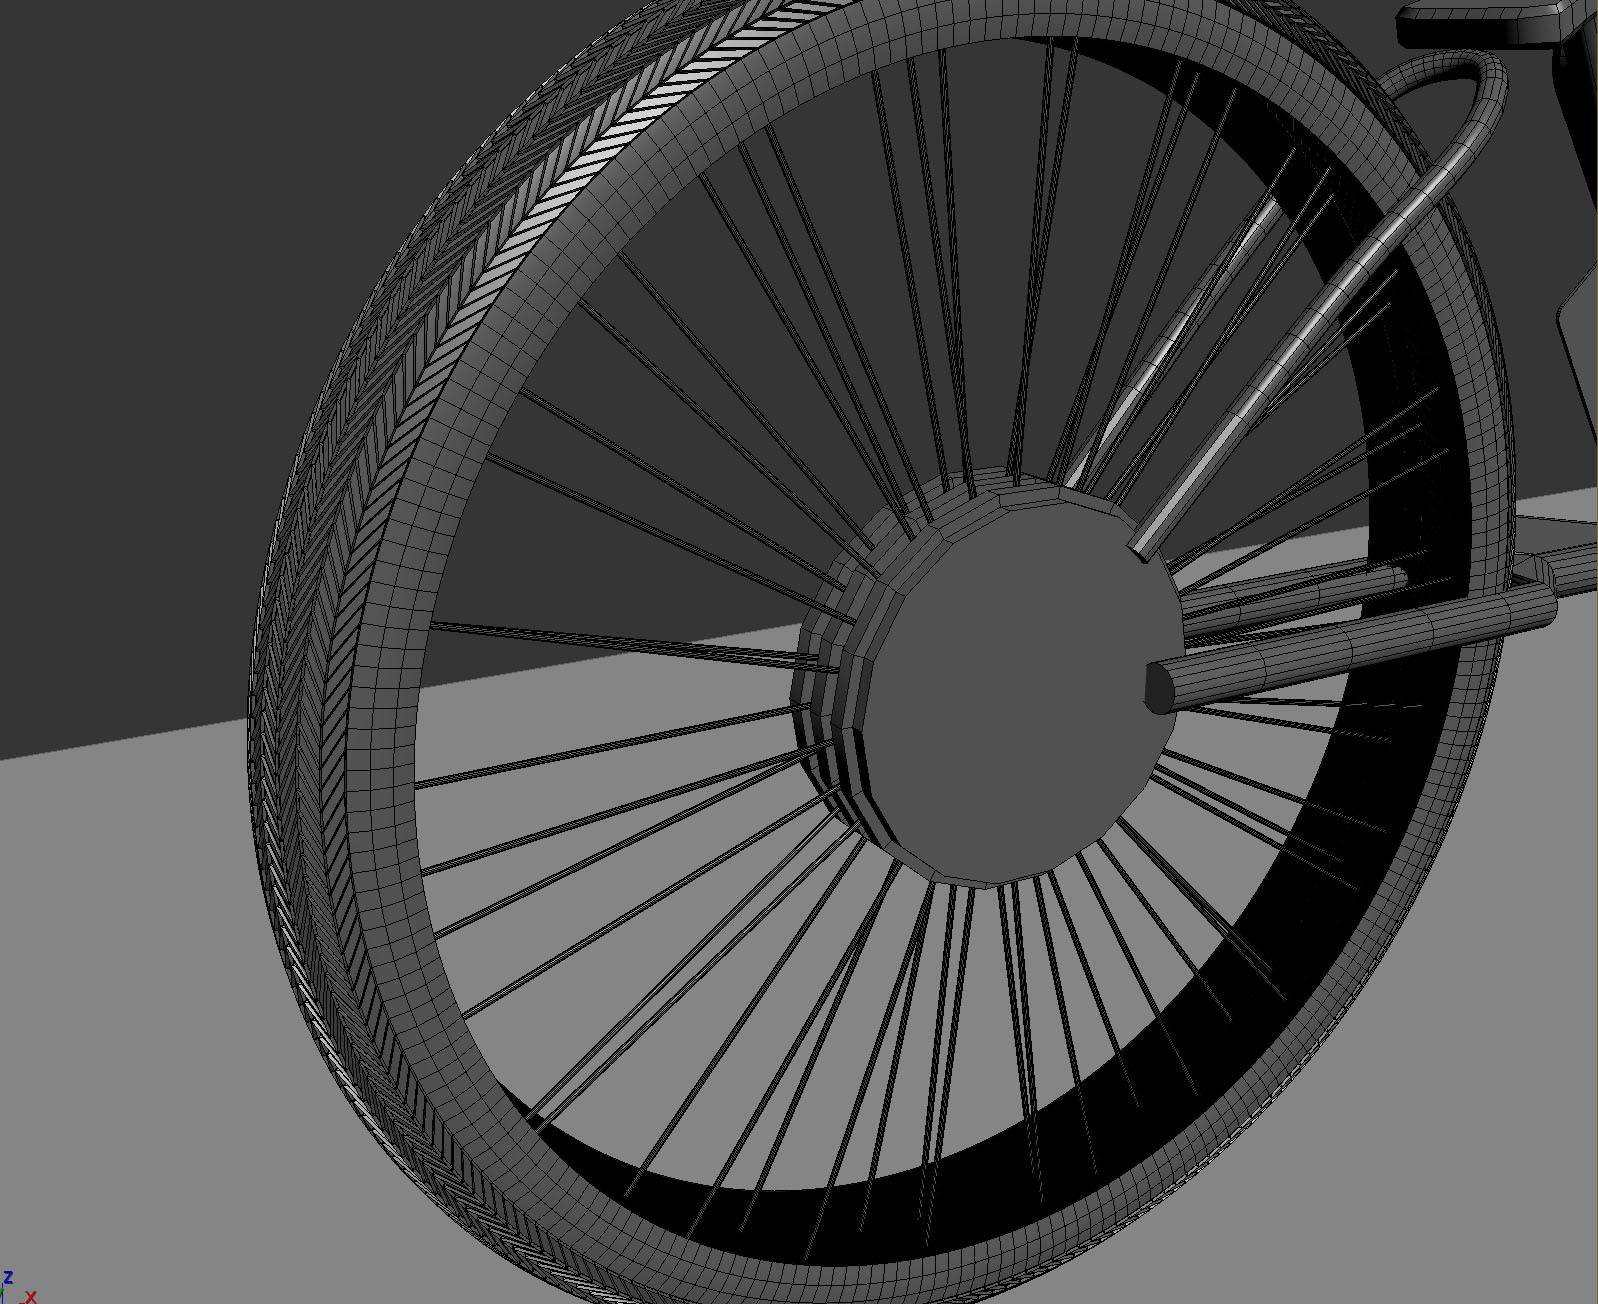
Then I just made copies of it and transferred them to the other side as well.
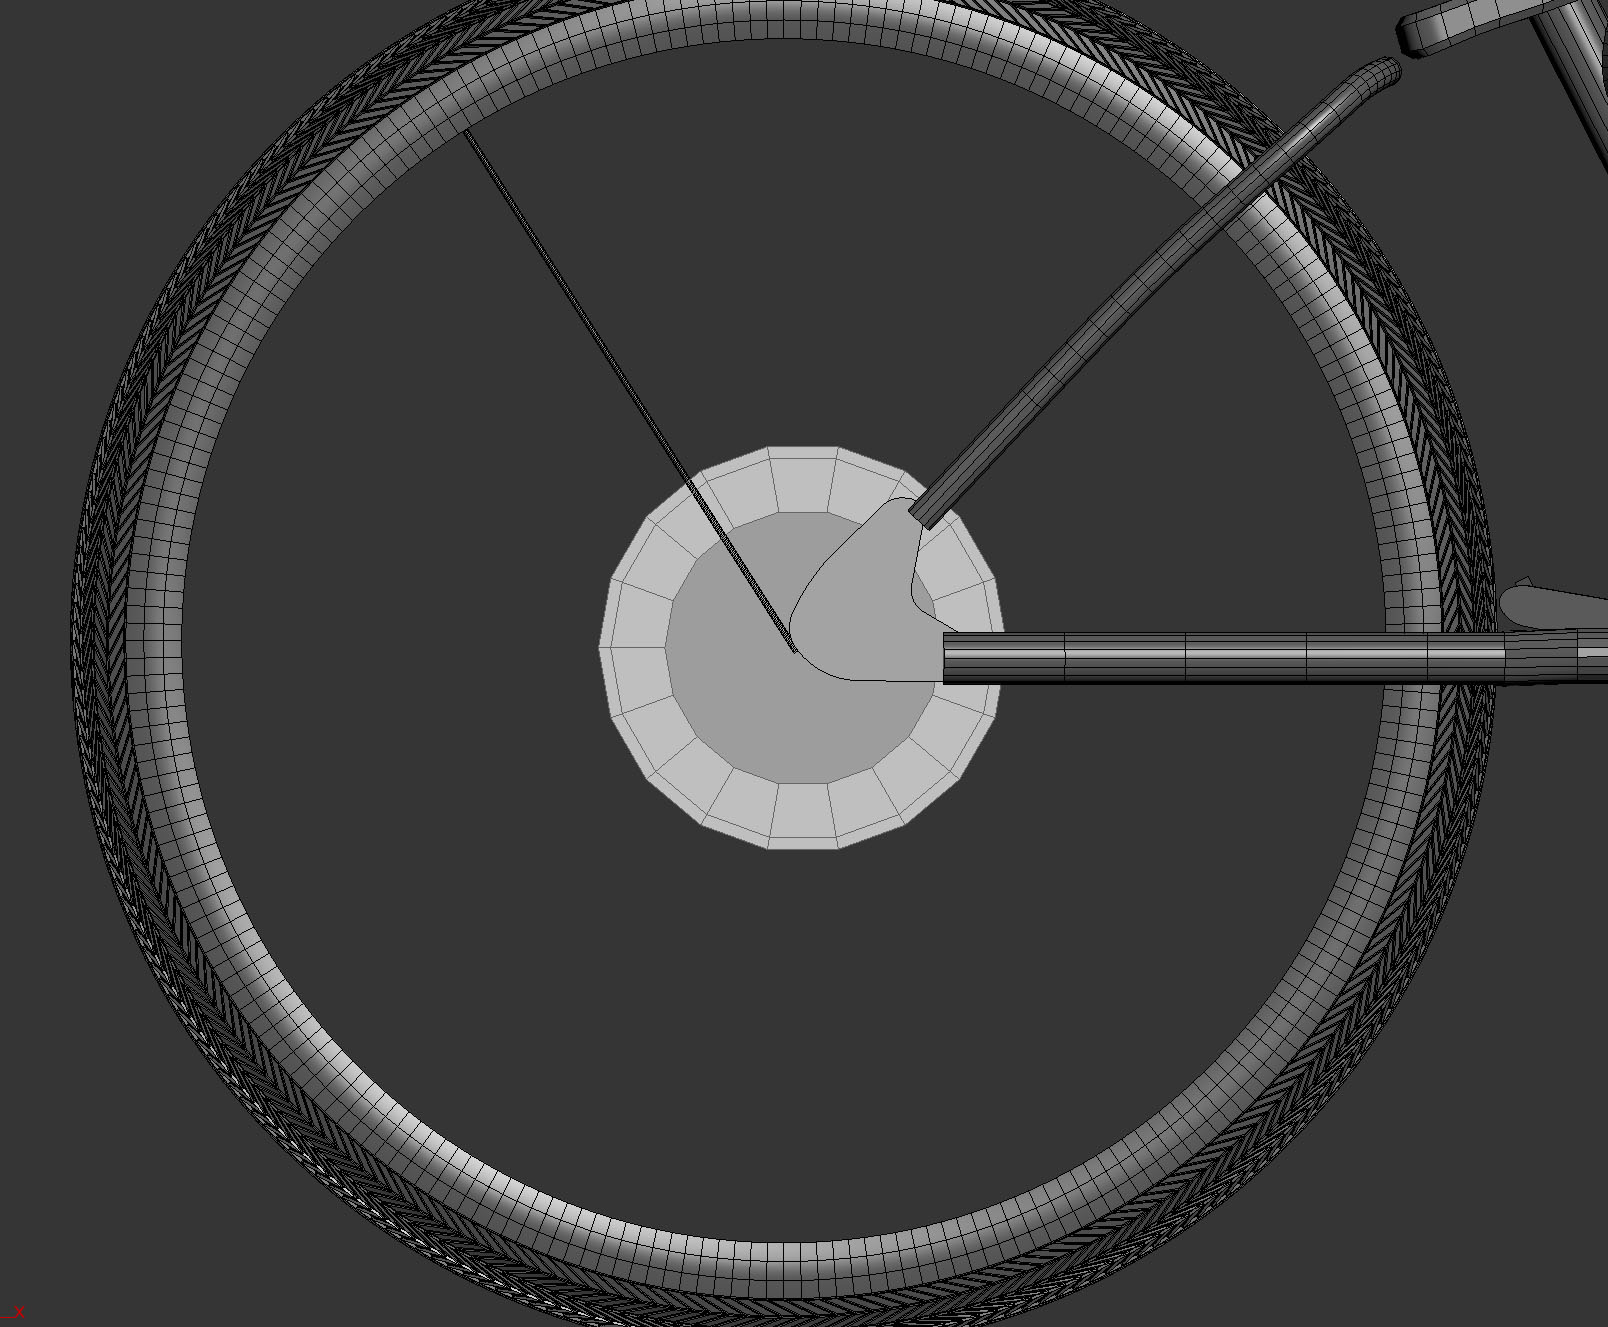
Next for the tire to just have some simple tubes I used the line modifier and gave it its 3D look of a tube.
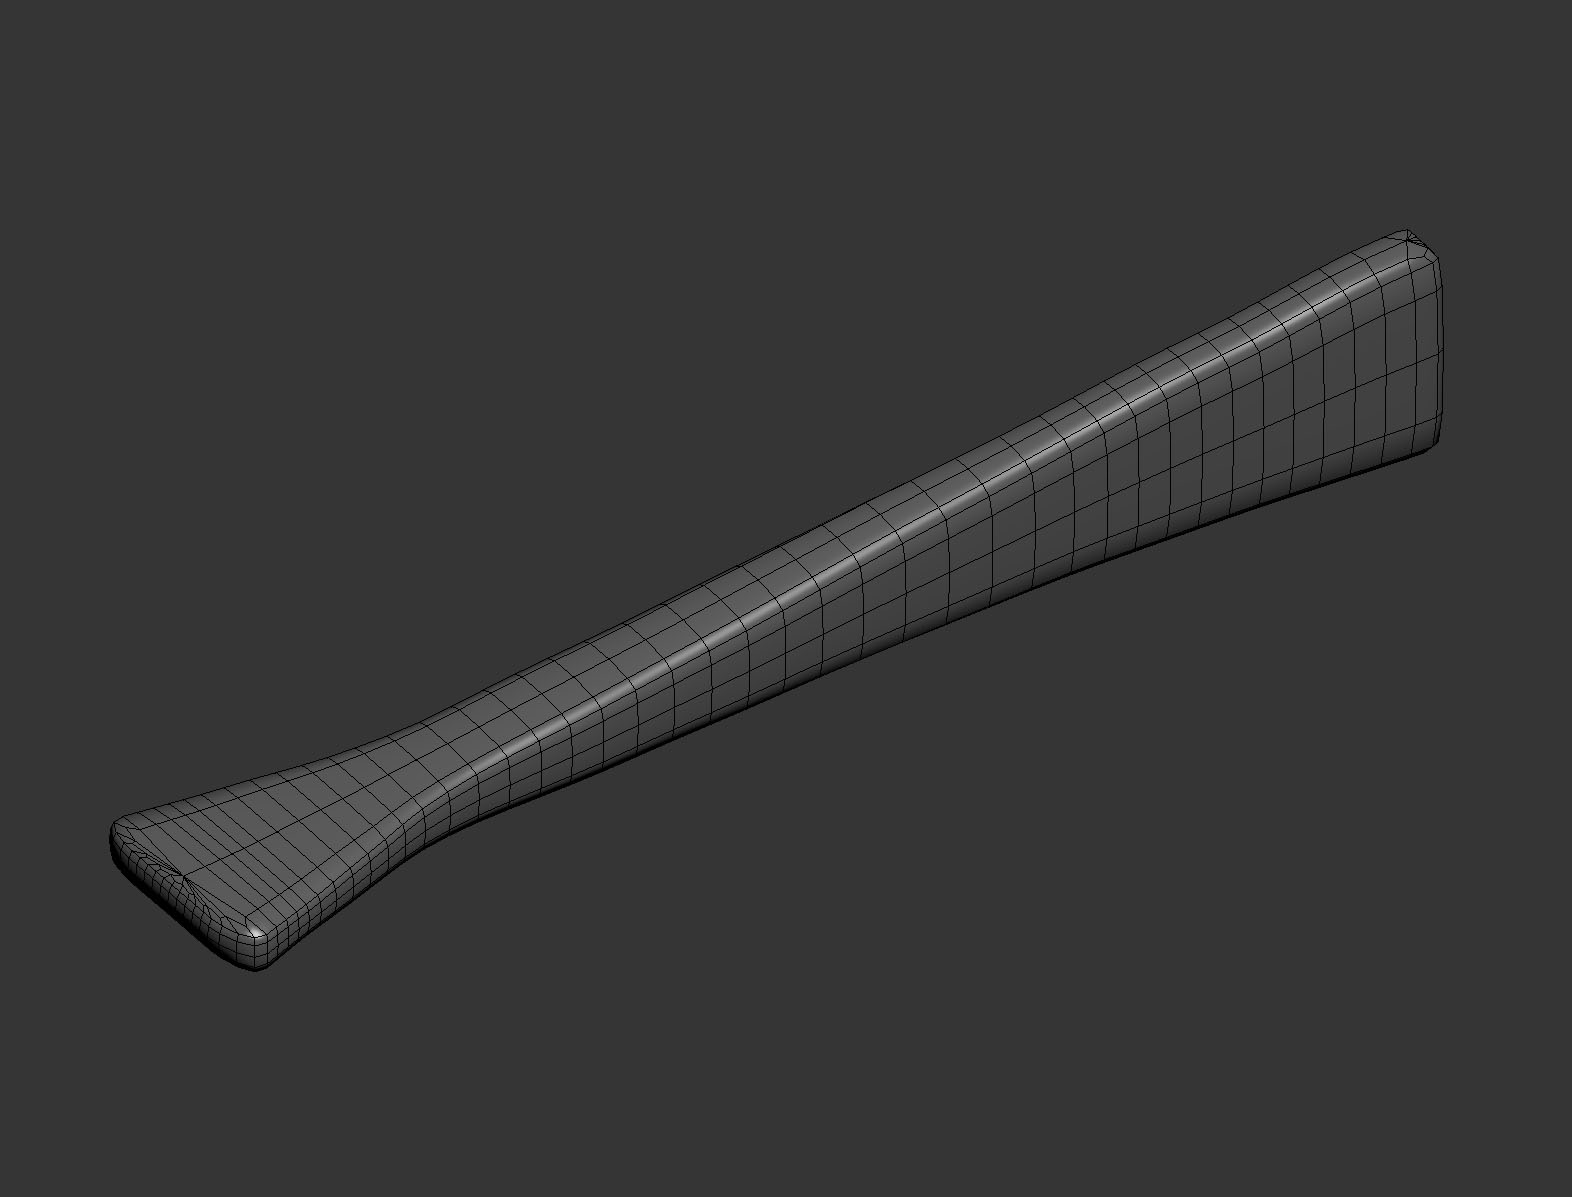
After I used the soft selection to pinch the vertices into the frames shape.
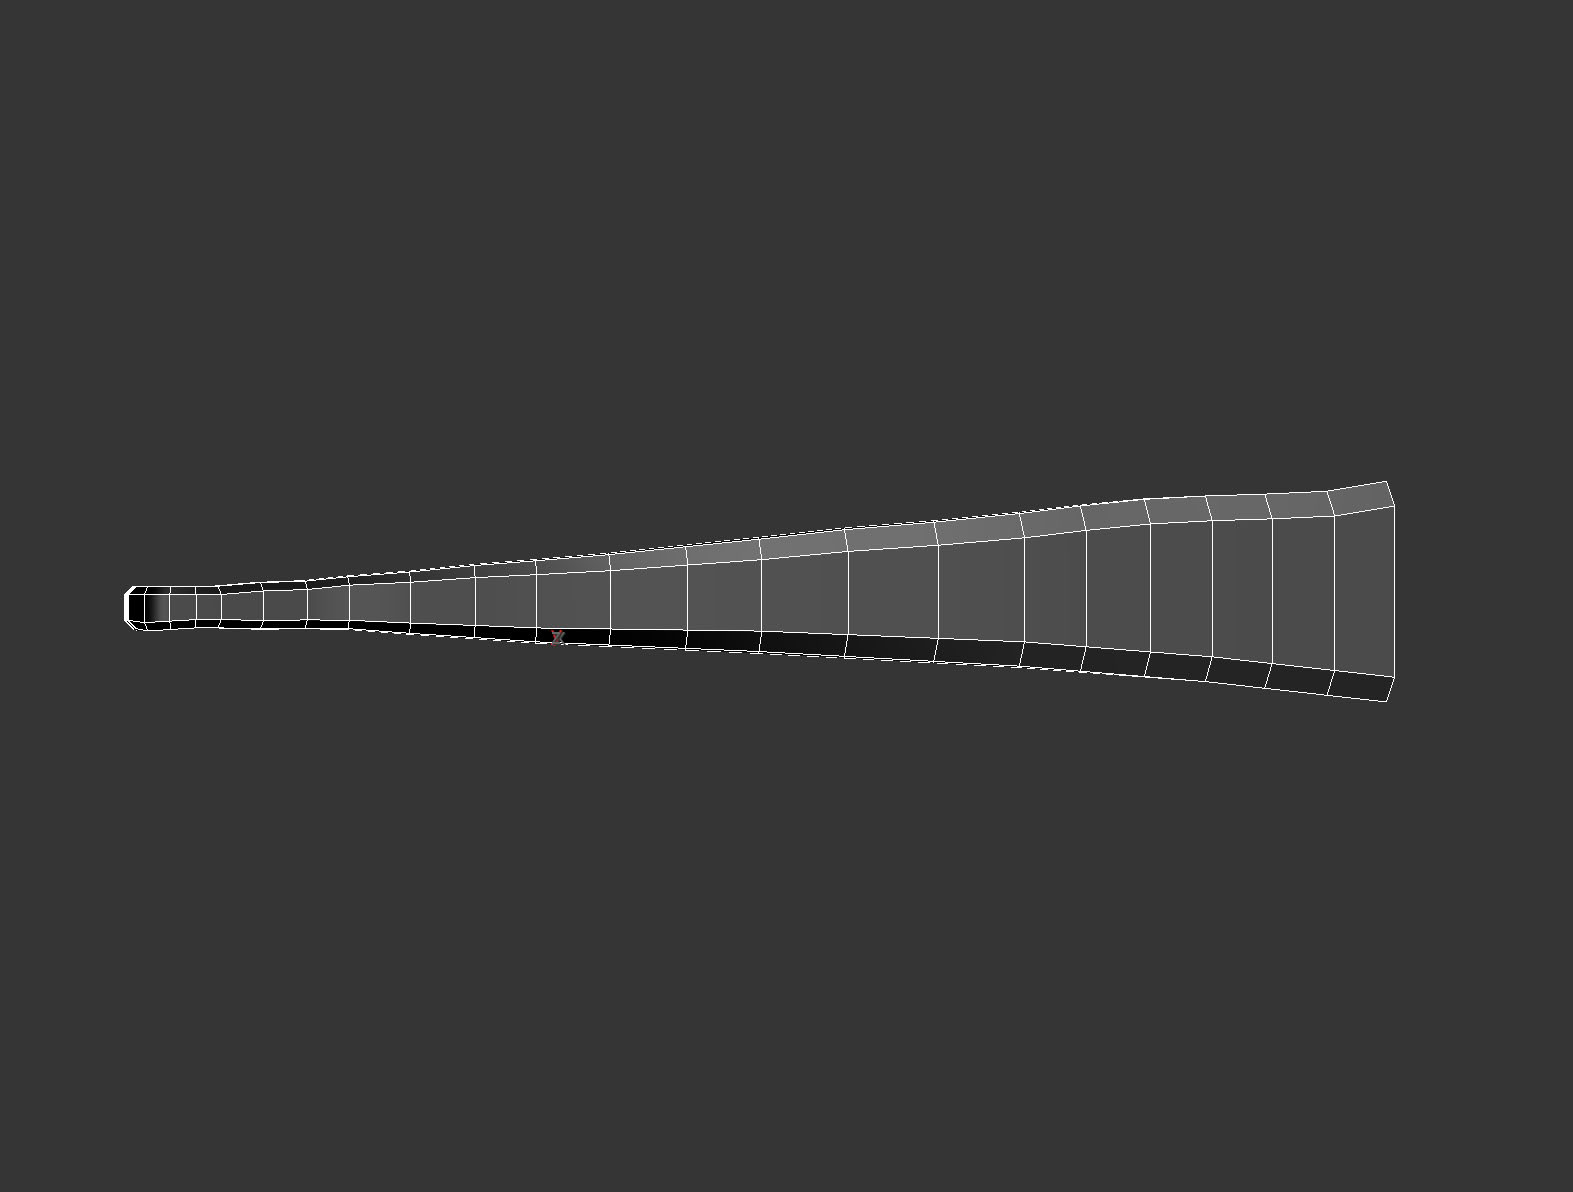
Then I converted it to an edible spline and put a bevel modifier to give it volume.
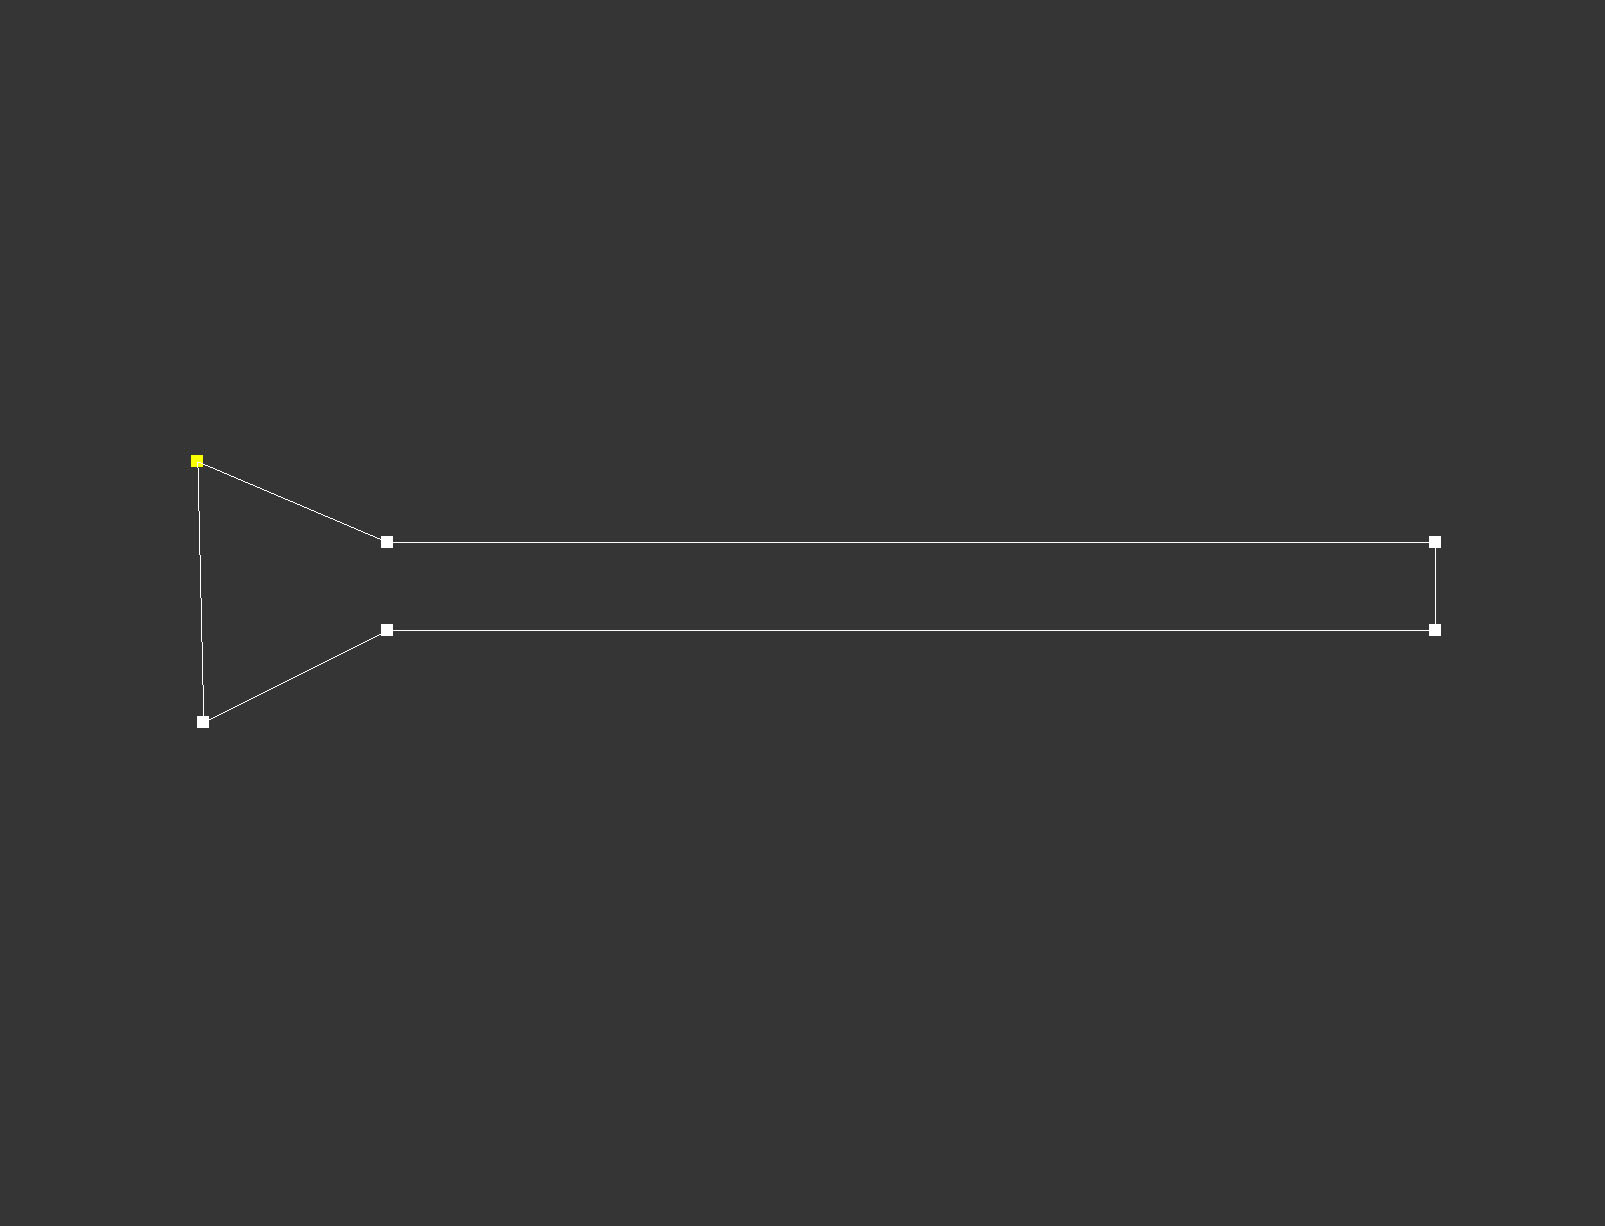
I started this week with the main frame on top of the bicycle. I used a line spline to get its basic shape.
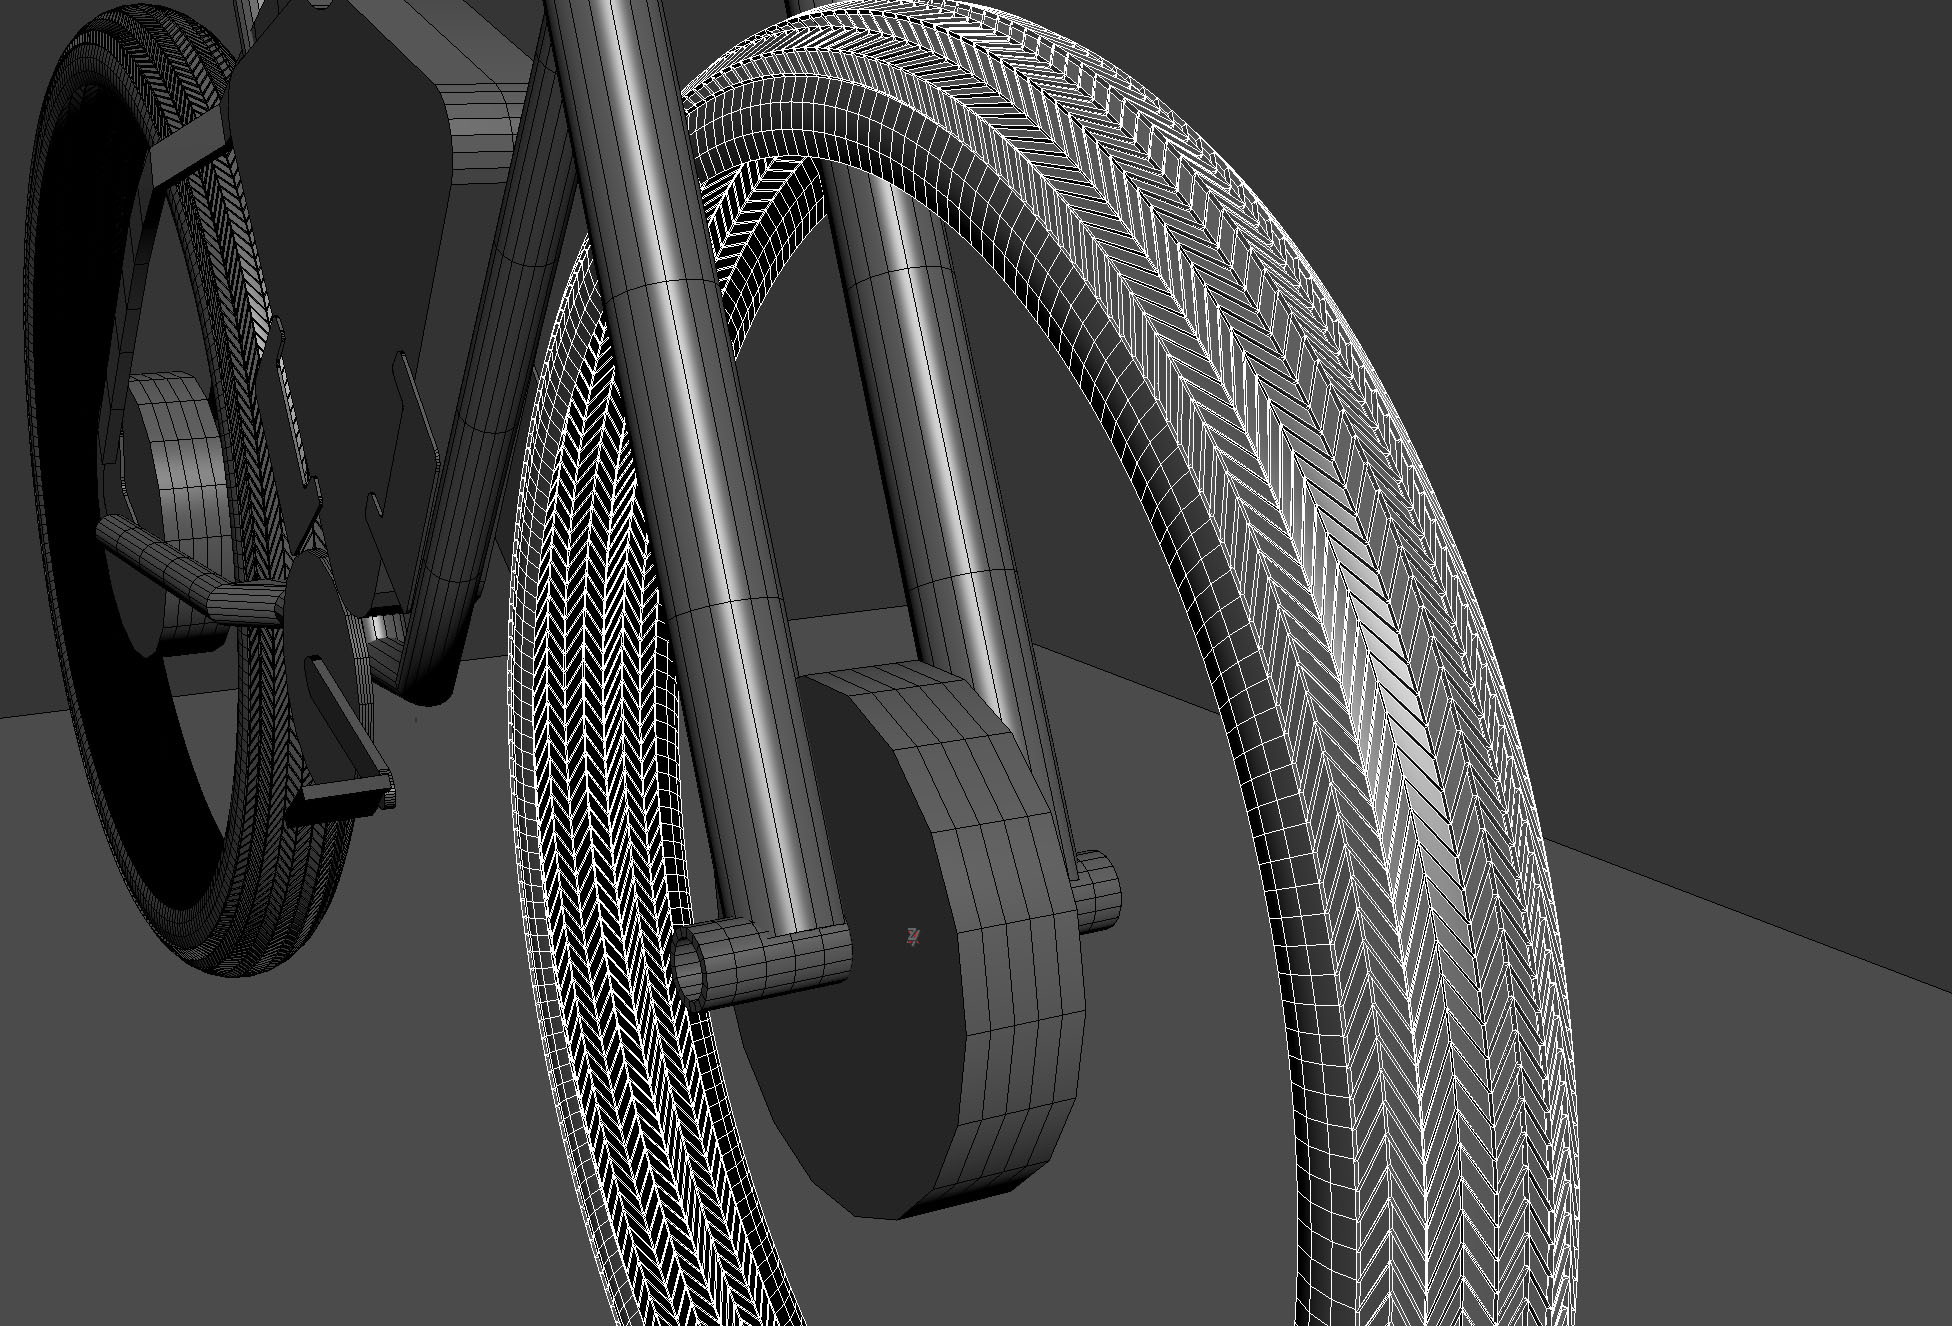
To give the tire a pattern, I simply moved around some edges and then gave it an extraction to get a feel a tire tread.
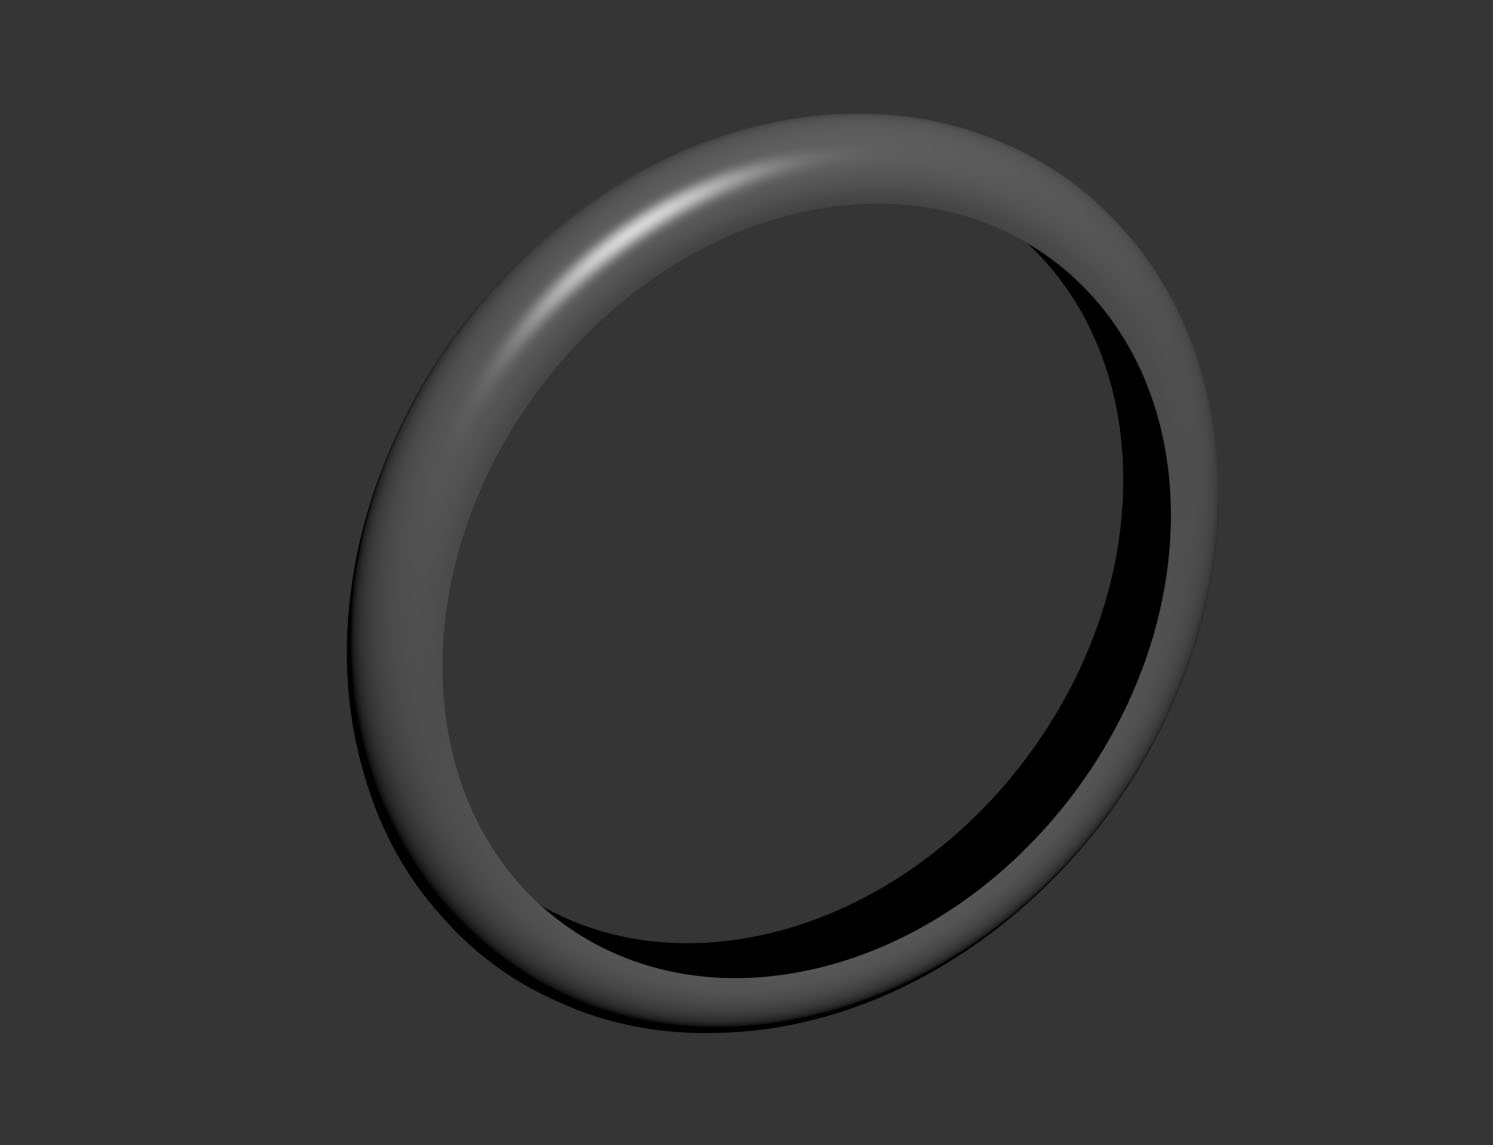
After I added an edit poly modifier and removed the middle unecessary polygons since a rim will go in between the tire.
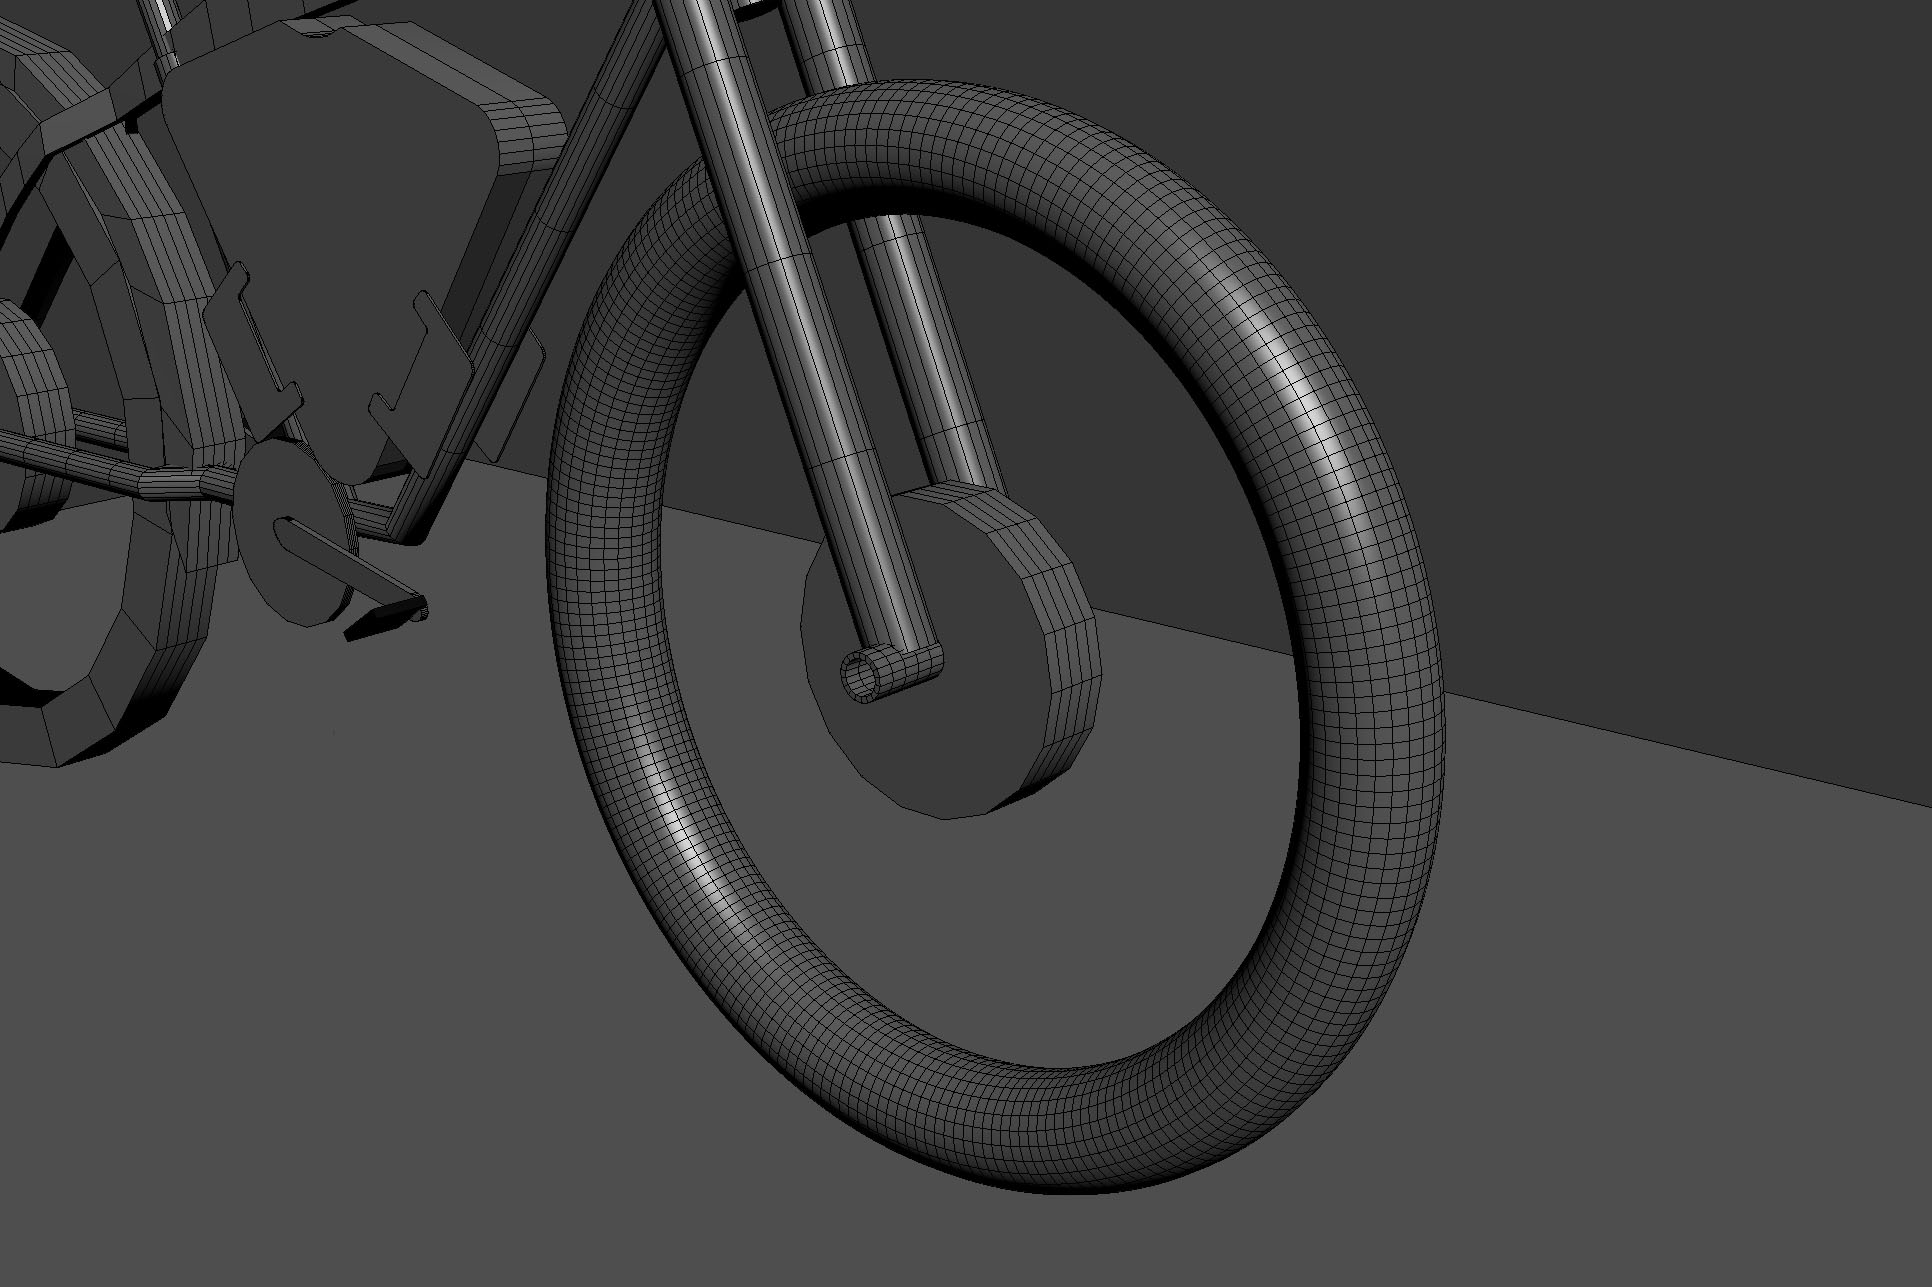
I started to shape out the tire in a better way. I used a circle spline and gave it some thickness and gave it 26 sides and 60 steps.
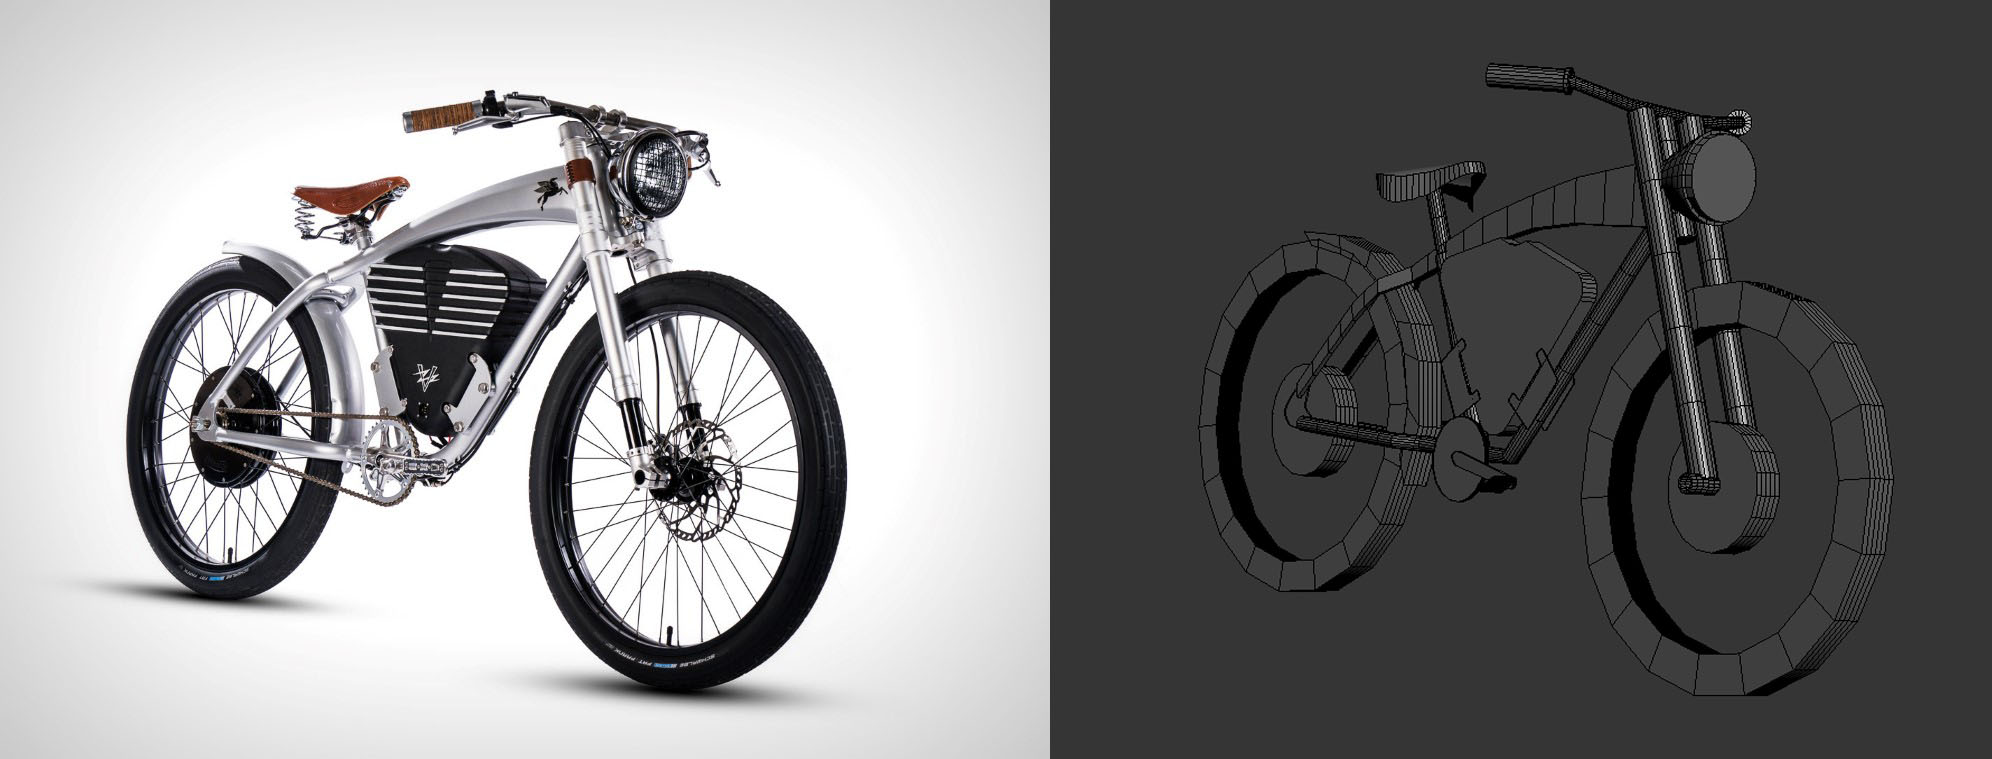
The first issues I am able to detect in the reference is
1. I did boxes instead of blocking.
2. Bicycle wasn't on perspective therefore I wasn't able to identify it's real issues.
3. The battery that goes inbetween the bycicle is not to its correct thickness.
4. Handles are pointing upwards.
5. Seat is way to high.
Orthographic Block Out
Side Block Out
The Handle was made of a simple cylinder just extruding and and using the inset tool. Same technique was apply to the a cone for the Head Light.
Making the back metal piece was really simply, I just duplicated the back wheel and deleted unwanted polygons and after i just gave it its shape by moving the vertices into my reference.
I went ahead and took out the middle of the wheels as I would have to build the rims and tubings in between anyways. After, I just aligned all the pieces together and will continue on forward with the blocking.
Running across the seat I had to do a little thinking but used the same method as the battery, The spline Line tool. I simply got bicycle seat reference shape from a top view and fillet the corners for the edges. I aligned the vertices to my photo refernece in the plane and to match it in equal sides I split the seat, deleted the unwanted left polygons and mirror it to the right to then attached them and weld the vertices together.
As I got towardads the back wheel I needed to figure out a fast and simple way of making the fork that attaches to the back rim so I made two seperate cylinders and attached them to the tubing to connect the vertices. With that fork finished I moved on to making a tube for the seat and made and inset and extrude at the top of the seat were the tubing for the seat will connect. For the making of the electric battery I used the spline technique drawing lines to get its basic triangular shape and then used a fillet in the corners to give it its round edges. I soon converted that into an edible poly and gave it a shell modifier for volume.
As I was making the Bottom Tube of the Frame I improvised a little in the freeform menu Shift button to bend the tube and then extrude the remaining of the bottom tube.
Then I had to make the other side equivalent so I had to converted into an edible poly and use a swift loop to split it down the middle. I erased the left side of it and used a mirror to its Z axis.
After, I started to work on the Frame of the bicyle and for the top I used a plane to get its general shape and once that was done i inserted a shell modifier to give it volume.
I began by finding a side image of my model so I could get accurate distance and proportions for the bicycle. I used a plane to add the image to it as a bitmap and created the wheel and the fork of the bicycle (front) out of basic shapes using a cylinder.
I made a schedule on what I will be working through out the class of 11 weeks.
Week 1: research
Week 2: Block Out
Week 3: Modeling Red
Week 4: Modeling Blue
Week 5: Modeling Green
Week 6-10: Details
The Vintage Electric Bicycle was choosen as my model.
To start this project I started by researching 10 bicycles in pinterest that got my attention. I needed as much information for the bicycle to model, so all these images have links to the website of their product for additional side and details.