Grenade
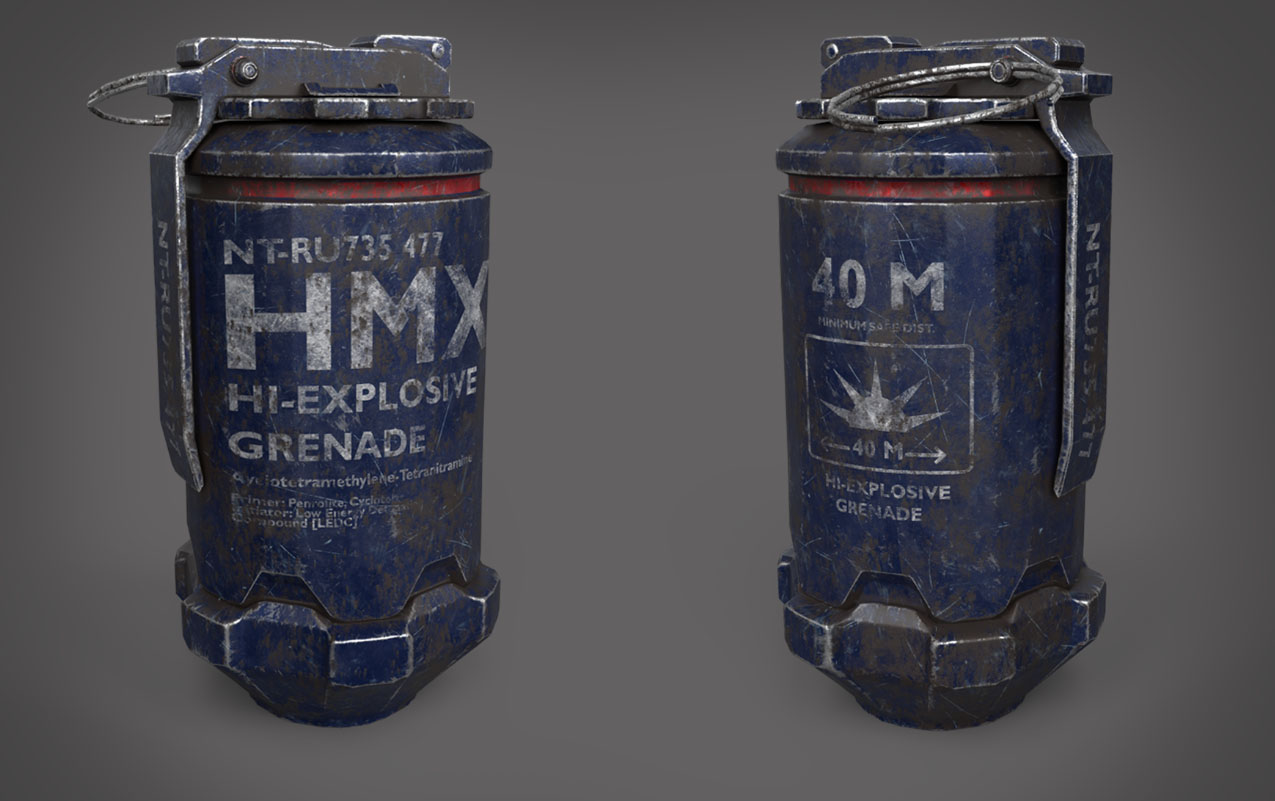

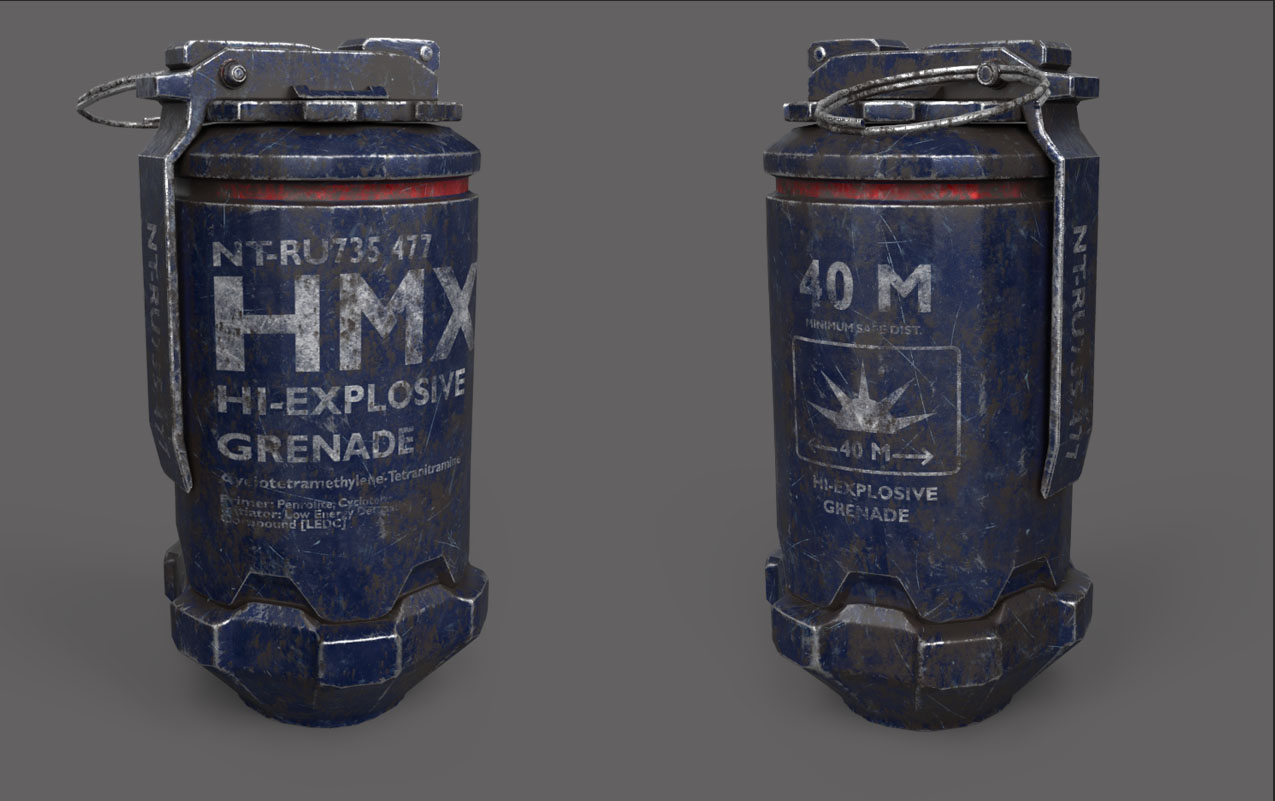
To get the final look I just adjusted and brighten the image As well as added a vintage to the sides. With that Grenade Model is done.
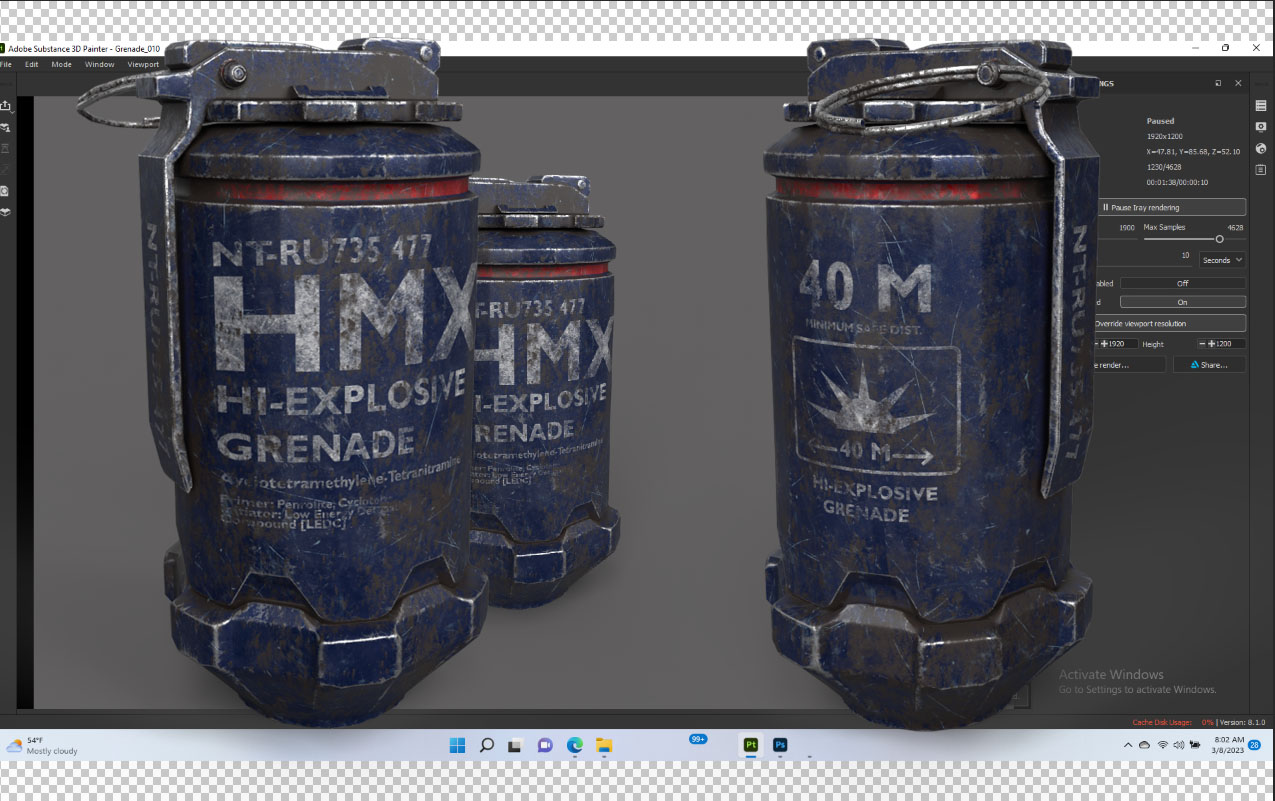
Once they were both in position I need the to get the background from the original render. I took a screenshot brought it intro photoshop and then with the eyedropper tool I selected the gray area and then filled with the paint bucket tool.
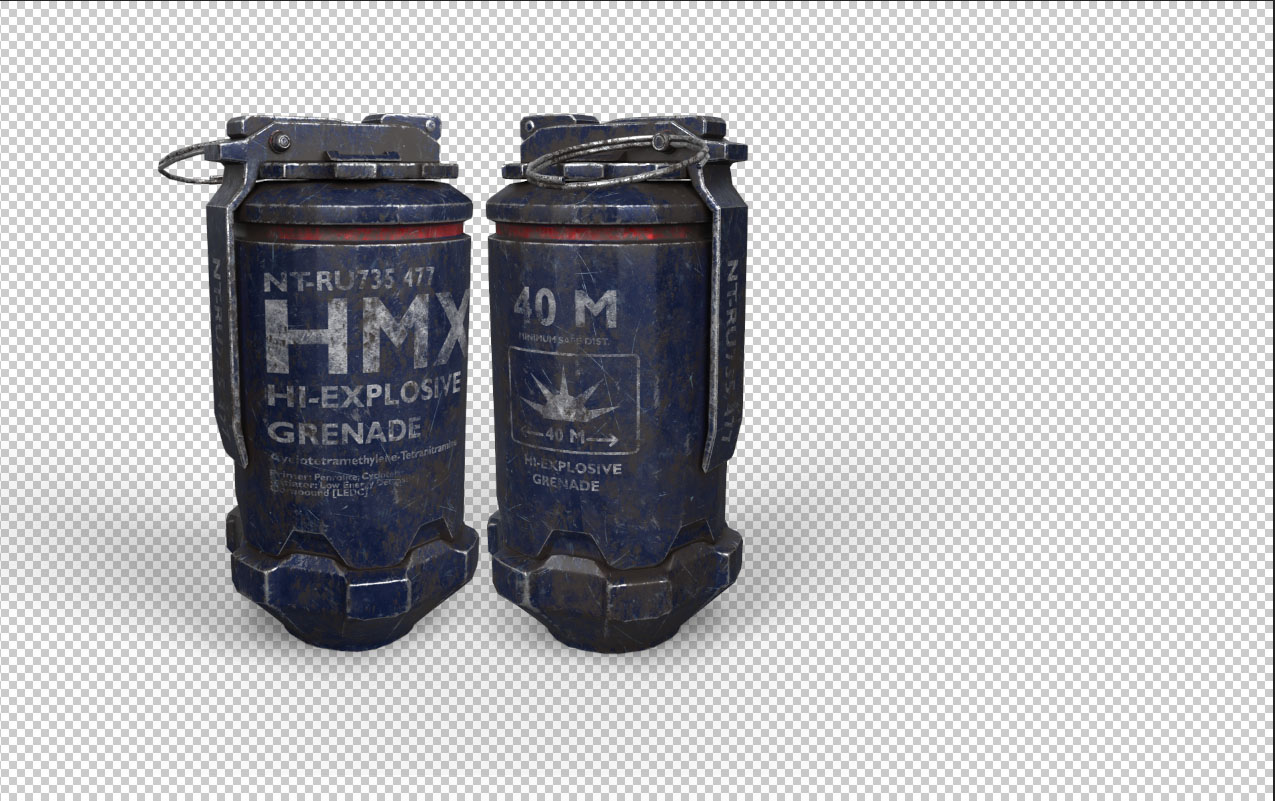
Once Rendered on both sides I saved them as a PNG and brought them together into Photoshop to get it Portfolio ready.
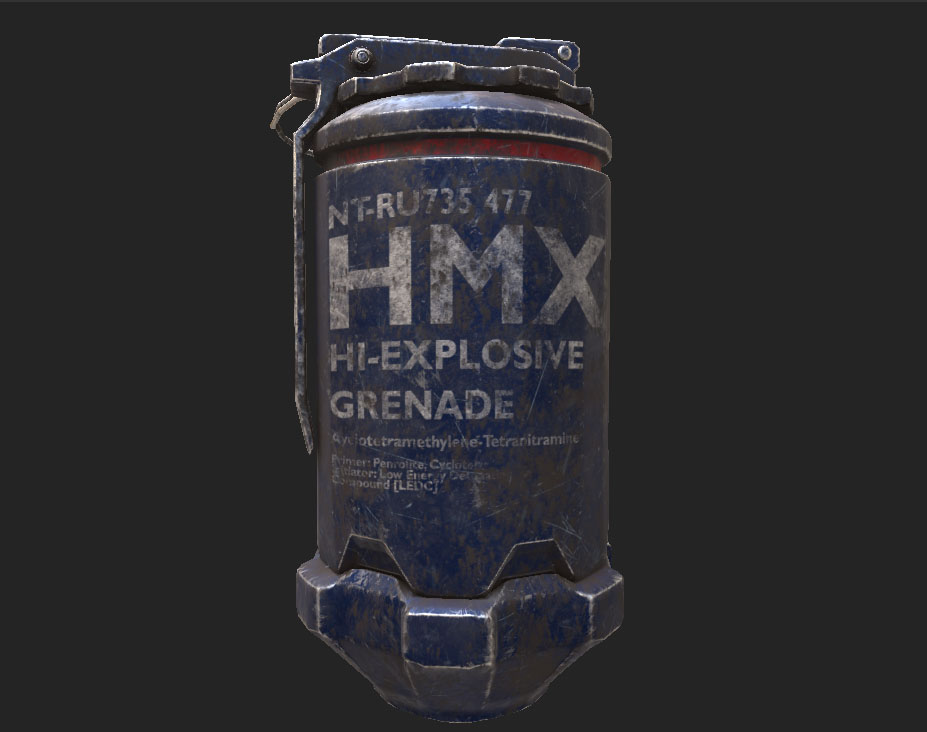
With that the model was done and it was now time to render the Grenade.
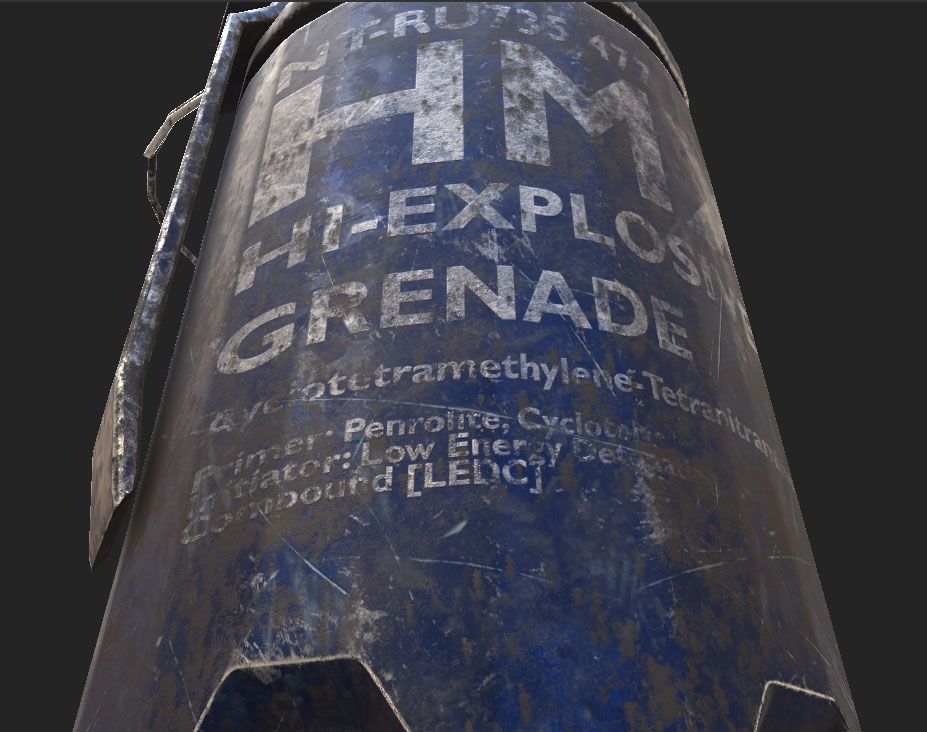
Closer look to the Sculpt details.
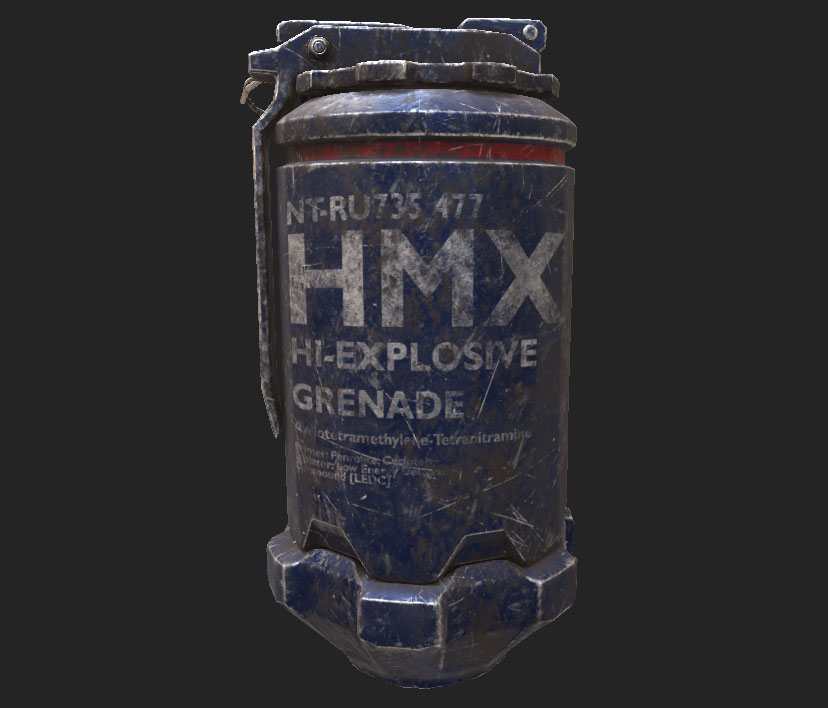
I played with the Grundge Scratches Rough settings for scratches not to be overpowered to get the result above.
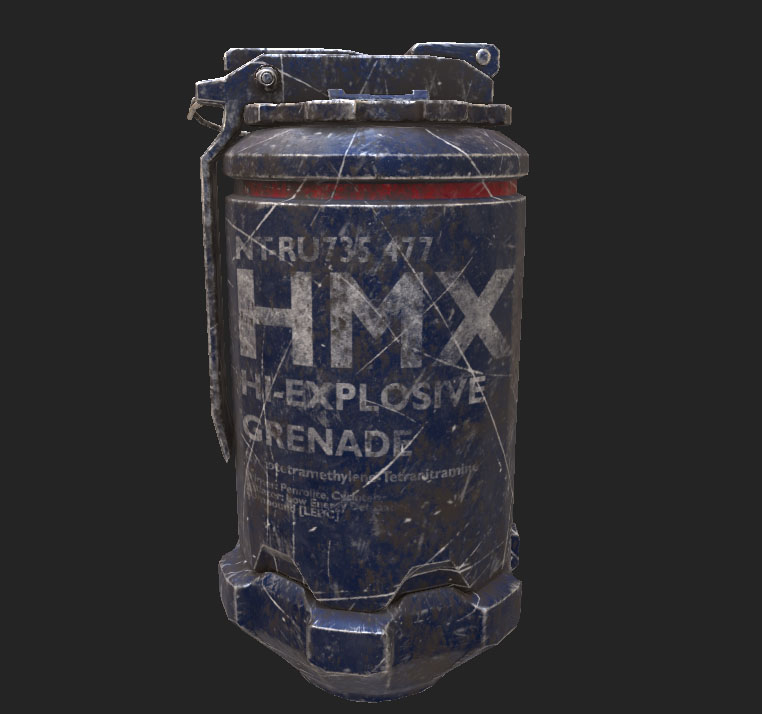
It was time to add the final detail for some scratches. Again I added another fill layer, added a balck mask, and added the Grundge Scratches Rough generator.

To fix that I grabbed again a Brush, pressed X on the black mask to erase and control the dirt that was overpowering.
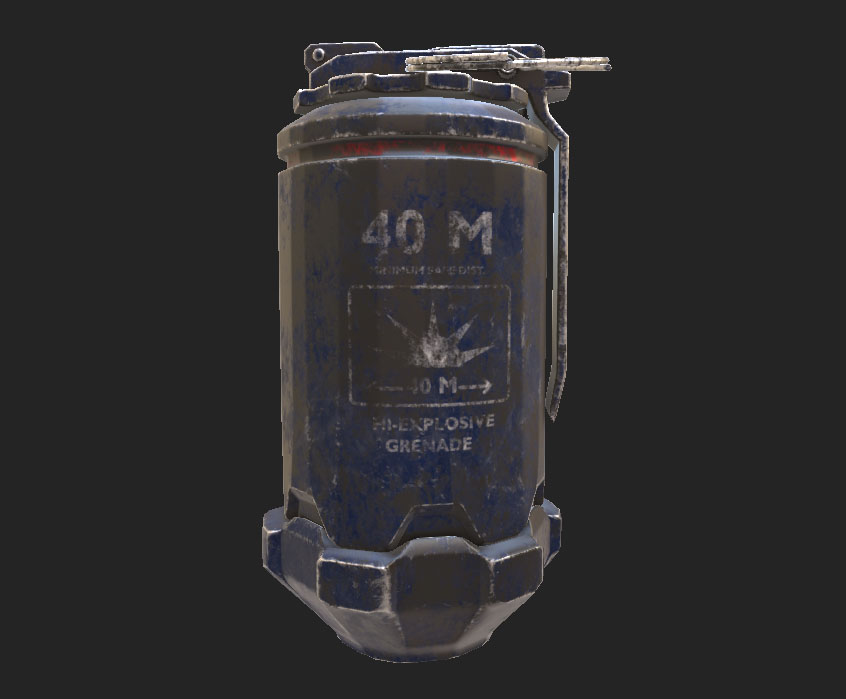
The Dirt was overpowering in the back of the Grenade making the Decal not that visible.
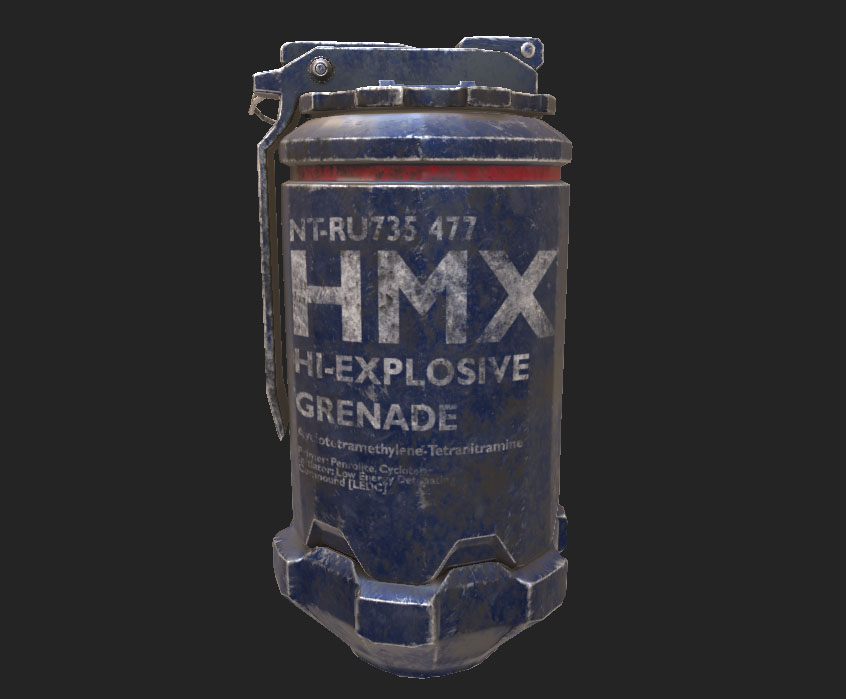
I adjusted the dirt settings to something of my liking.
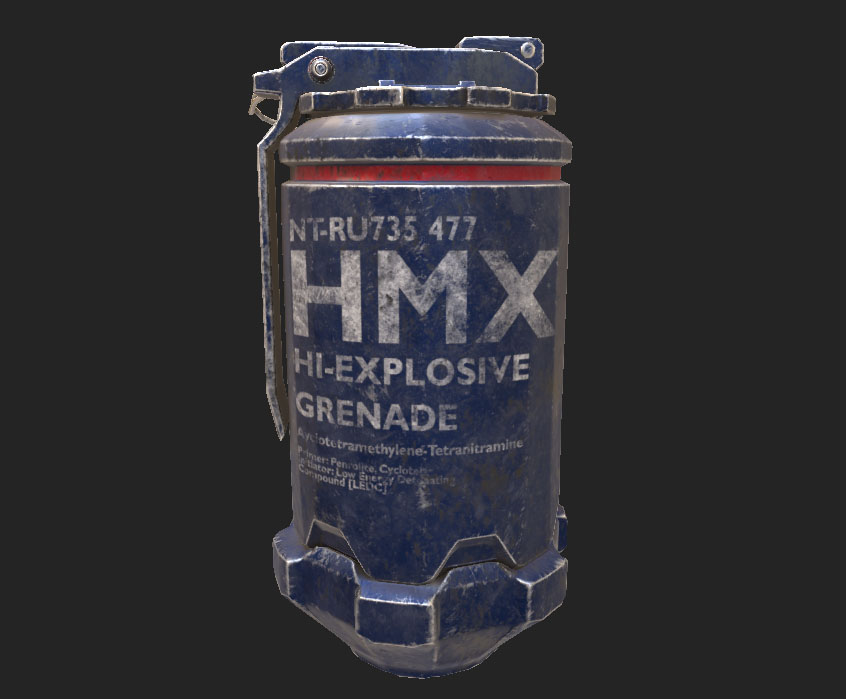
I change the color to be more brown instead of white.
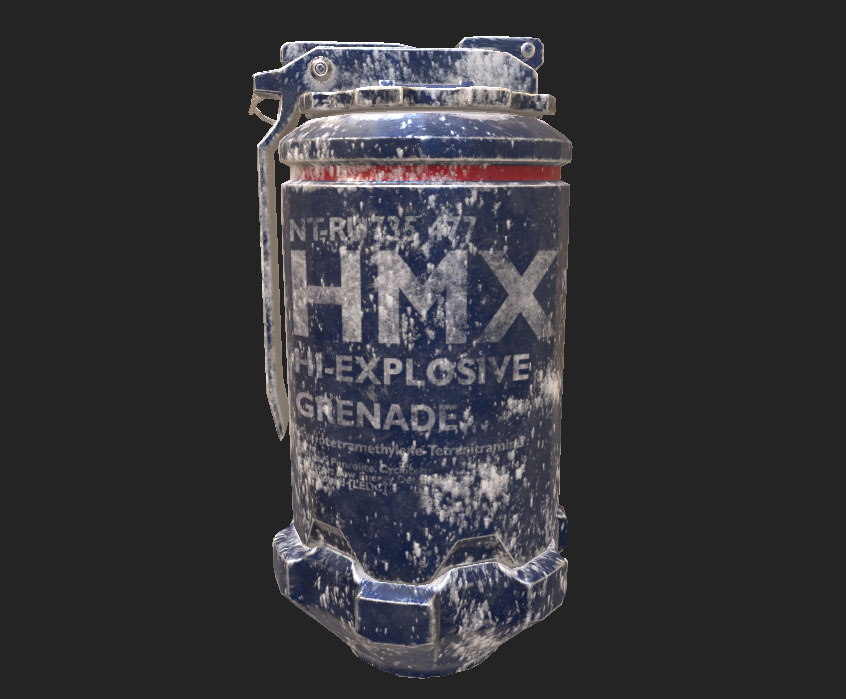
To add dirt into the who sculpt I made a new fill layer, Added a black mask, and then added the Dripping Rust generator.
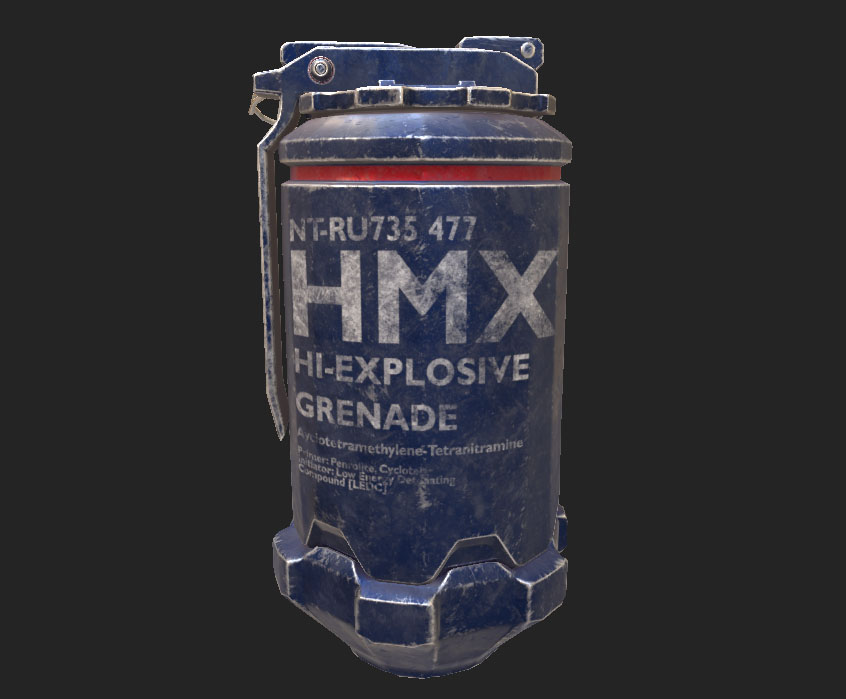
I then decided to change to Bronze color to a Silver color so it is closer to the concept art.
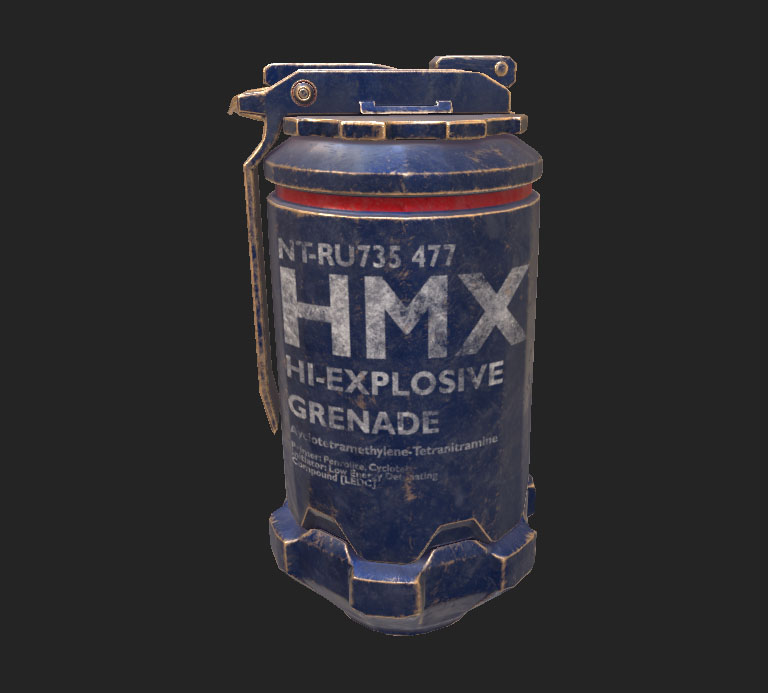
Once done I changed the color to a non overpowering color since its dirt on the edges.
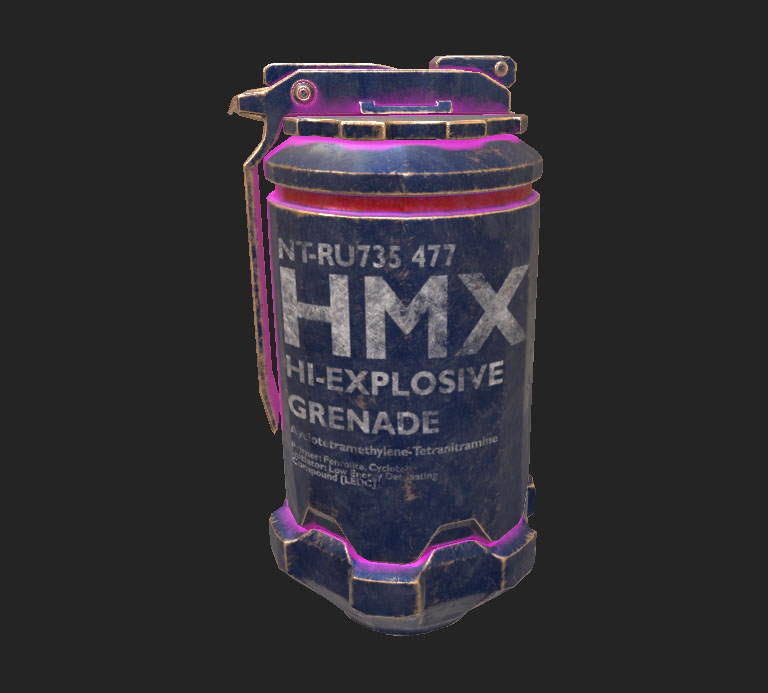
For the dirt I added another fill layer, added a black mask and added a Dirt Generator. I changed the color to pink just so I can see clearly were the dirt was spreading to control it.
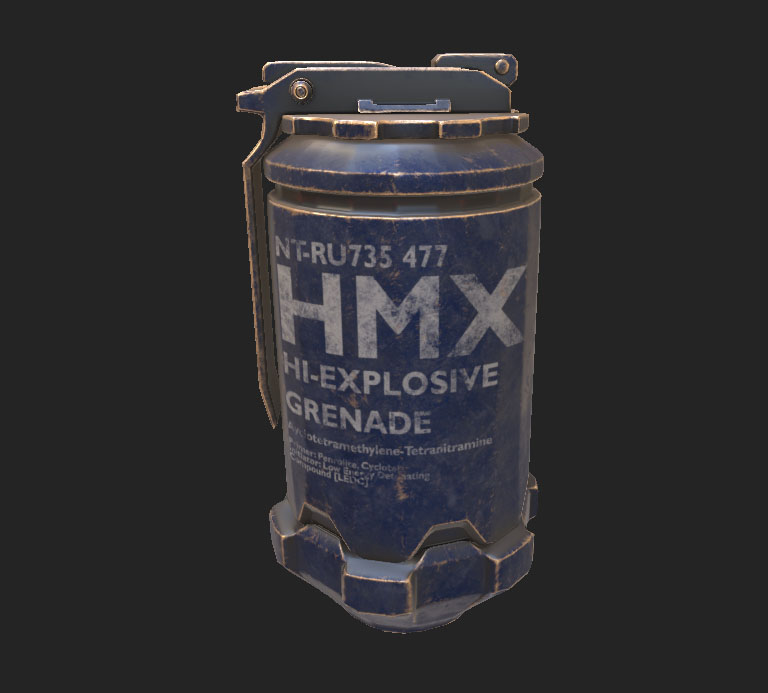
I played with the setting to get the look above.
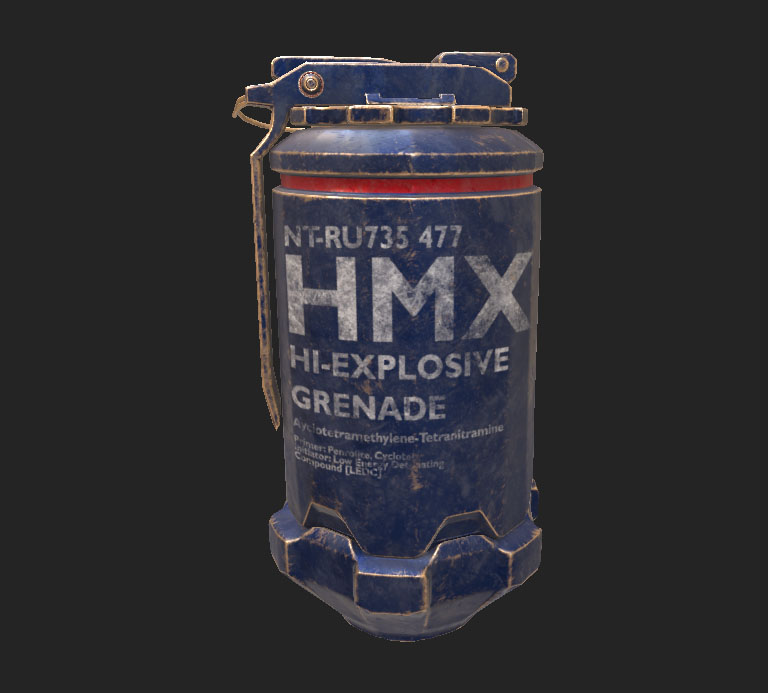
Added a black mask and on top of the balck mask I added a Generator to select the Metal edge wear.
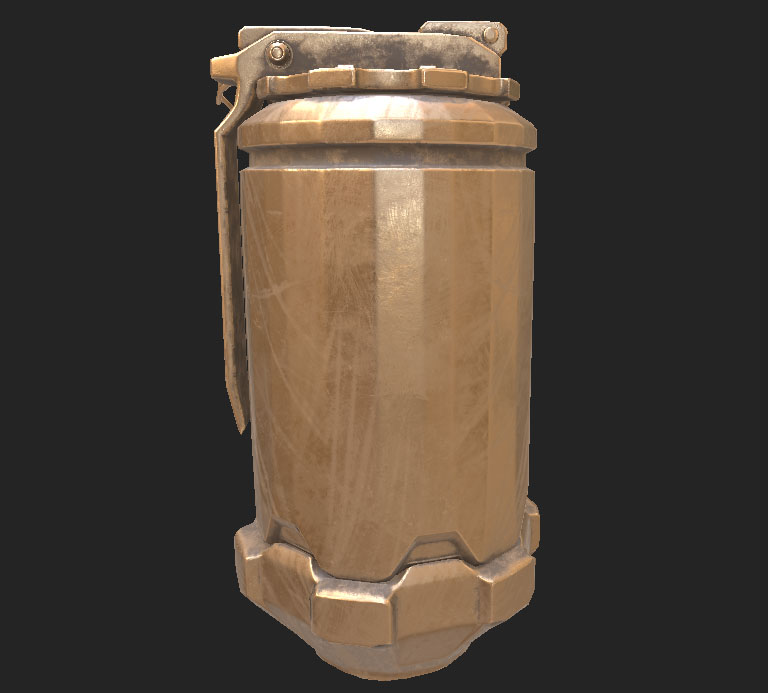
Next I wanted to do the edge wear on the edges. To do that I first selected the Bronze Armor smart material and applied it.
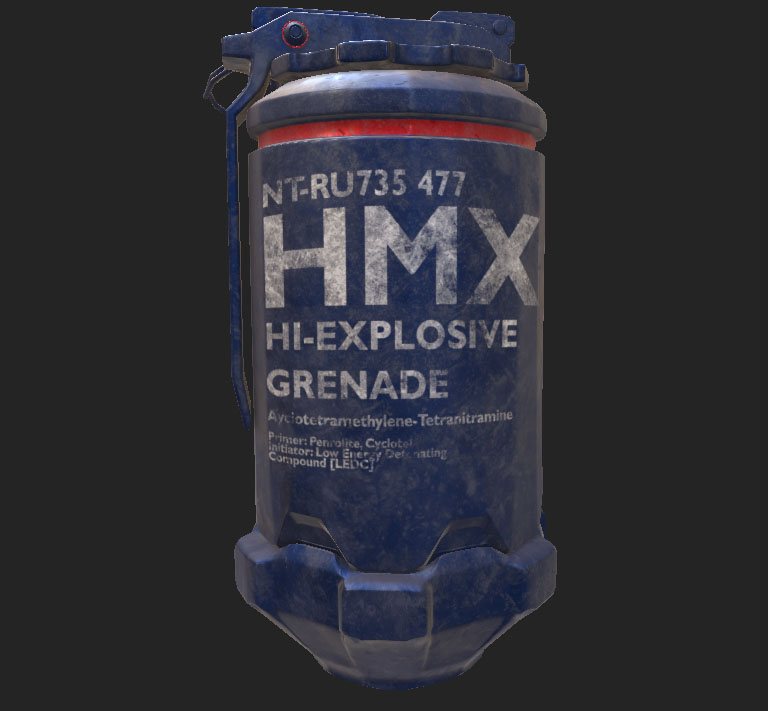
To fix it I change my blending mode from Normal to Multiply and was able to blend the dirt on the decals.
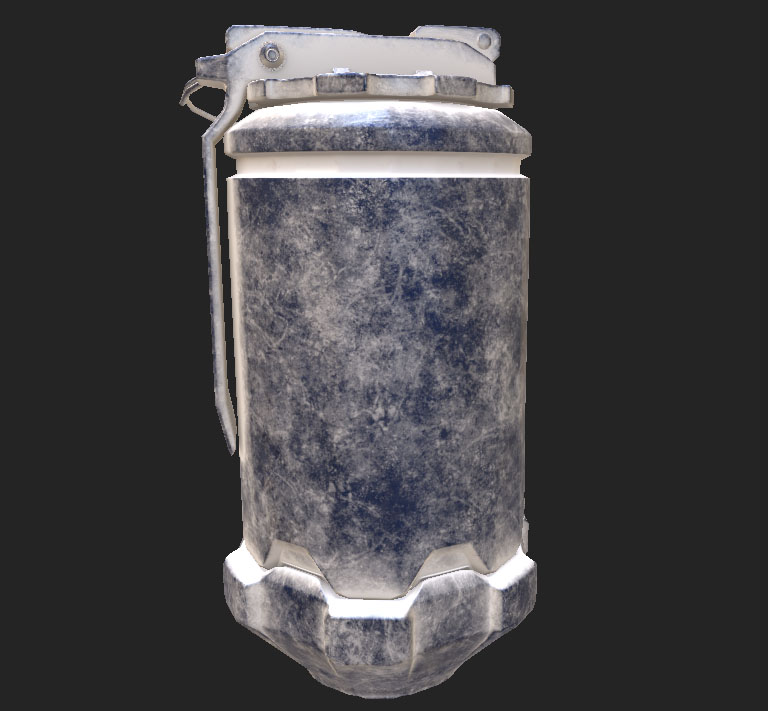
I then added a Dirt Generator which covered the whole Sculpt.
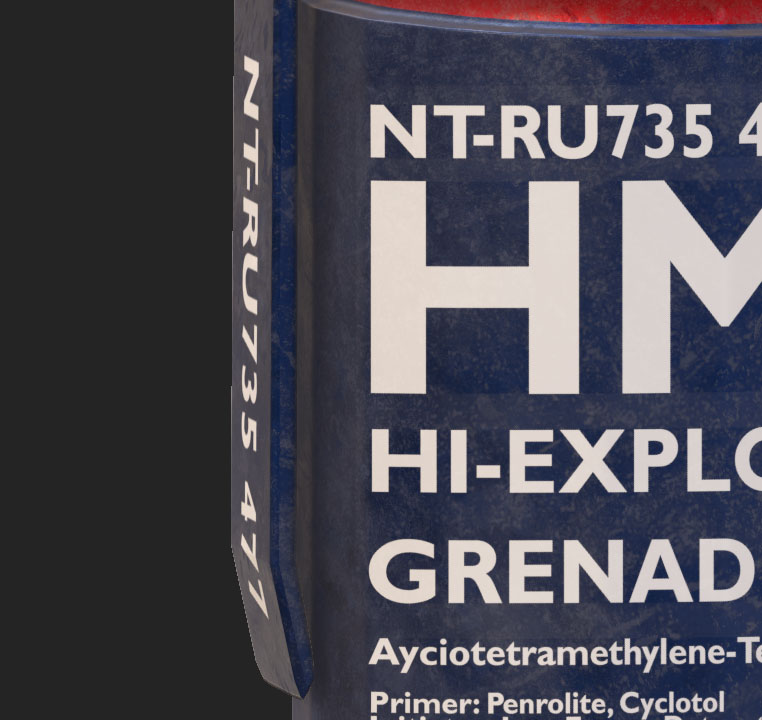
I was able to take care of it and erase it.
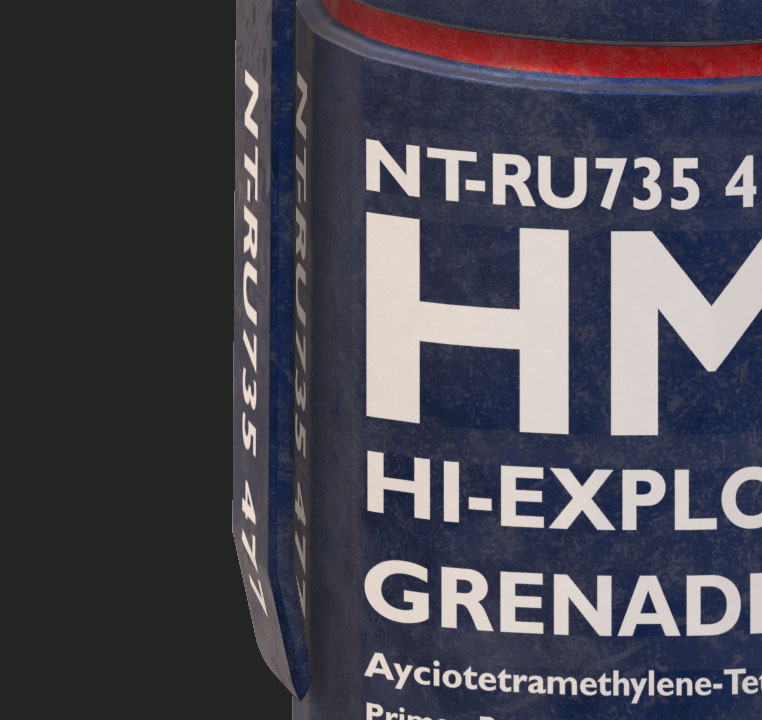
The Decal on the handle also went through the back so to fix that I grabbed a random brush and pressed X to invert and paint over it.
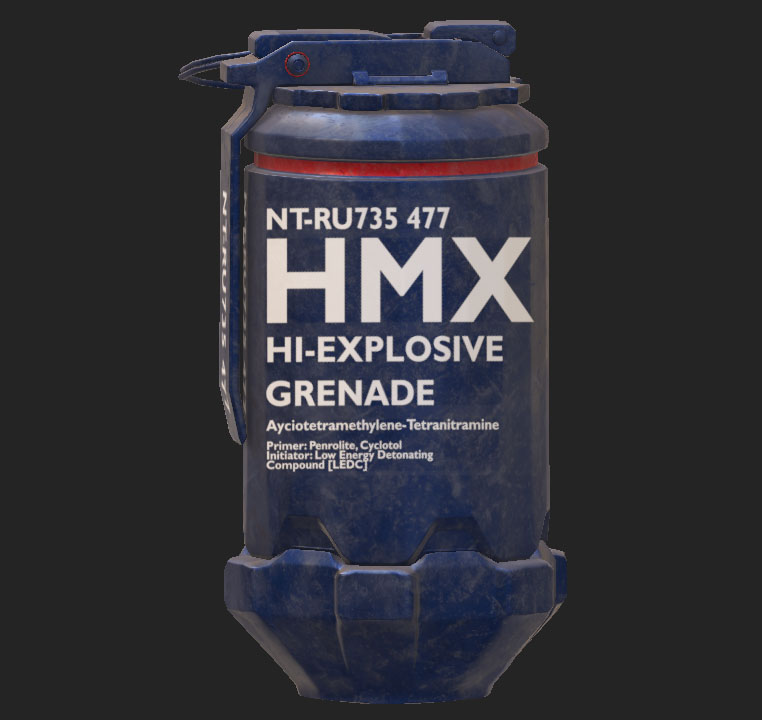
To fix that I went back into photoshop and saved it as a Jpeg instead of PNG and also instead of alpha I Imported them as a texture. That gave me the correct result. Which then I was able to do that to all other sides that require a decal.
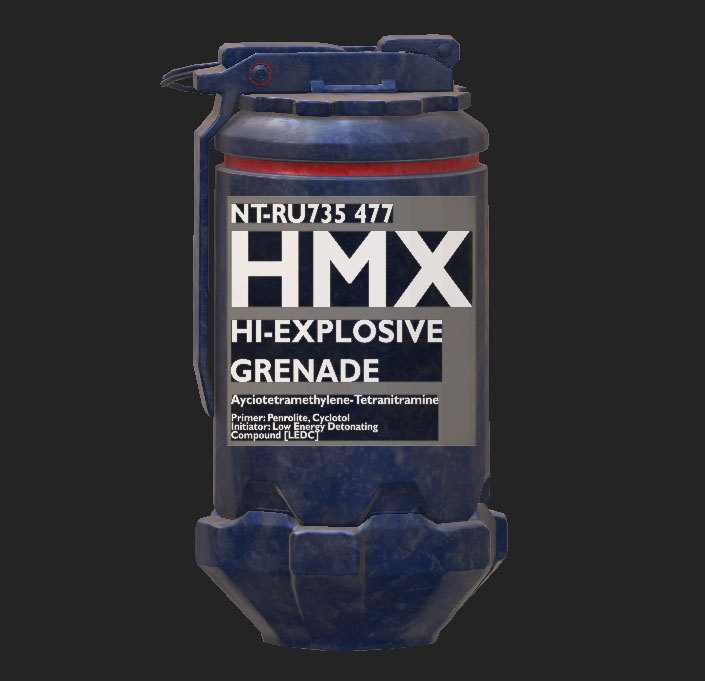
I made another fill layer and named it Decals. I added a Black mask and then under Stencil I added my first decal. Once adjusted you can just use a hardbrush and paint over your sculpt. The first problem was that it was giving me the black background which I did not want.
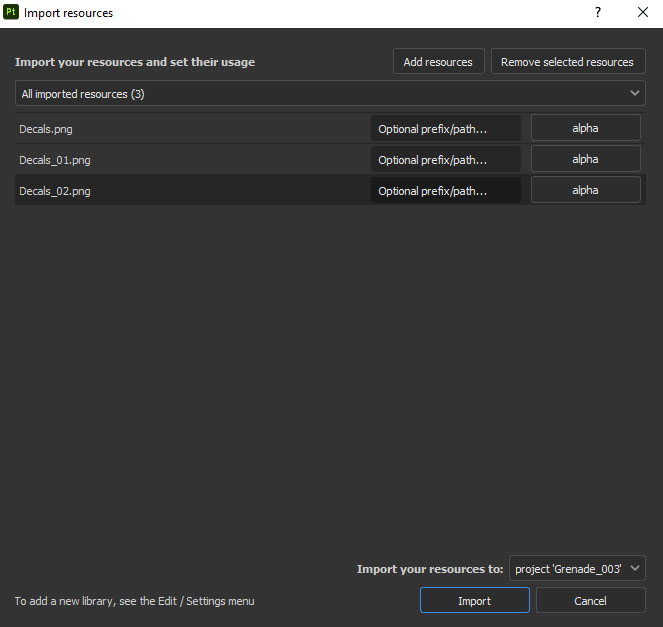
It was time to import the decals. I imported them as an alpha.
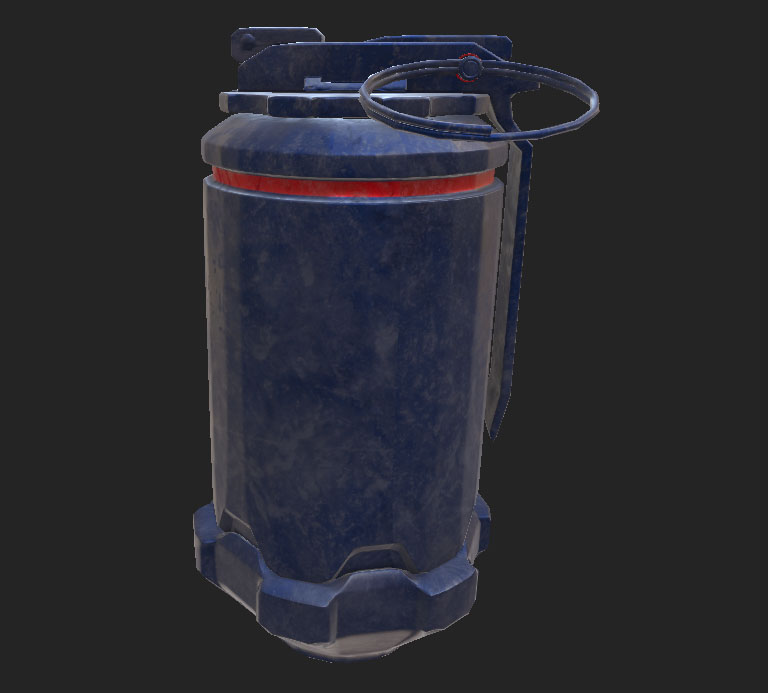
This would be the results. As well once I added the Grunge Dirt Scratches It was overpowering with a metallic look so I made a copy of my color variation and took off all properties added a black mask and left on roughness and metallic to control it seperatly by adding another fill layer on the black mask.
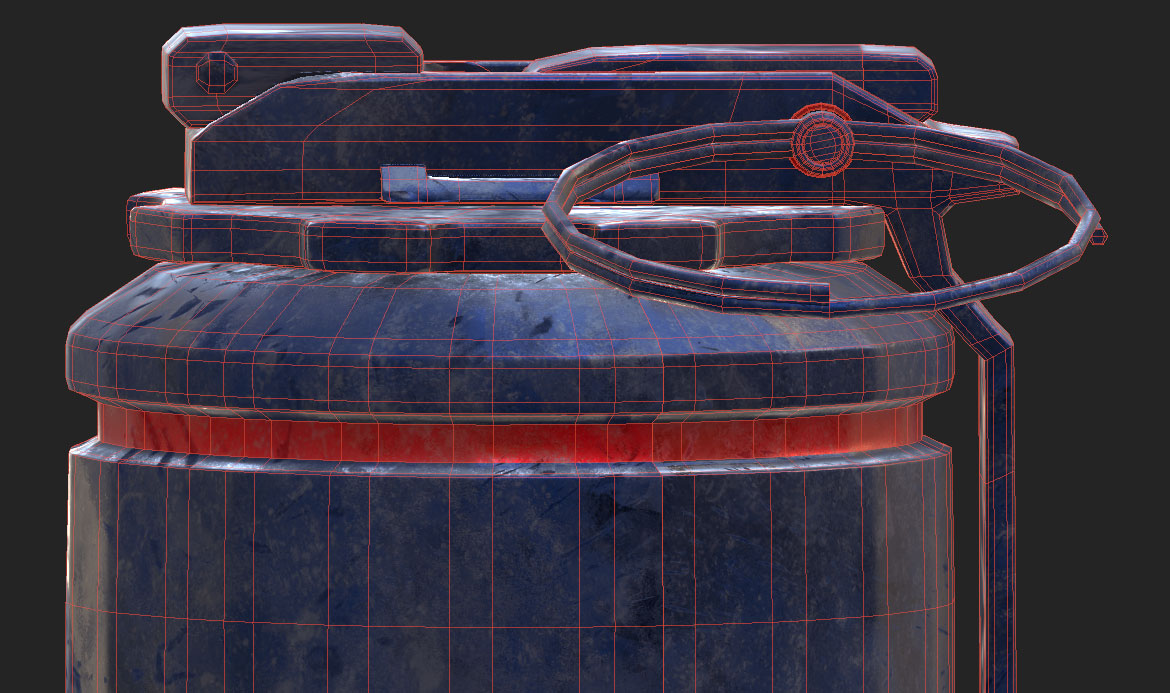
To get the red paint on the grenadei made another fill layer, added a black mask and polygon fill the red polygons. Did the same thing with the cylinders holding the pin.
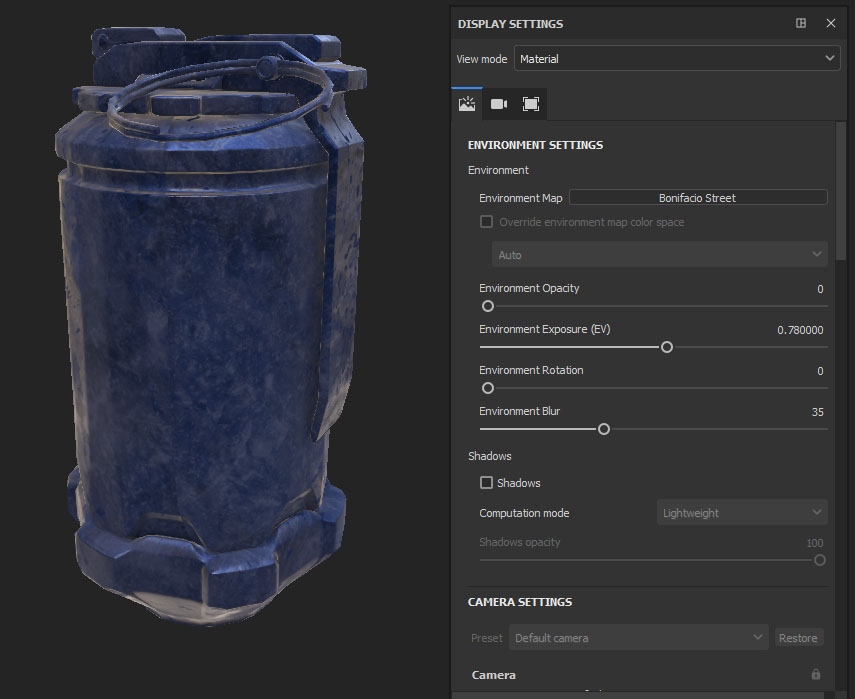
It seemed a little dark so I went to the Display settings and upped the Environment Exposure.
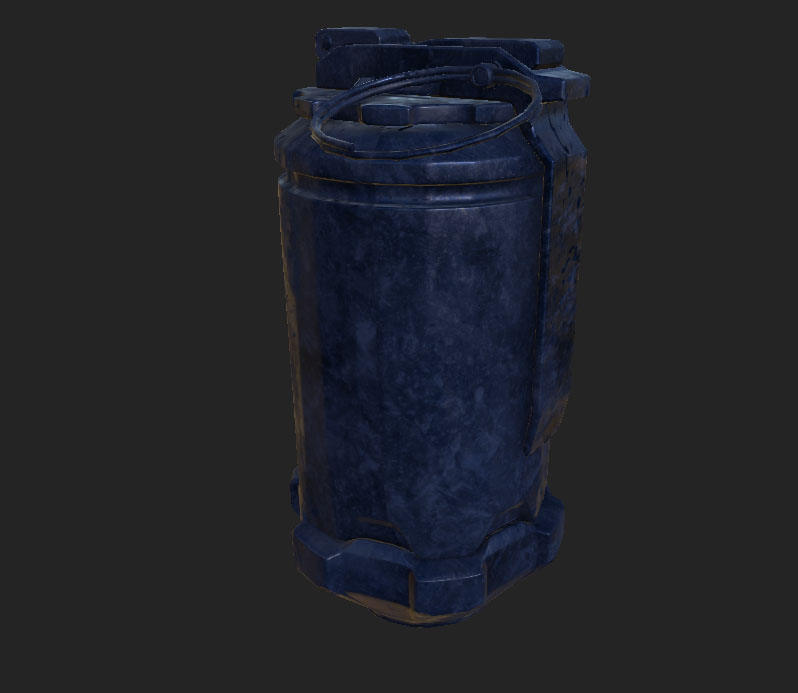
Added another fill layer with a base color but instead I used a Grunge Dirt Scratches to give it the following look. Named it color variation.
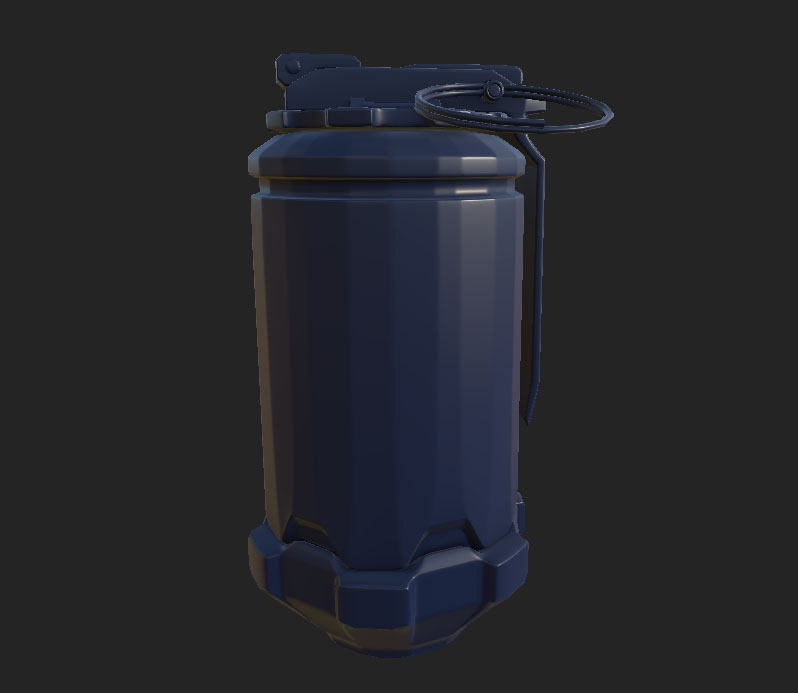
I started with a fill layer and created my base color to a dark blue.
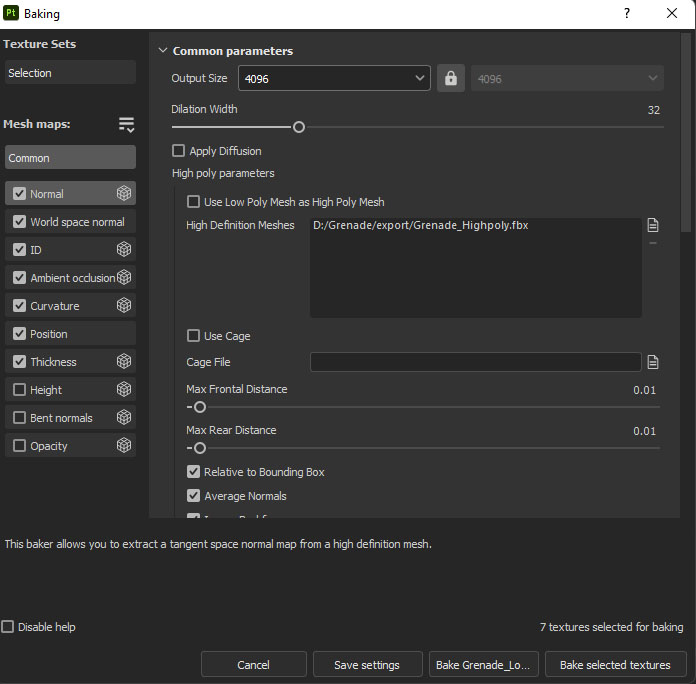
Under Texture Set Settings I select the bake mesh and I get a seperate window. I change the Output size to 4096 and under Highpoly Perameters there is a little file tab next to high Definition Meshes to import my highpoly and then bake selected textures.
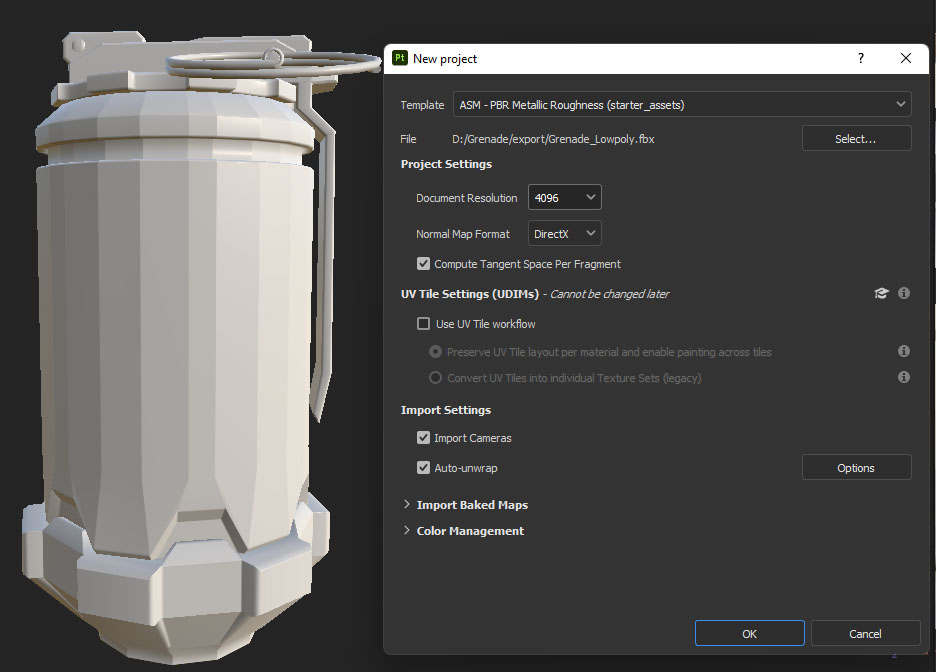
Once Substance painter is open I make a new project, where it says file I select my lowpoly version change the Document resolution to 4096 and presss OK.
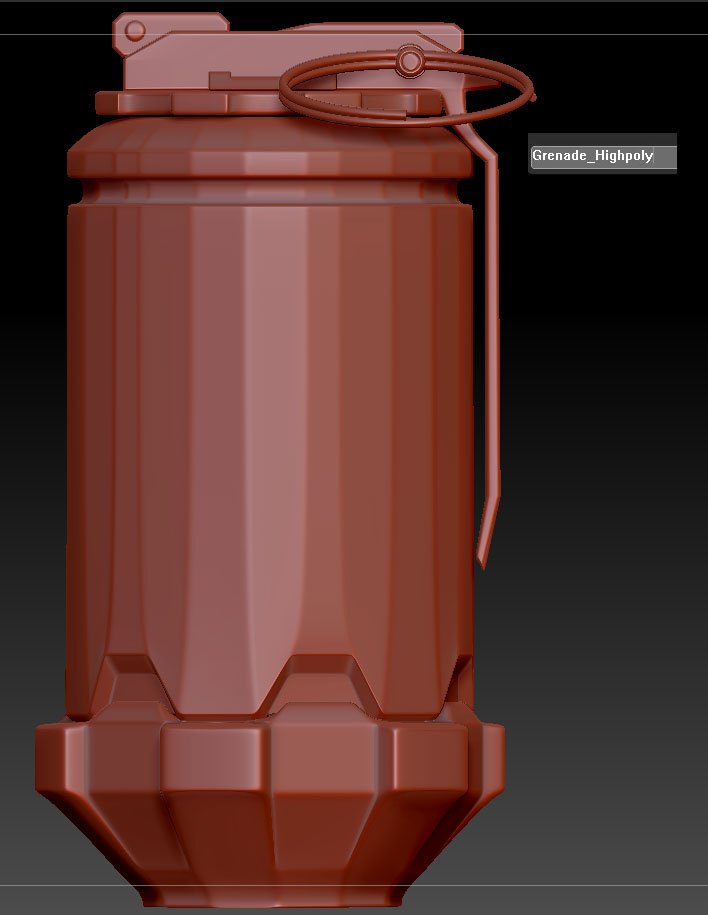
Once that is done I can export the lowpoly verison by naming it Grenade_lowpoly. Go back to geometry and up the SDiv bar back to is high resolution, rename it Grenade_Highpoly and export the Highpoly out. Getting it ready for Substance Painter.
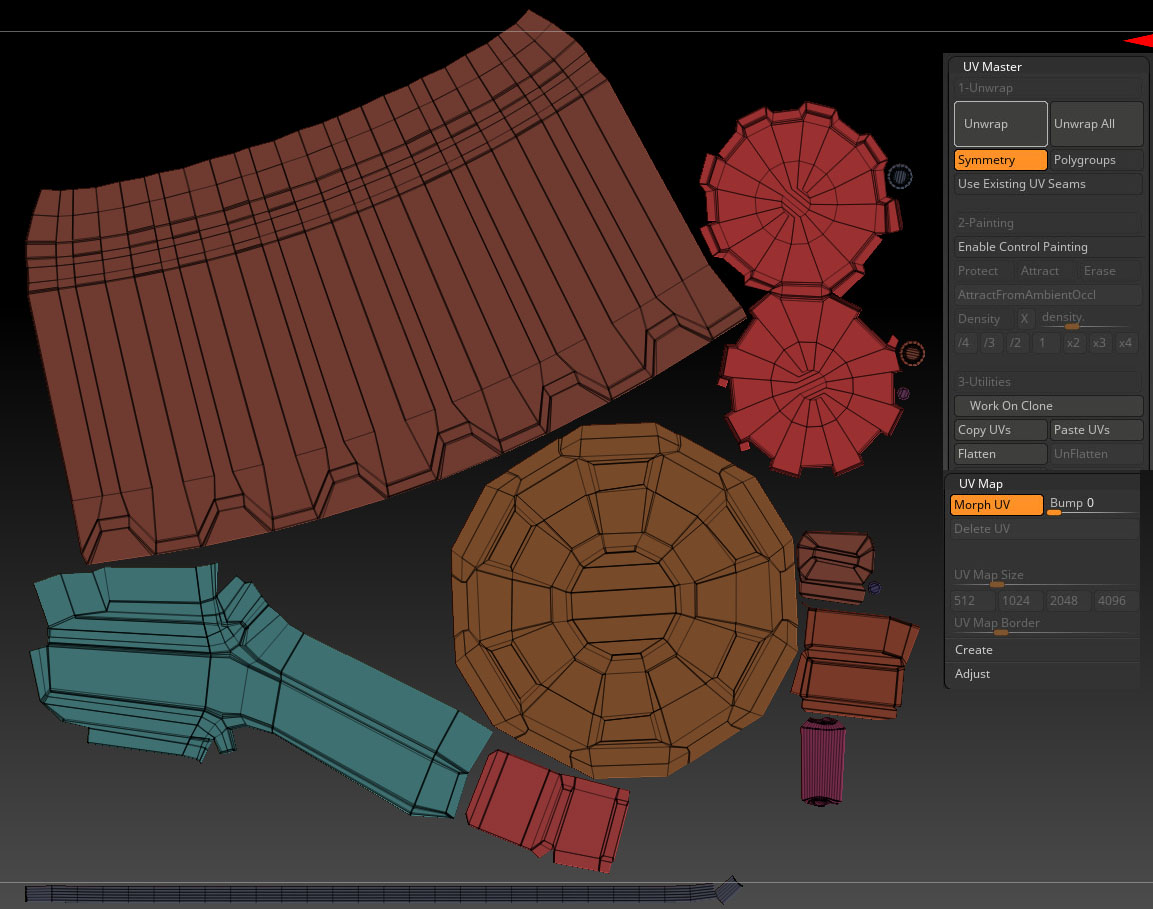
I use Zbrush for some quick Uv Unwraps. To do that I go to Zplugin on the top toolbar, select Uv Unwrap tab. I start first by working on a clone, Unwrapping it and then morph UVs. Once unwrapped I copy UVs, go back to my original object and paste the UVs on it.
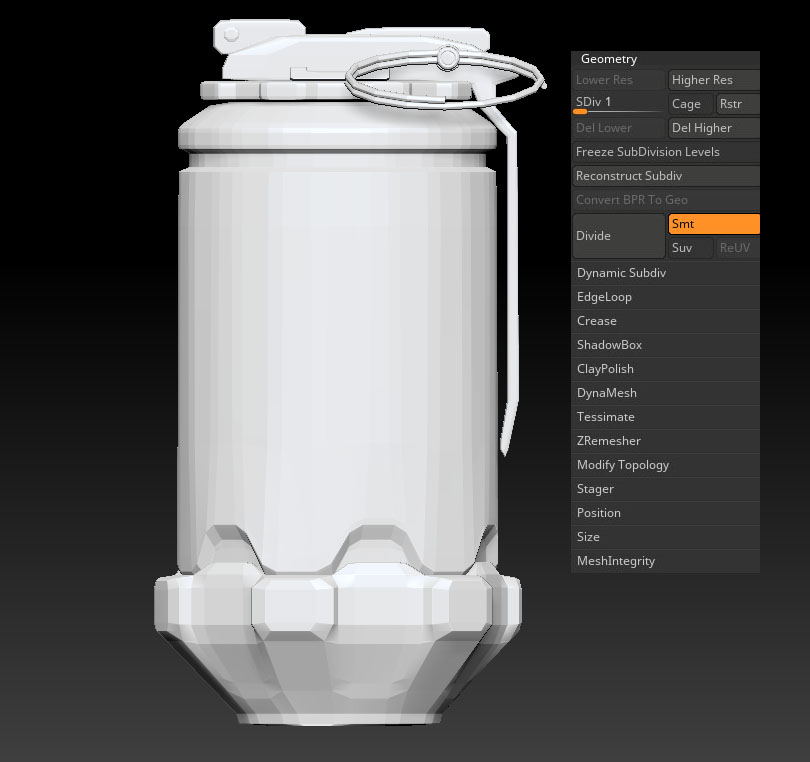
To have it in lower polygons under geometry I Divided the geometry and brought the SDiv bar to 1.
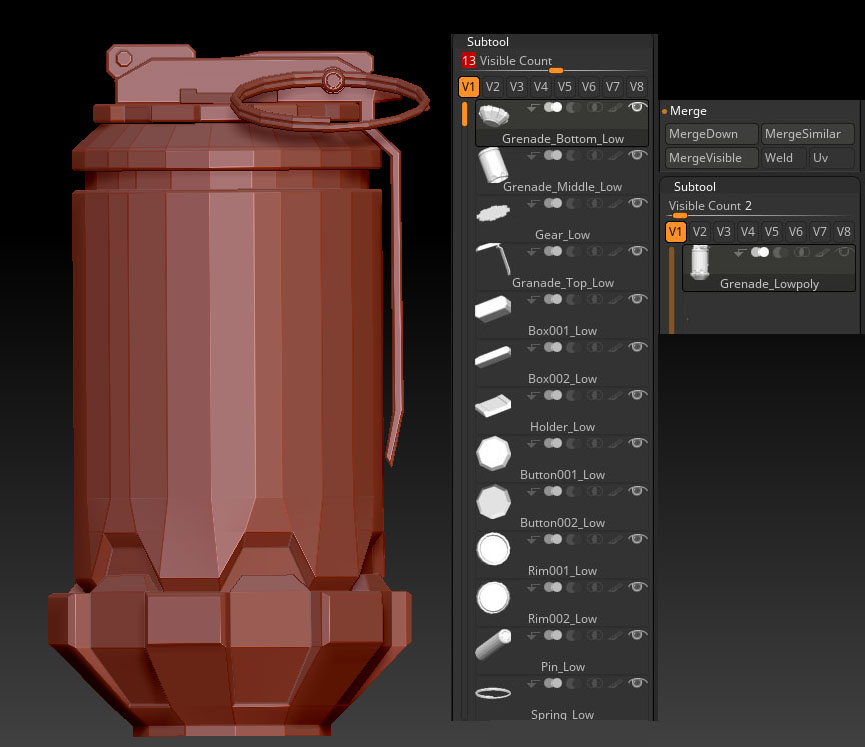
Time to hop into Zbrush. So the first thing I did since the grenade uses all the same material I just merged everything together and named it Grenade_lowpoly.

Decal in the handle. Saved each seperated one as a png.
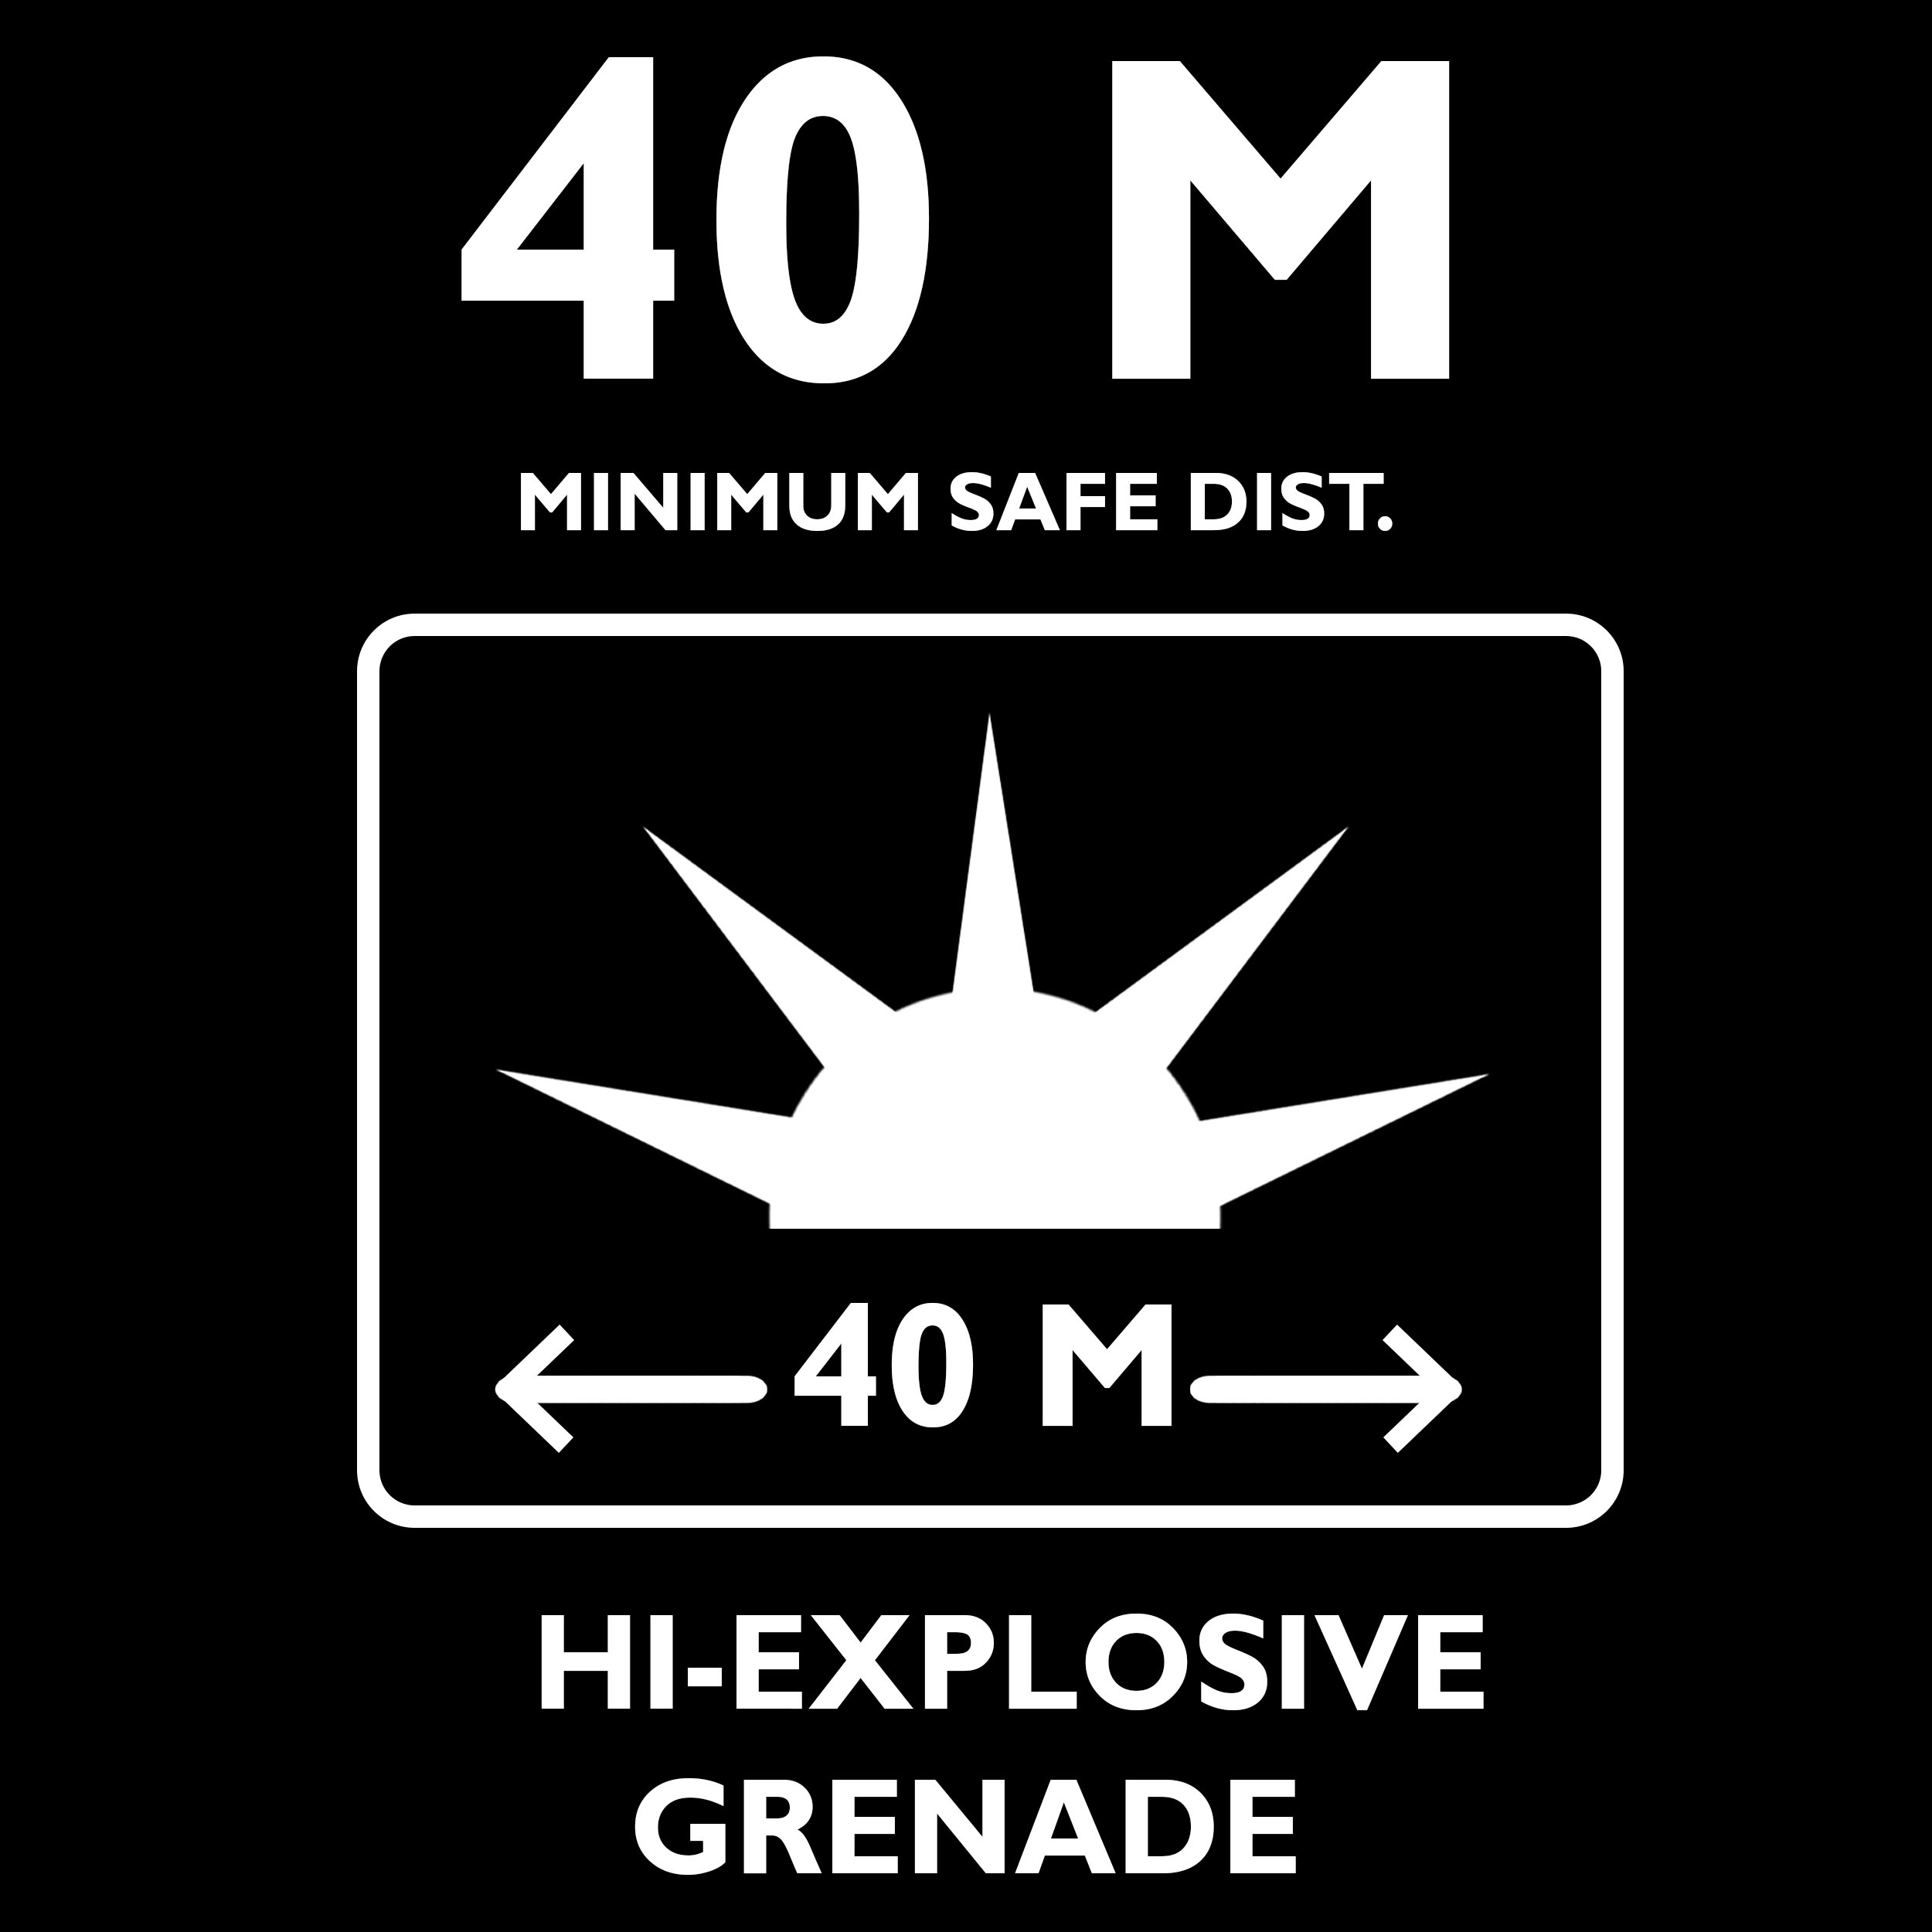
Decal in back. Used basic shapes to recreated the symbols.
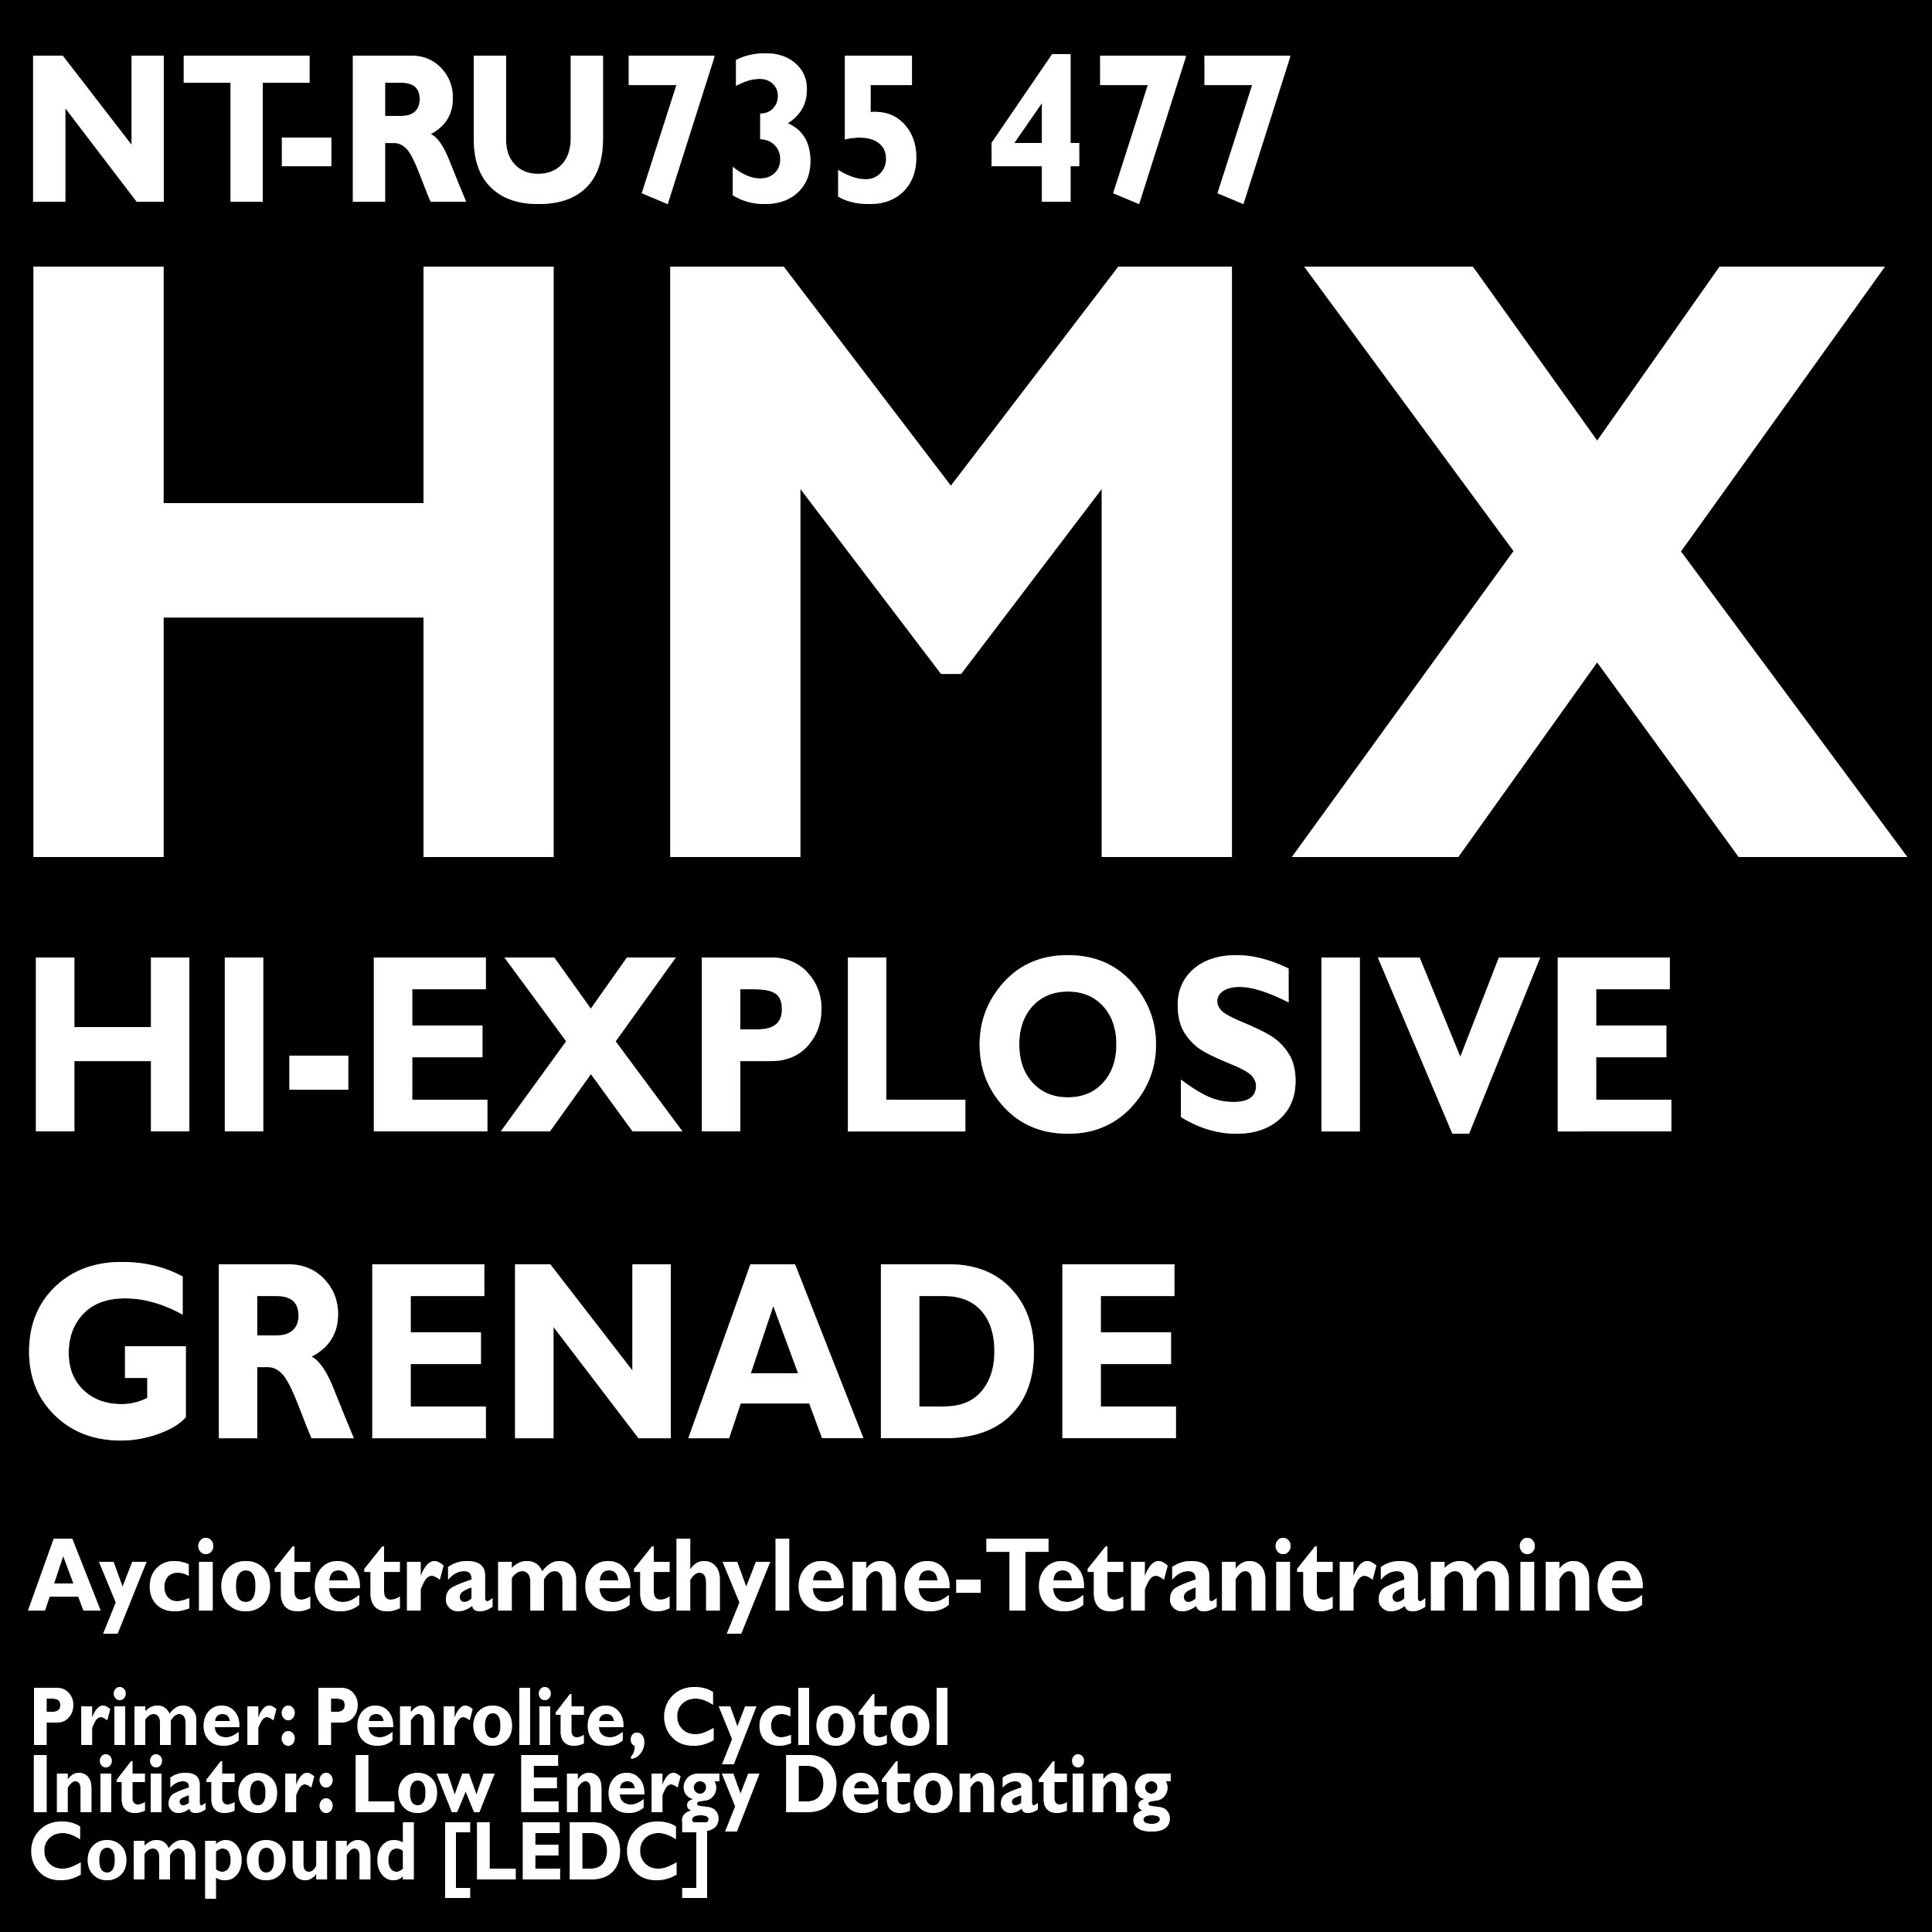
For the Decals on the grenade I used photoshop by just filling in the background to black and typing the letters in white. This is the decal in front.
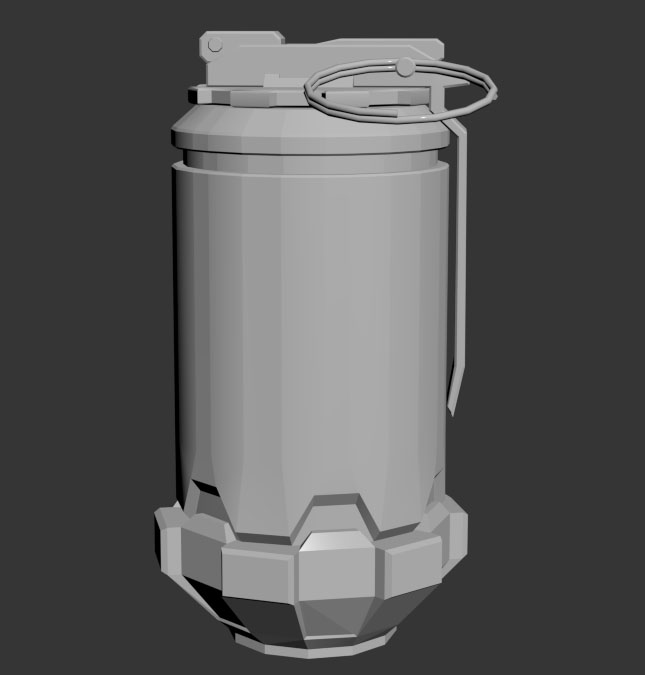
The Grenade was finished being modeled the rest was just adding locking loops and exporting it as an FBX to have it ready for Zbrush.
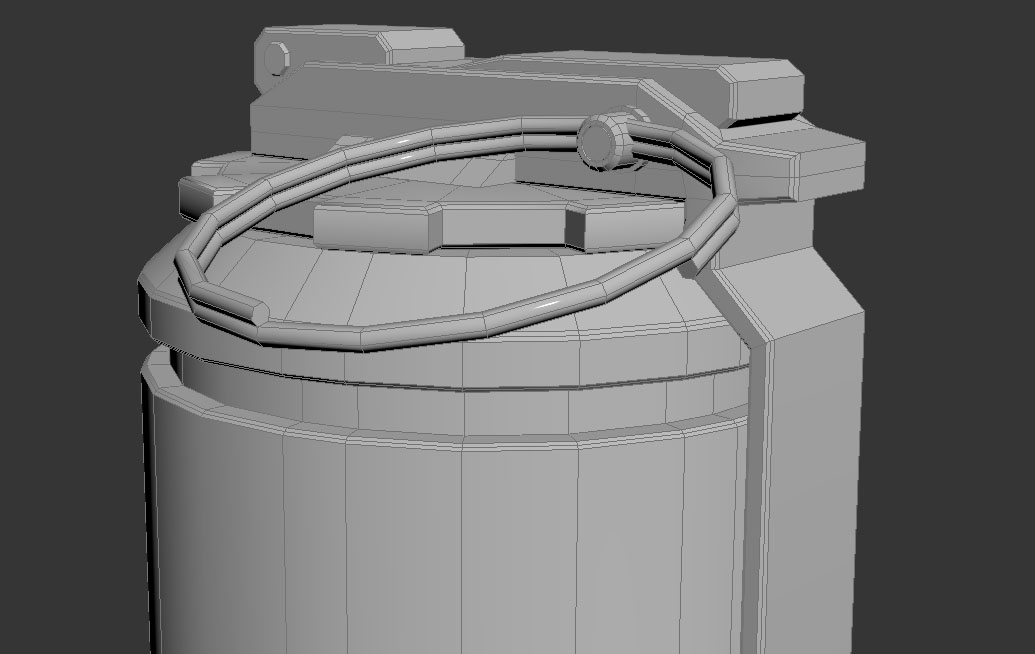
To add the spring it was very simple. Under Dynamic objects tab there is a spring section and I just adjusted it to my liking.
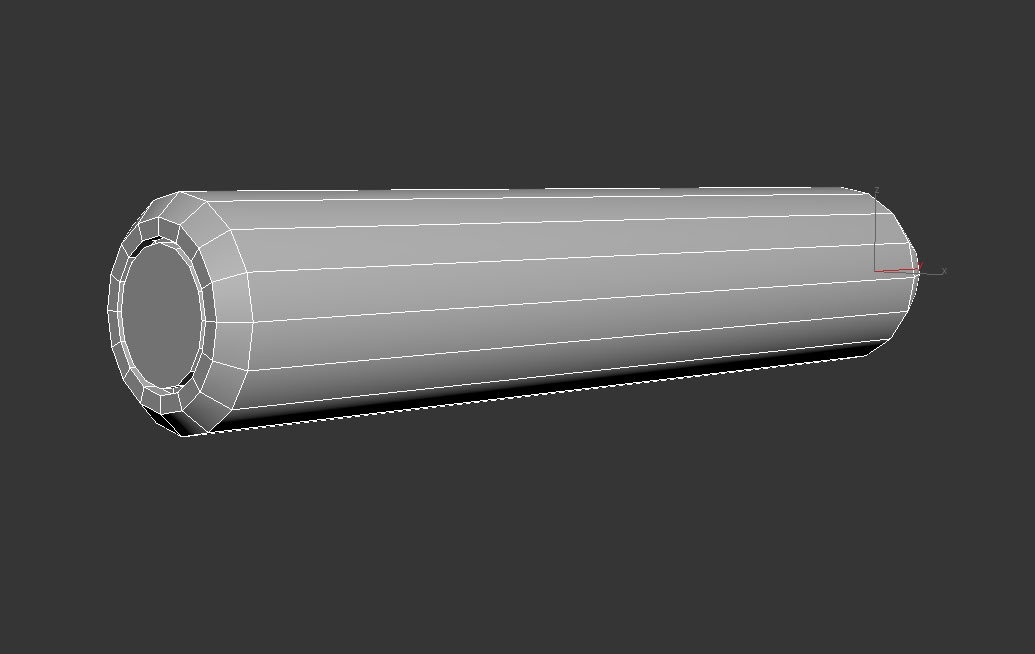
The pin wasn't very visible on the concept art so I had to researched pins for grenade and found one of the most basic ones in a shape of a cylinder. So I made a cylinder and on the ends I extruded the polygons in and out.
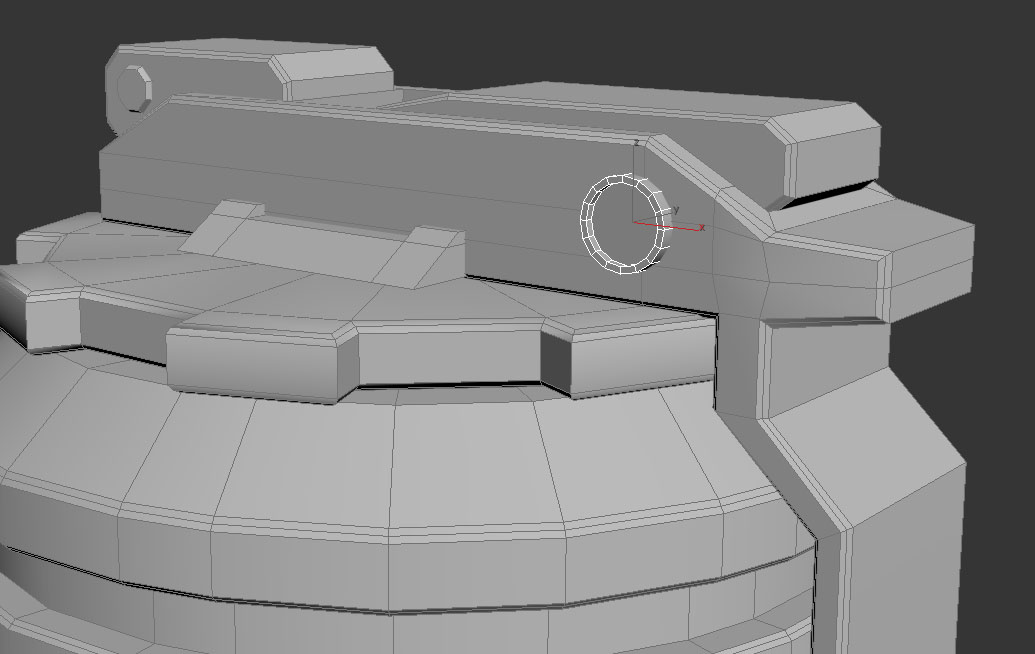
There is a red piece holding the pin so I just added a basic cylinder to both sides.
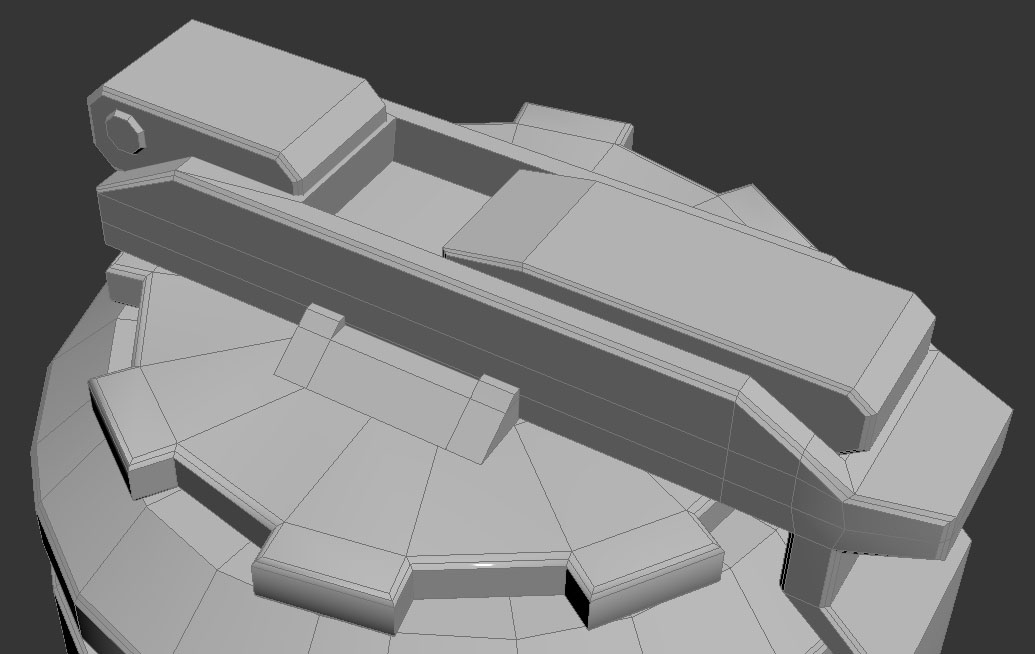
The holder was to small so I rescaled it to its proper size. since I am not able to see the top of the Grenade on the concept art I just extruded the top polygon in for it not to look boring.
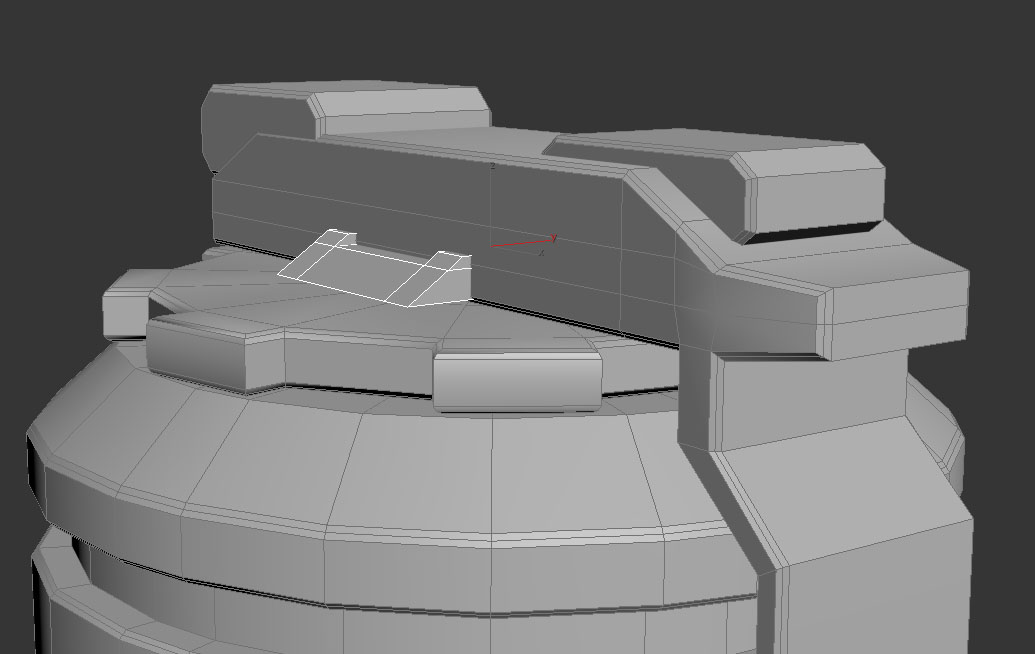
Put it in the correct location.
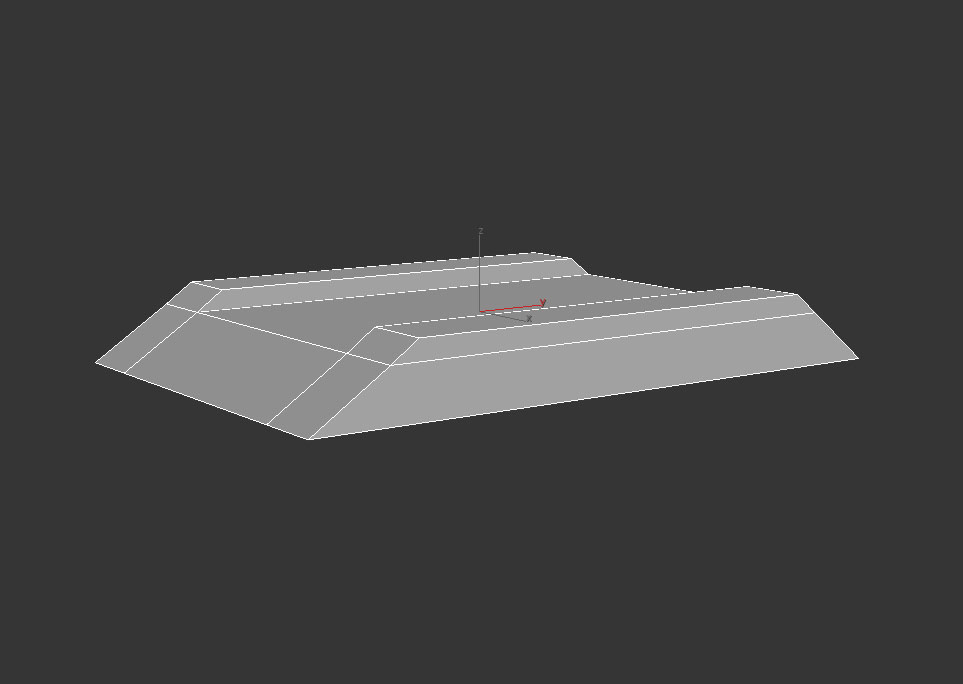
The piece inbetween the handle on top, we will call that the holder, was made with a cube by just adjusting and extruding polygons.
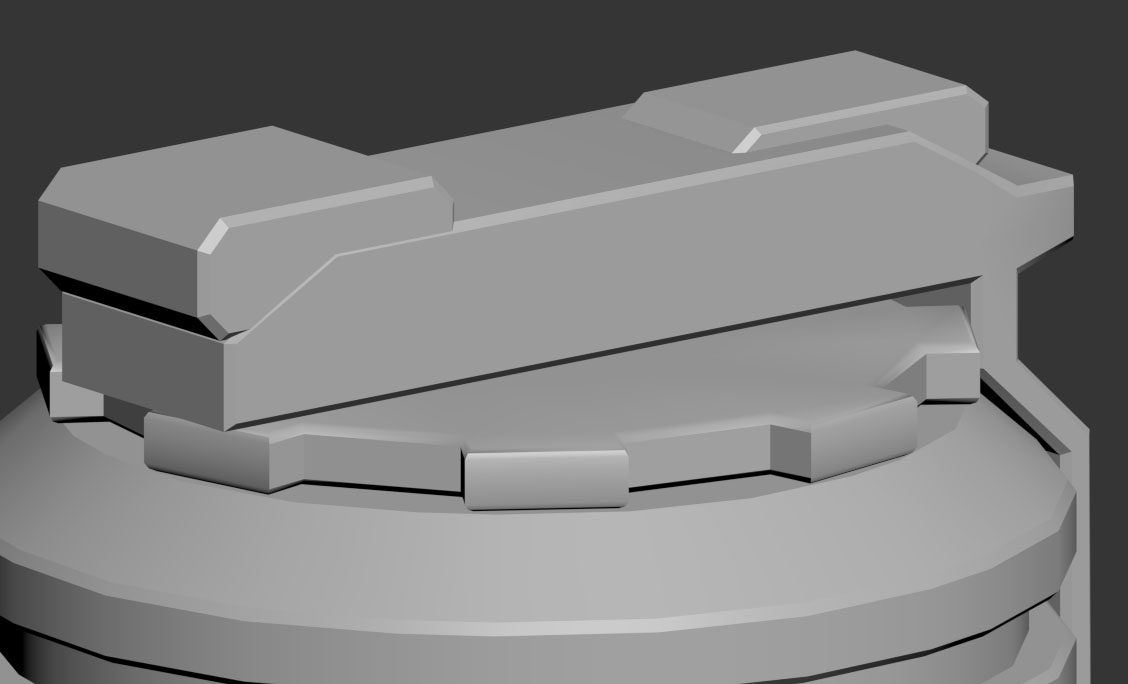
Did that for both and then chamfer the sides on both sides.
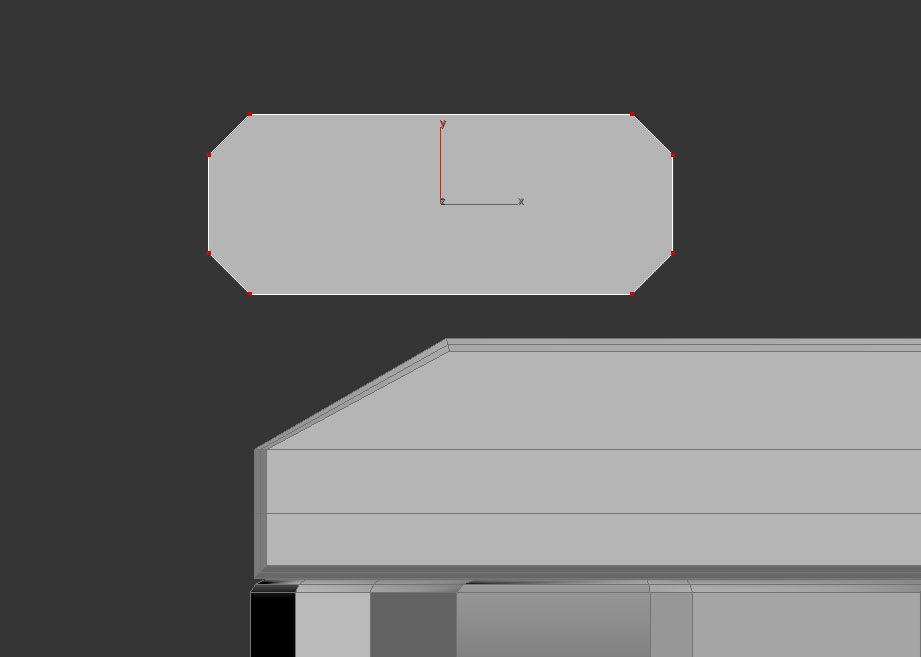
The top pieces I made a rectangle, Chamfer the vertices, and then extruded the polygon out.
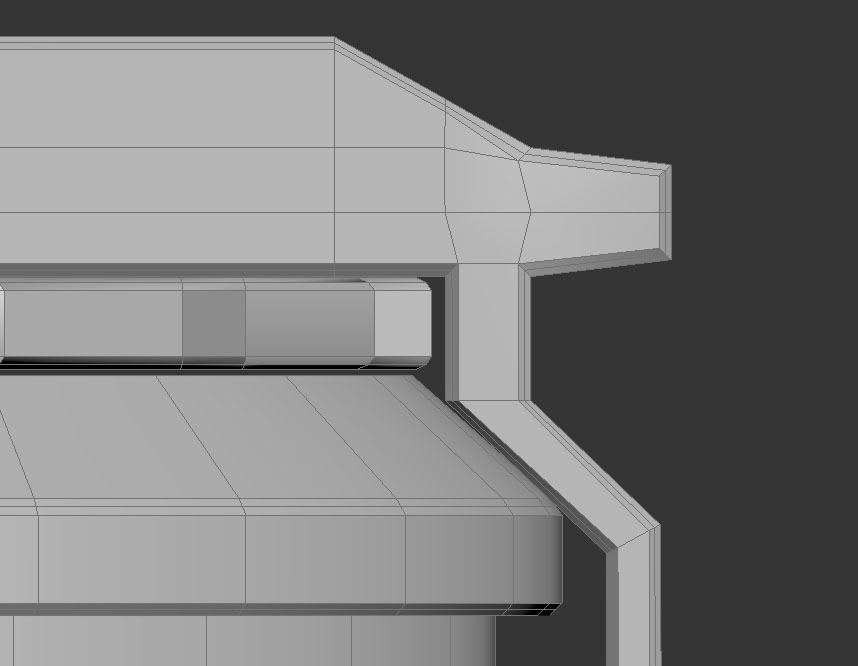
Grabbed all edges and the chamfered them. Did that for both sides.
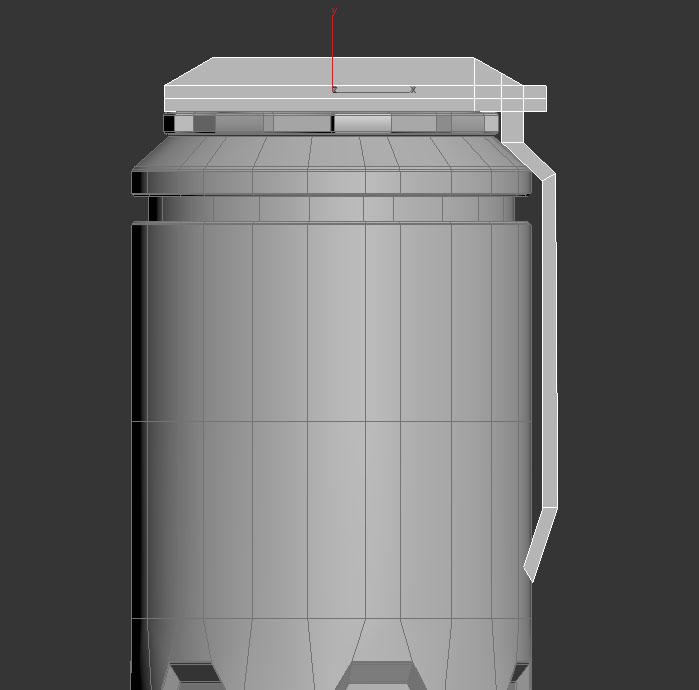
I made the shape of the handle by just extruding and moving the polygons at the bottom.
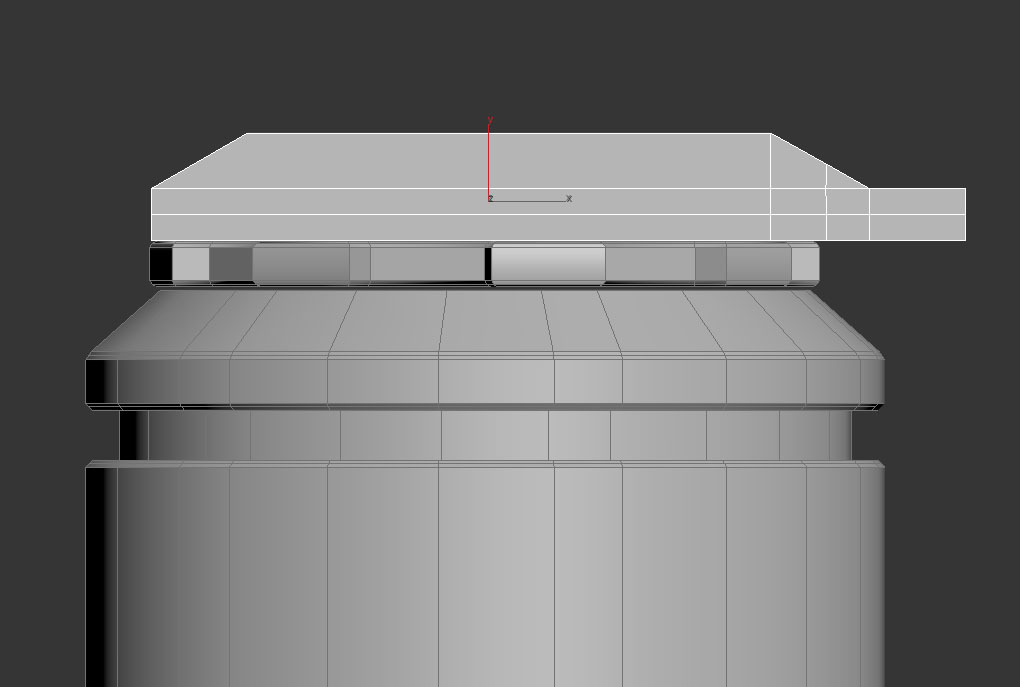
Making the top of the grenade i simply used a cube and made it into a rectangle. Extruded some pieces and moved some vertices.
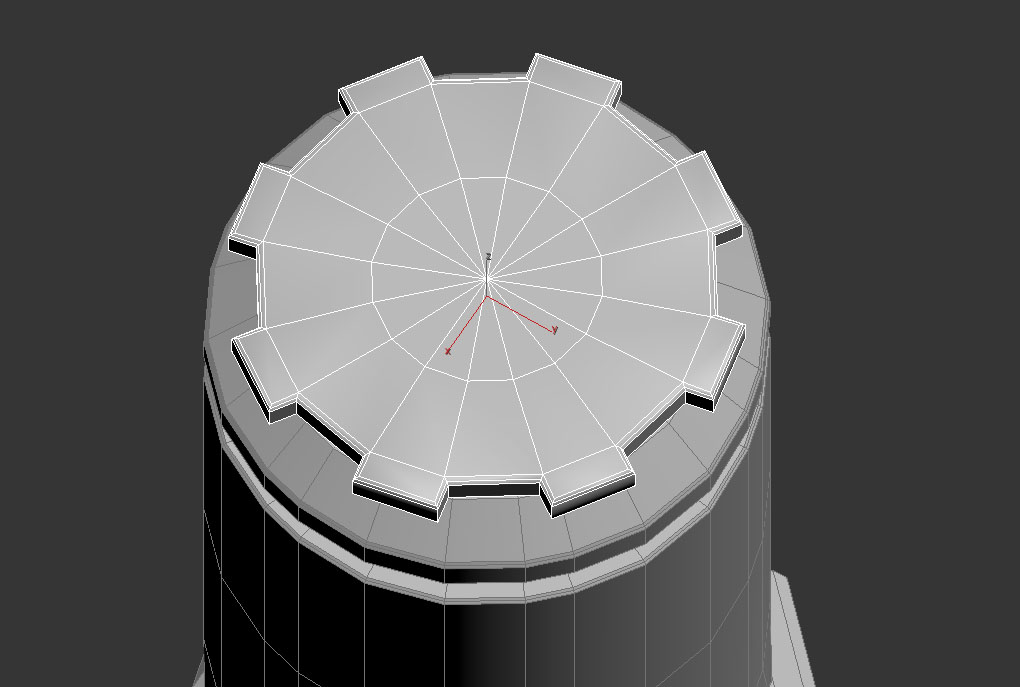
To make the gear I made another cylinder with 16 sides this time. I grabbed 8 polygons and extruded them out and beveled the end polygons.
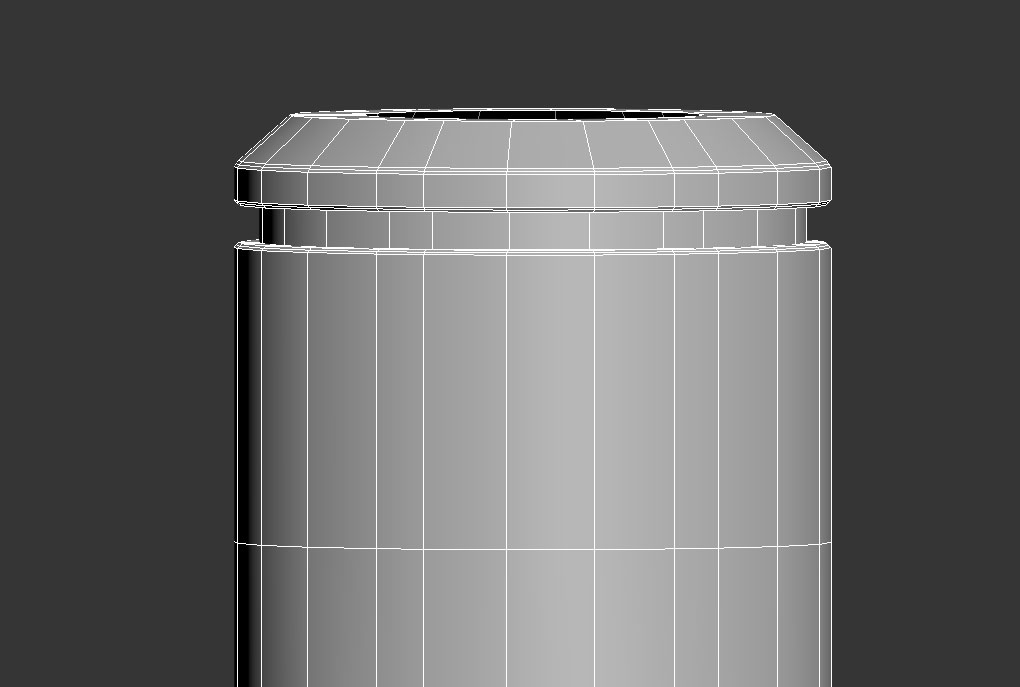
Noticed the top was scaled in more then it should have so i adjust it and then grabbed the border and scaled that in. I left the top open since it will be cover by the gear.
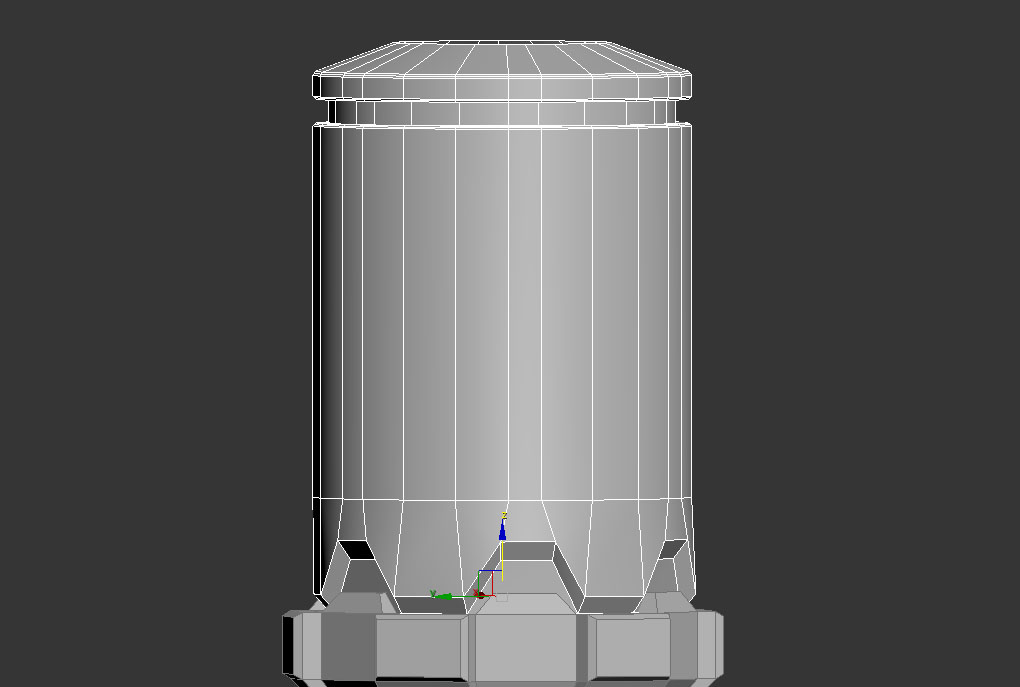
Got the upper border and holding shift I extruded it out. To get the top I just made two swiftloops got all the polygons inbetween and extruded them in. Then continuing on top I extruded and scaled inwards.
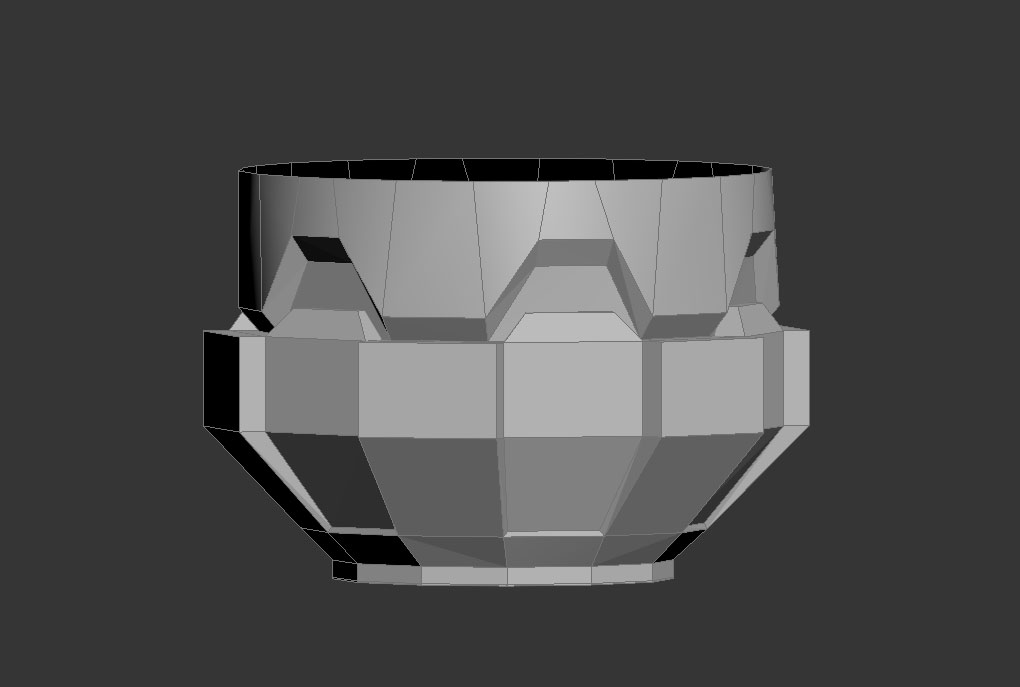
Grabbed all vertices and scaled them outwards so eveything it matches the desing and they aren't to close together.
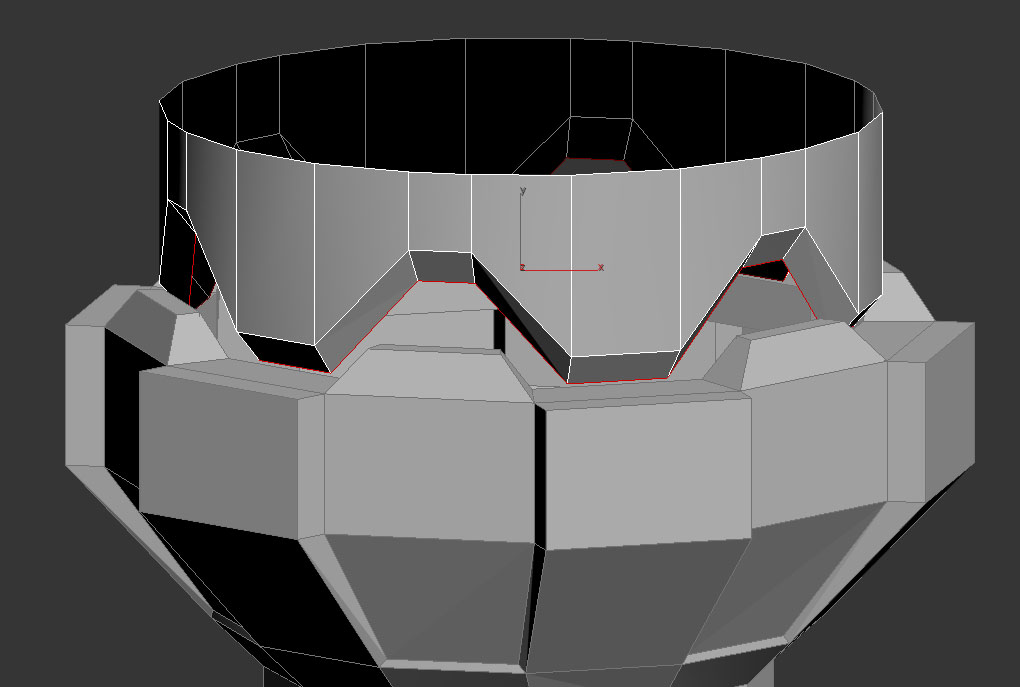
Grabbed the vertices inside the 12 polygons moved them up. Then grabbed the border and scaled them inwards.
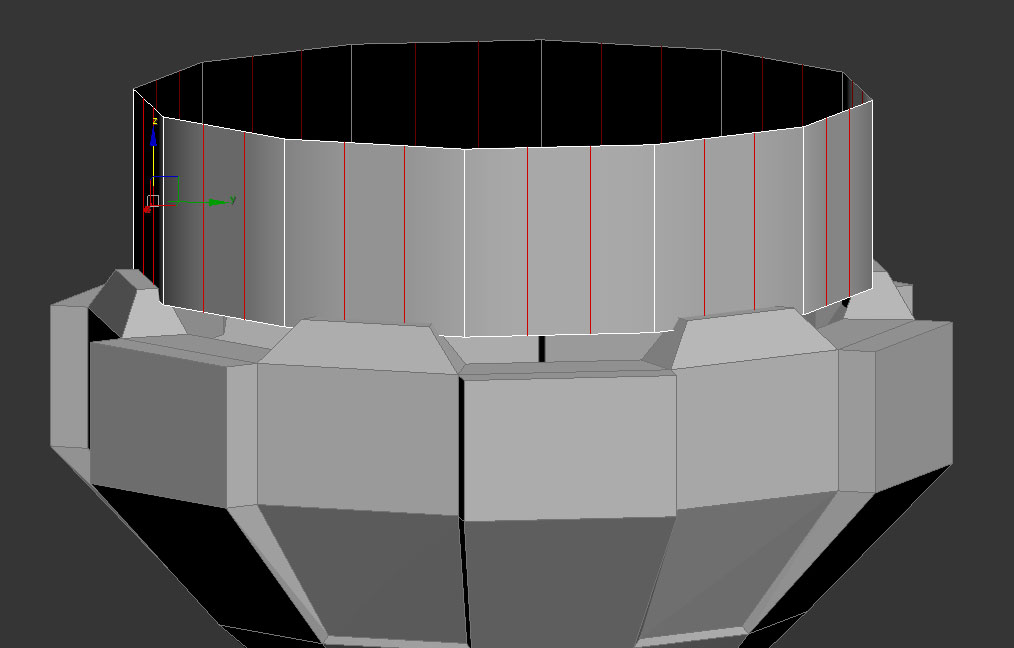
Once the bottom was done I started working on the rest. I made it into a seperate piece by making another cylinder with 12 sides and then I connected 2 more edges inside the 12 sides.
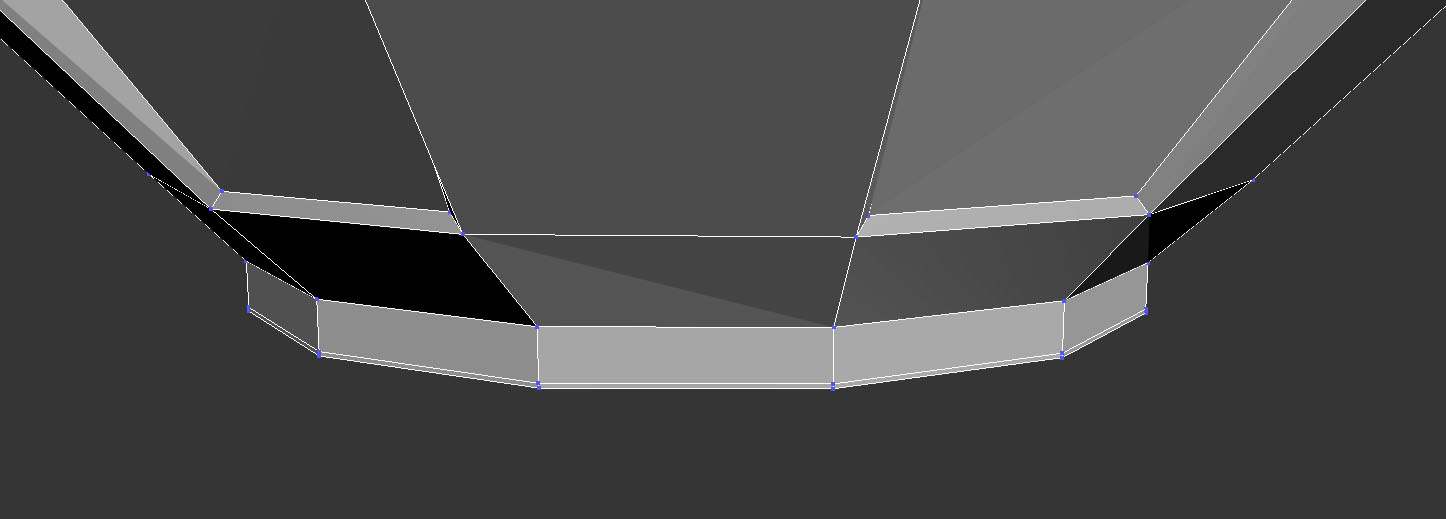
Extruded that bottom and made it planar.
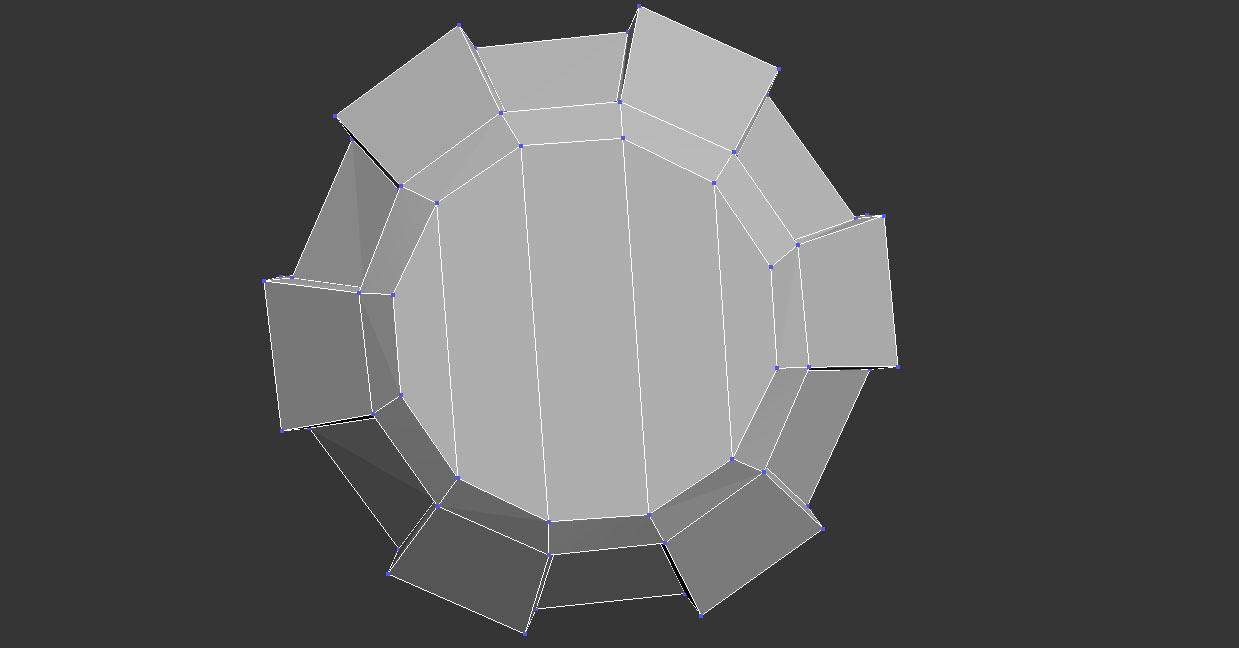
I then connected the vertices together so there is always polygons with 4 sides.

To fix it I grabbed the edges in the bottom and capped the polygon. I the selected the polygon and used geopoly to make it round.
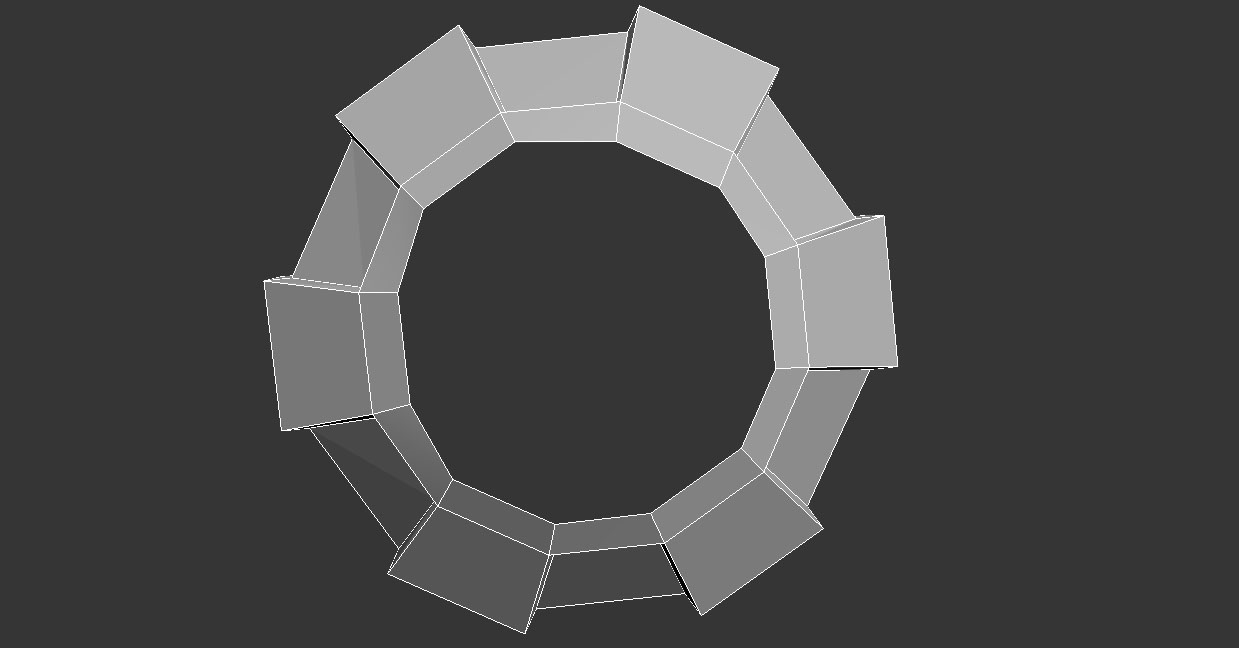
Noticed the bottom was not perfectly round and looked distorted.
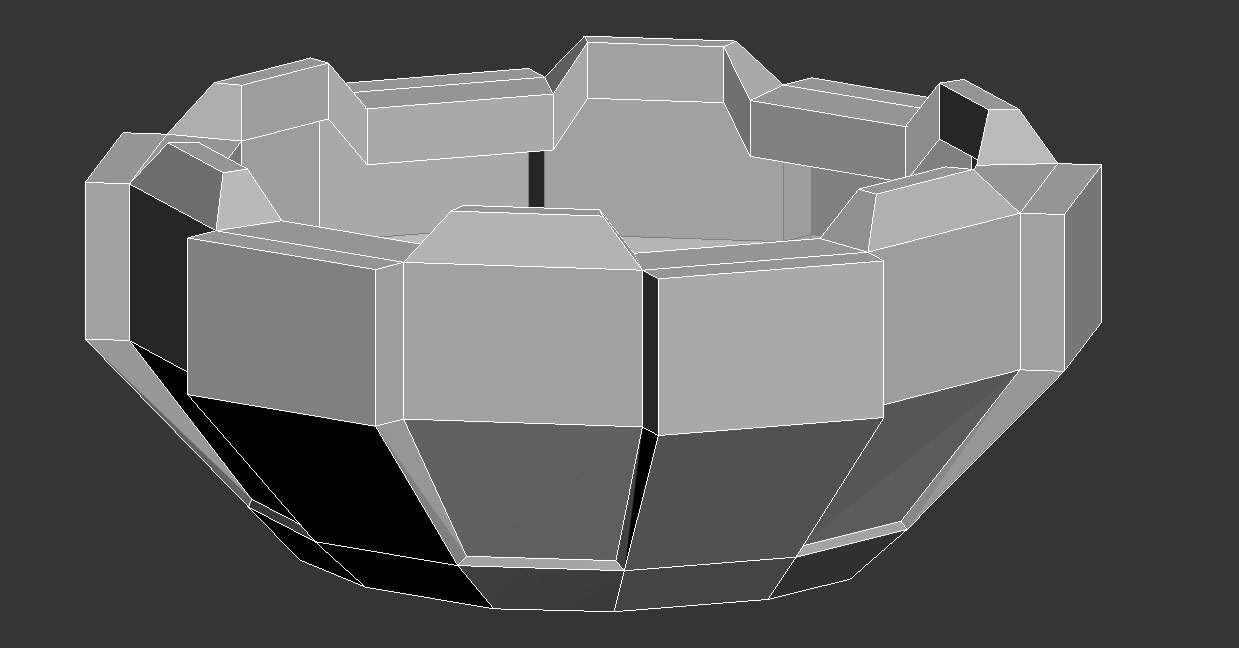
Bridged the bottom polygons again to get the shape of the bottom grenade.
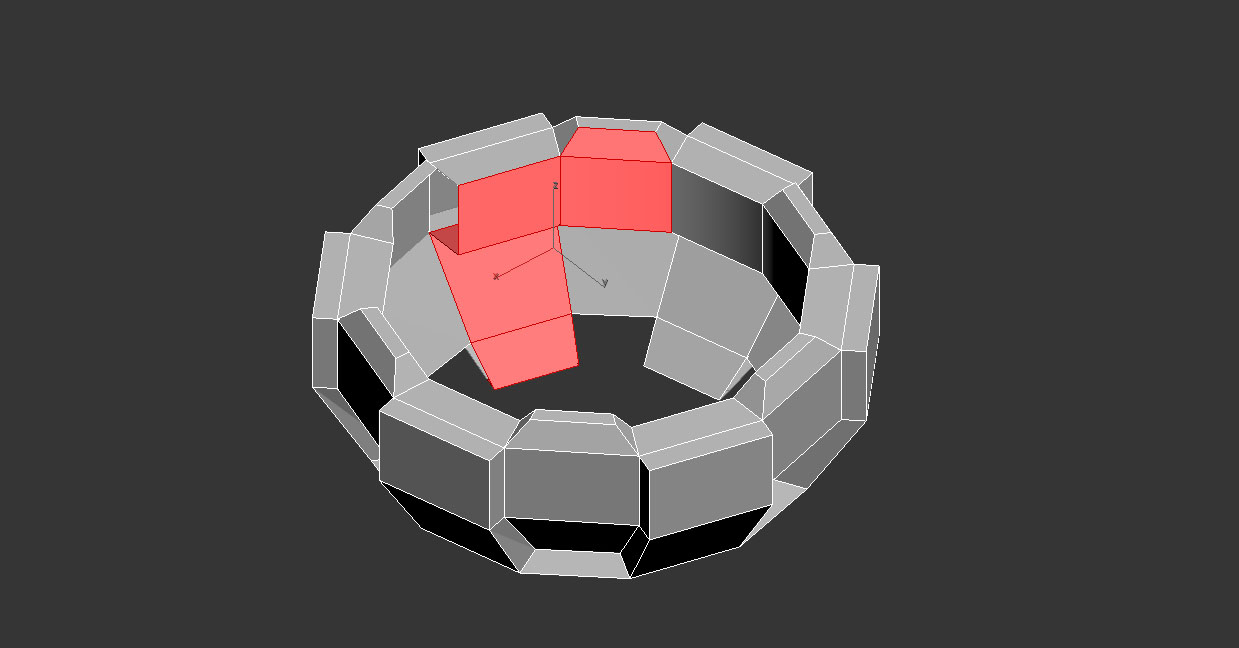
Erased any unecessary polygons inside since they won't be seen.
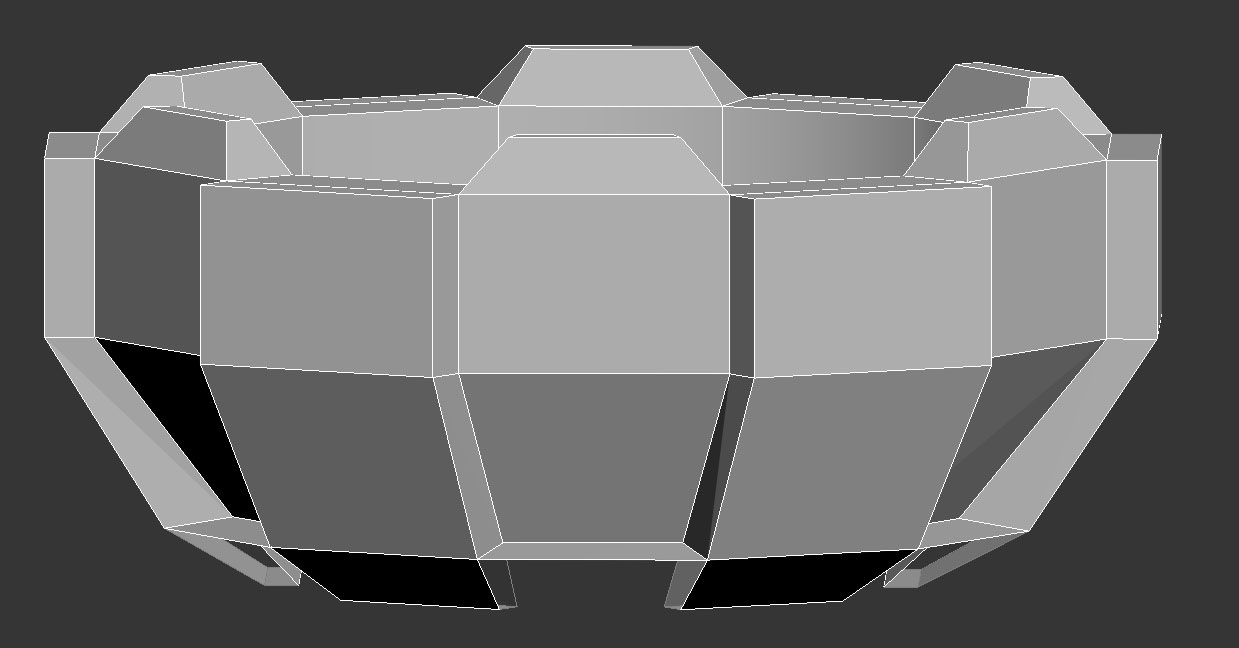
I added a swift loop to the bottom polygons to split it so I could work on filling in the gaps. I had to erase the polygons from the sides and top to then bridge the gap and then I bridge back the polygons I had erased.
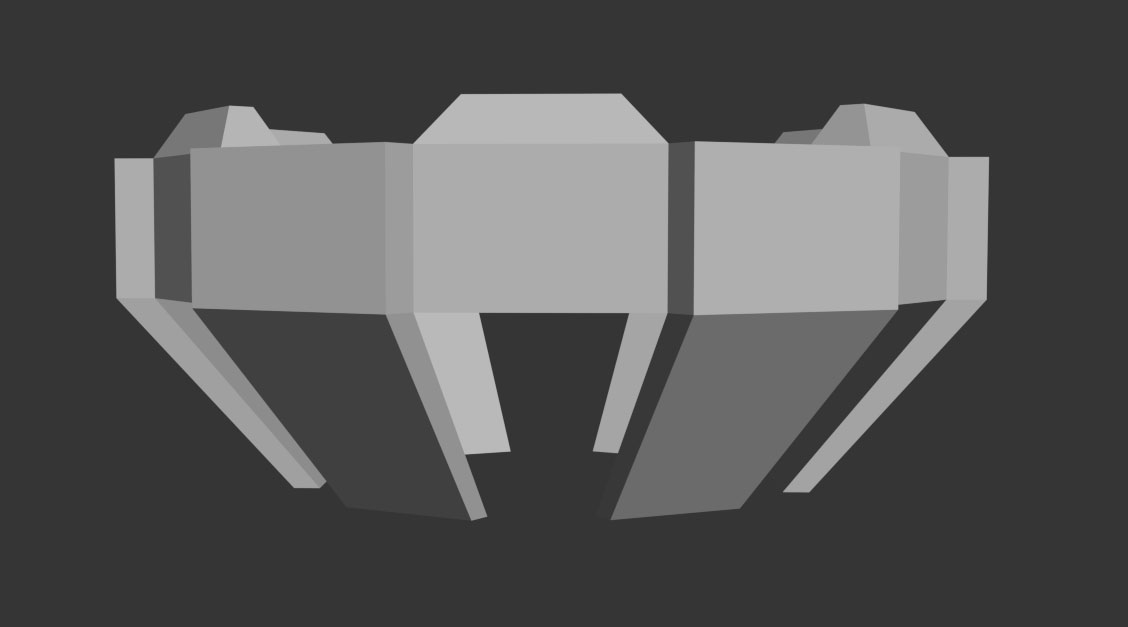
I started to model a lowpoly version in 3DS Max. I began making the hard part first. To do that I made a cylinder with 12 sides so its even. I made it into an edit poly and grabbed 6 sides (every other side) to extrude out. Making those polygons I then got the bottom poly and extruded them down and inwards. To the top I got 6 polygons and beveled them up.
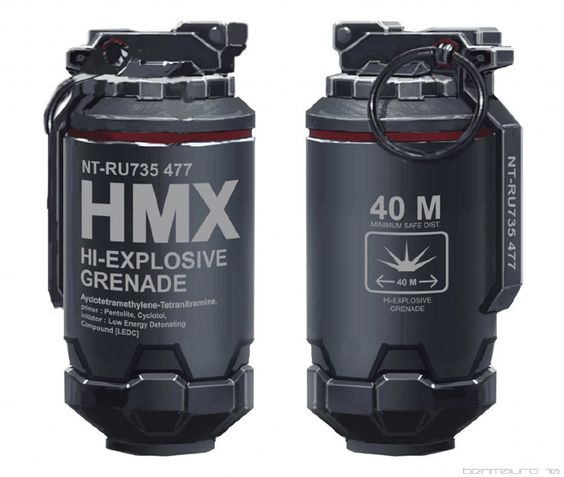
Gathered reference in pinterest.