Kunai
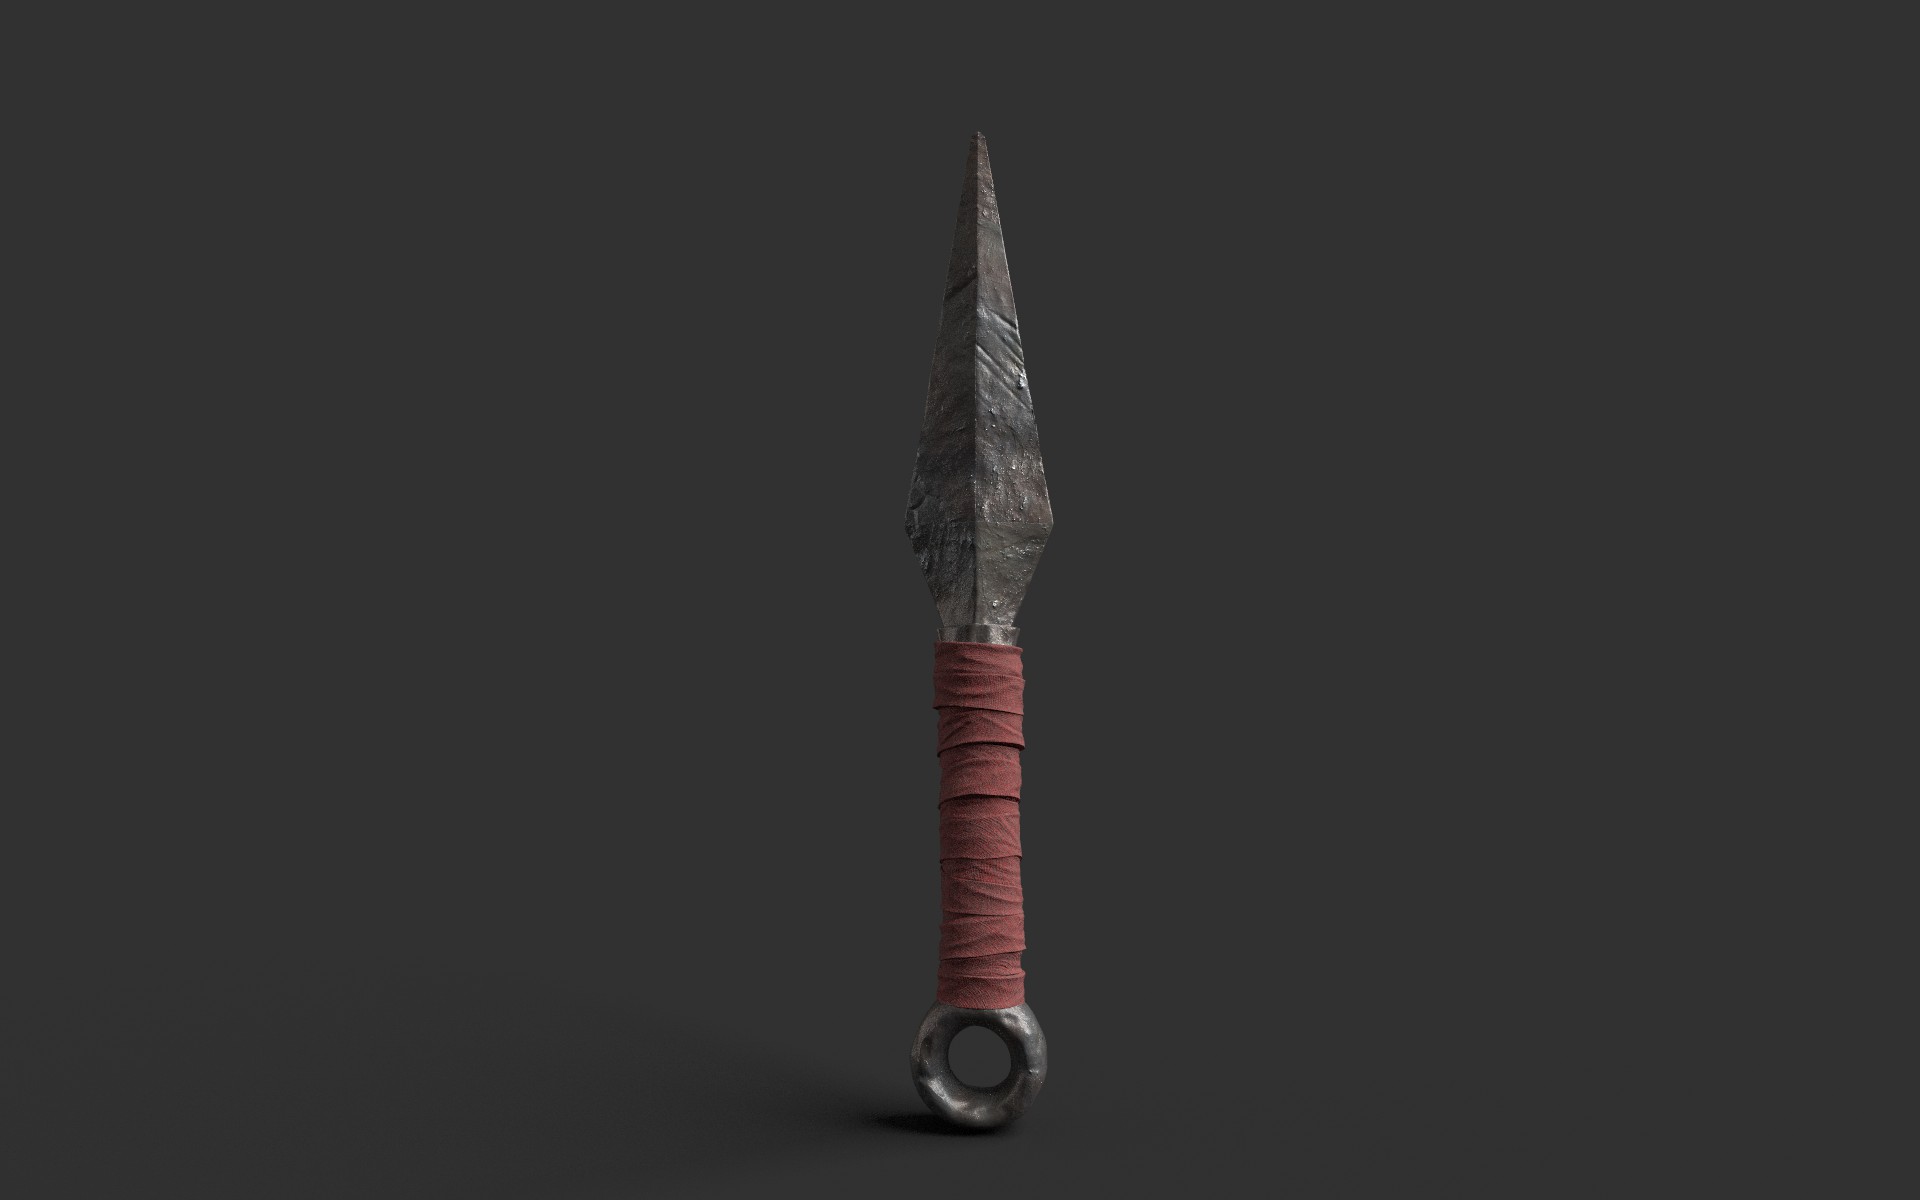

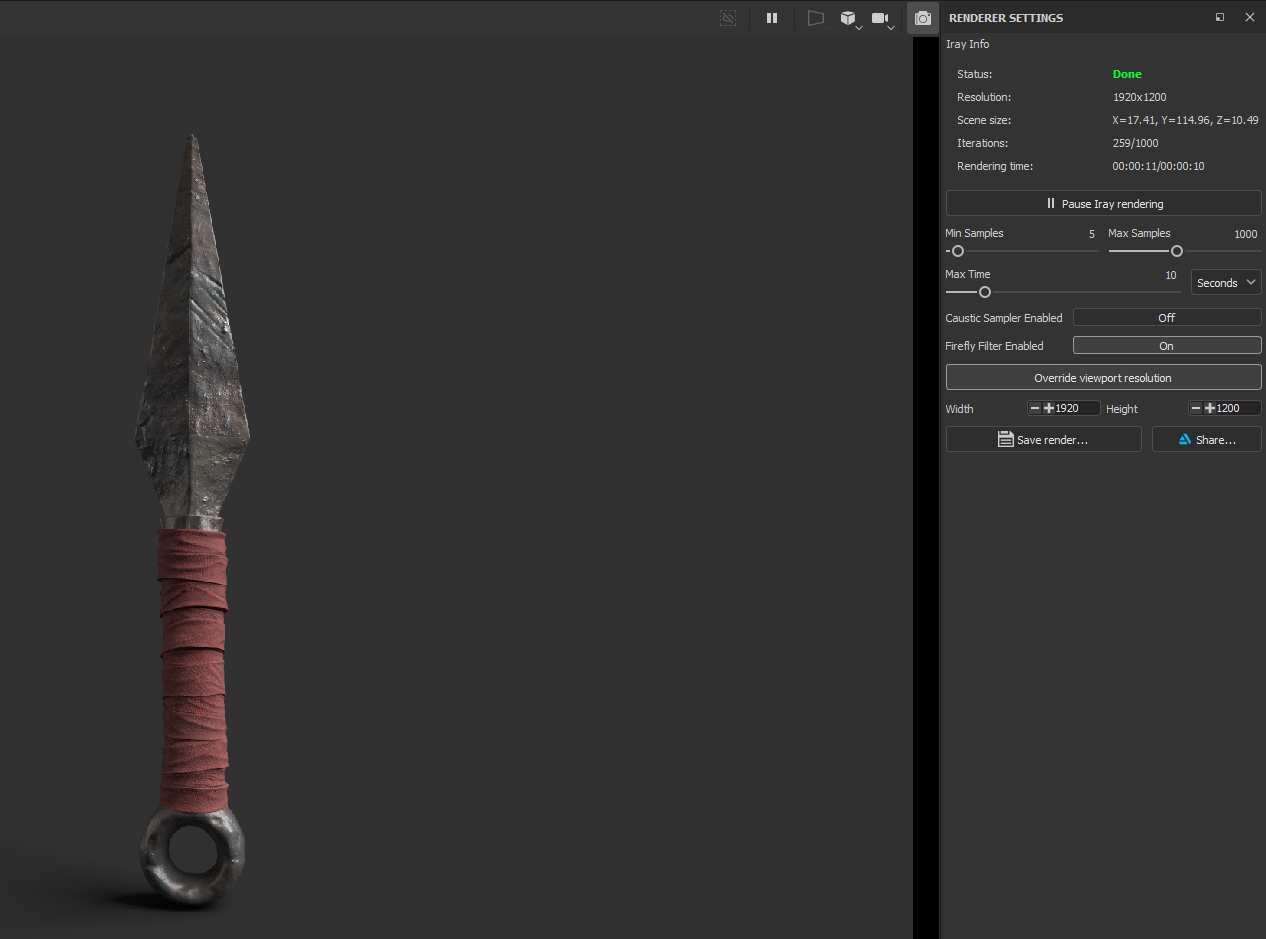
It was time for a quick render with in Substance Painter. Under the rendering settings it had and HDRI background to project the light, all I did was changed it to a grey solid background still using the light source of the HDRI within Substance Painter.
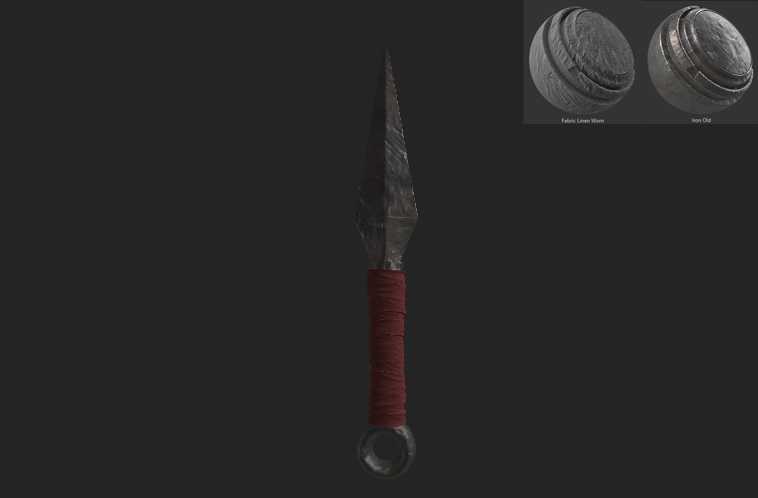
For this project I did not go much in depth with substace painter. I used two smart materials, Iron old for the Kunai and torus, and Fabric Linen worn for the bandage, changing the color from grey to red.
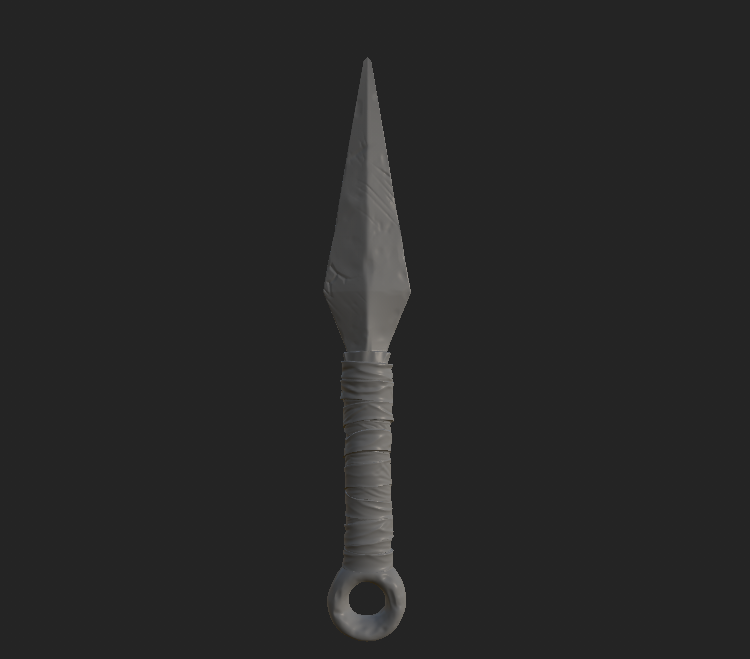
Highpoly is now baked into the lowpoly within Substance Painter and now it was time to texture.
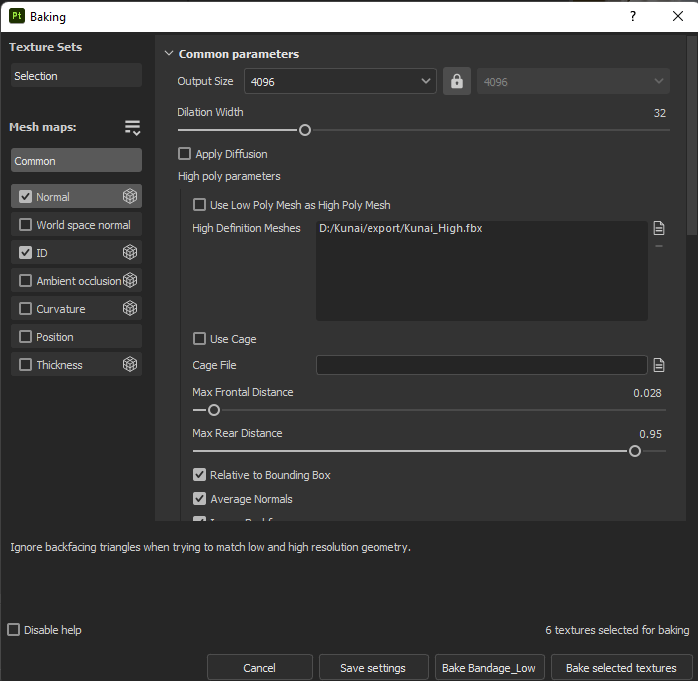
I did run into a problem here. Not all Mesh maps wated to bake "Normal and ID", not giving me the details on any of the three subtools. What I did next to fix it was selected the Normal and ID map only and increase the Max Rear Distance baking it aswell for the appropriate result.
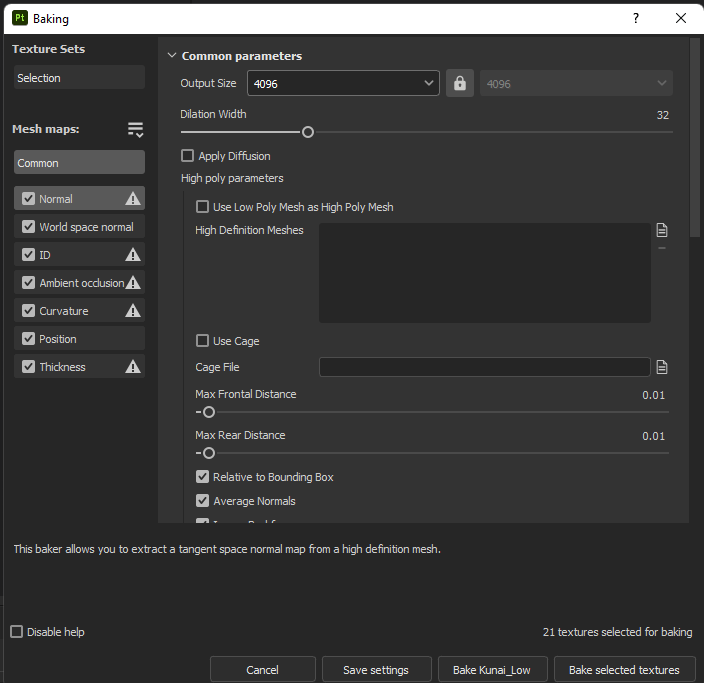
It was time to bake the highpoly model into the lowpoly model. Under Texture set settings, click on bake mesh maps. I change the output size to 4096, left all the mesh maps checked and clicked on the document icon next to High Definition Meshes, selecting the highpoly model. Scrolling down there is the Match setting which I changed it to "By Mesh Name" making sure low poly was at "_low" and highpoly to "_high". I aswell went to the ID map and on color source changed it to File ID and applied to all, Making sure as well under Texture Sets on the top left in the "Selection" button everything was checked. I then Baked the selected textures.
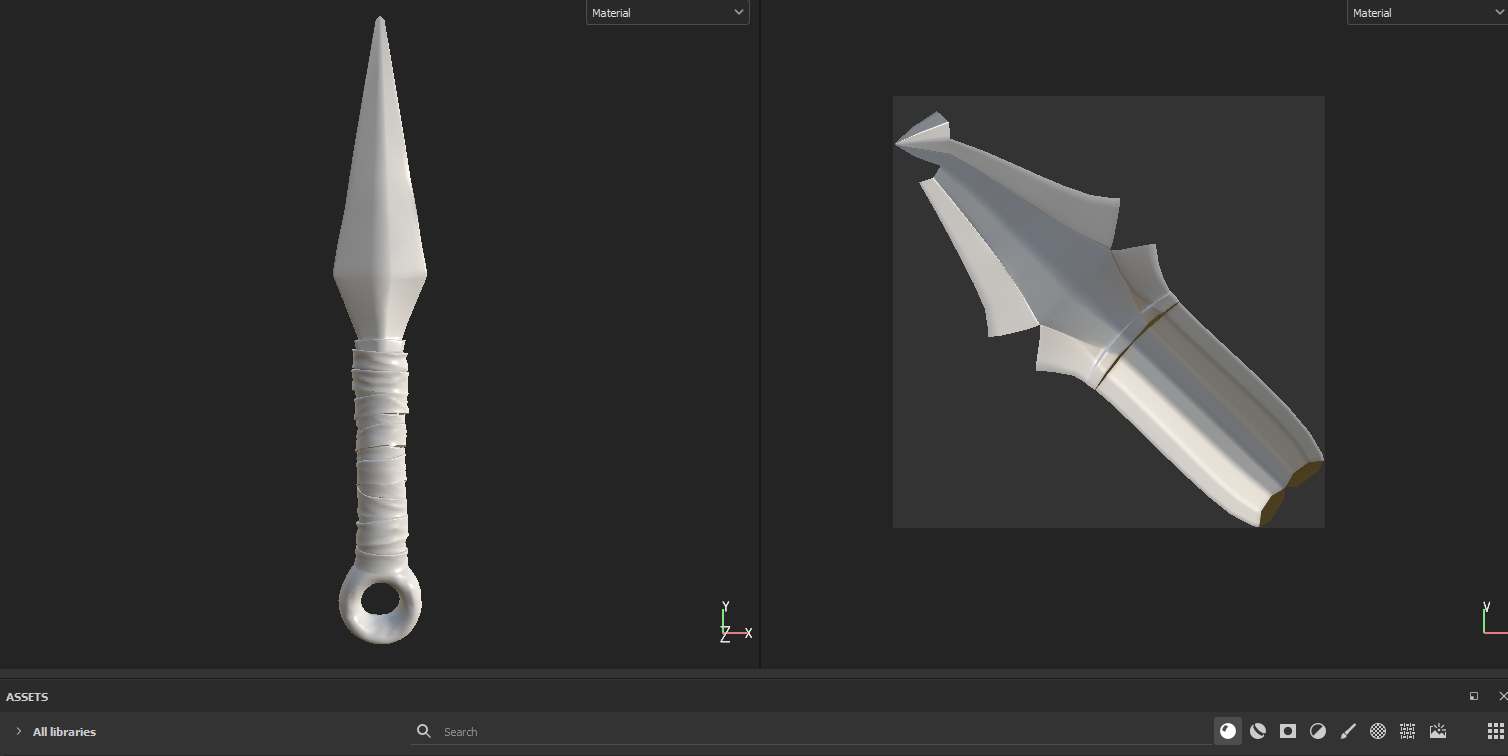
In substance painter, Under file Import, I imported the low resolution model and changed the Document resolution to 4069.
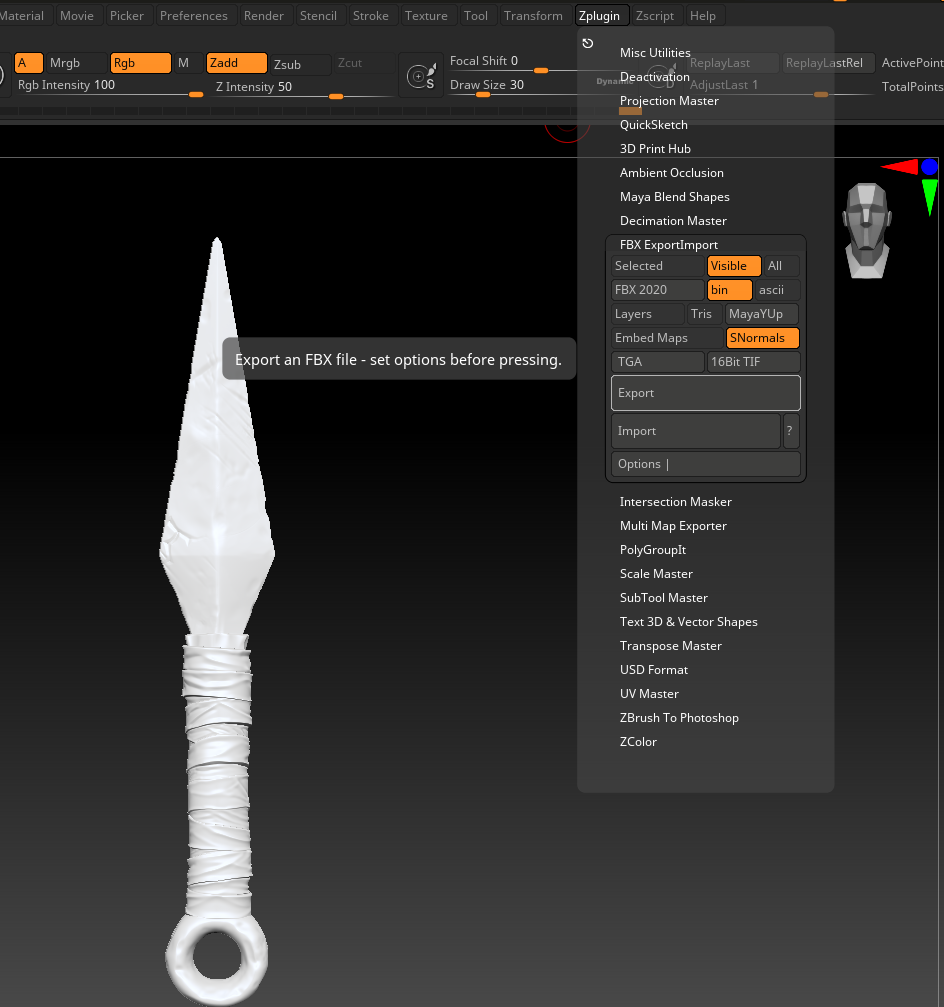
Once all three were unwrapped it was time to exported and imported into Substance painter for textures. Under Zplug, FBX Export/Import, I kept it on its normal setting. First I had to name my subtools as "_high" "_low" at the end of each subtool. I staterted to export the low poly first so I made sure I was at my lowest subdivision with the subtools named "Kunai_low, Bandage_Low, Torus_low" and exported all visible. I did the same thing to the highpoly version. Made sure all subtools were on its highest subdivision and named "_high". I did run into some trouble in the highpoly with an error about the anti-virus, all I had to do was deactivate the antivirus in my computer since it wouldn't let Zbrush export it out.
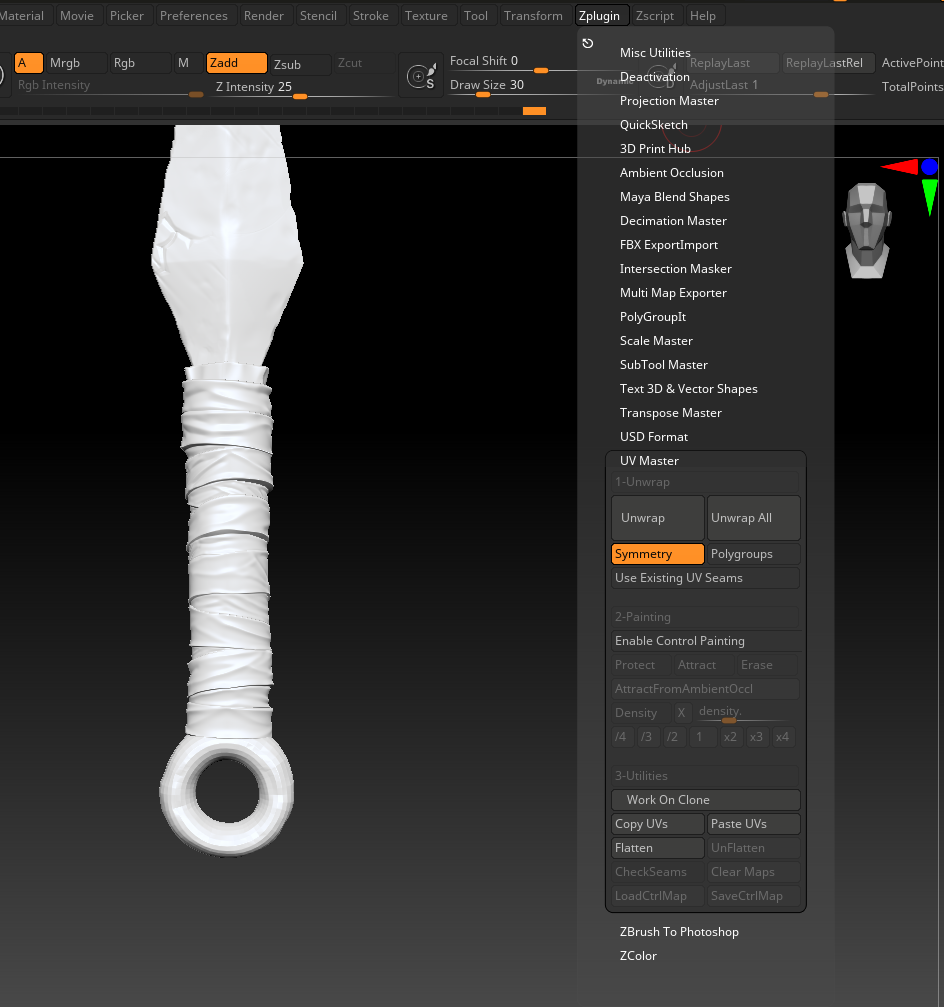
I did a basic unwrap with in Zbrush. First I made sure my three Subtools Kunai, Bandage, and Torus, were on their lower subdivision. After On the Zplugin tab, Under UV Master, I went ahead and press "work on clone", to work on the tool outside of the original project, Then I pressed"unwrap","copy Uvs". Once that was done I went to my original tool which added a 001 to its name. I selected it and pressed "Paste Uvs" turning the subtool white indicating the UVs have been projected into the original subtool.
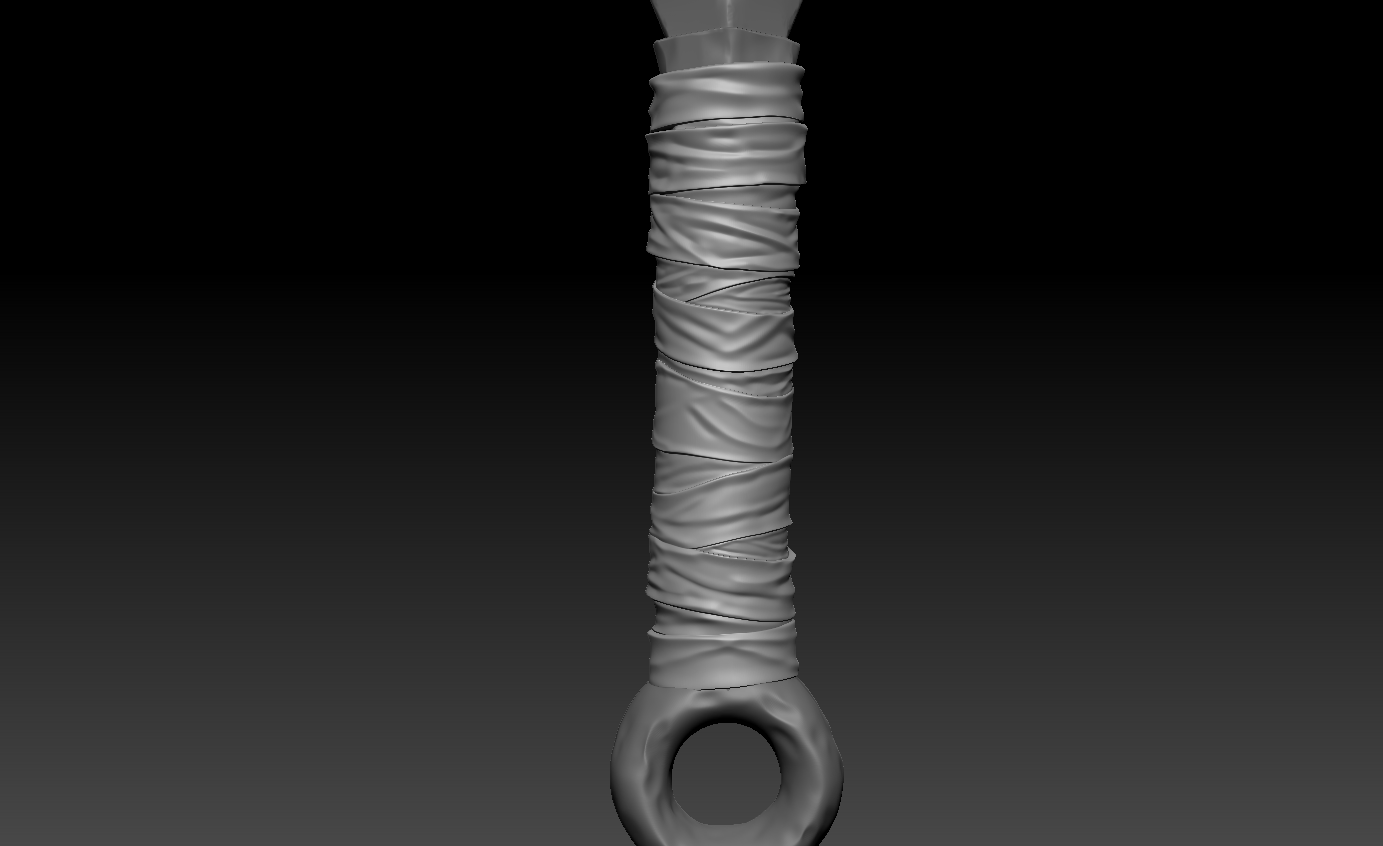
I used that all the way to the top cylinder. After I collapse all 16 cylinders to make it into one object.
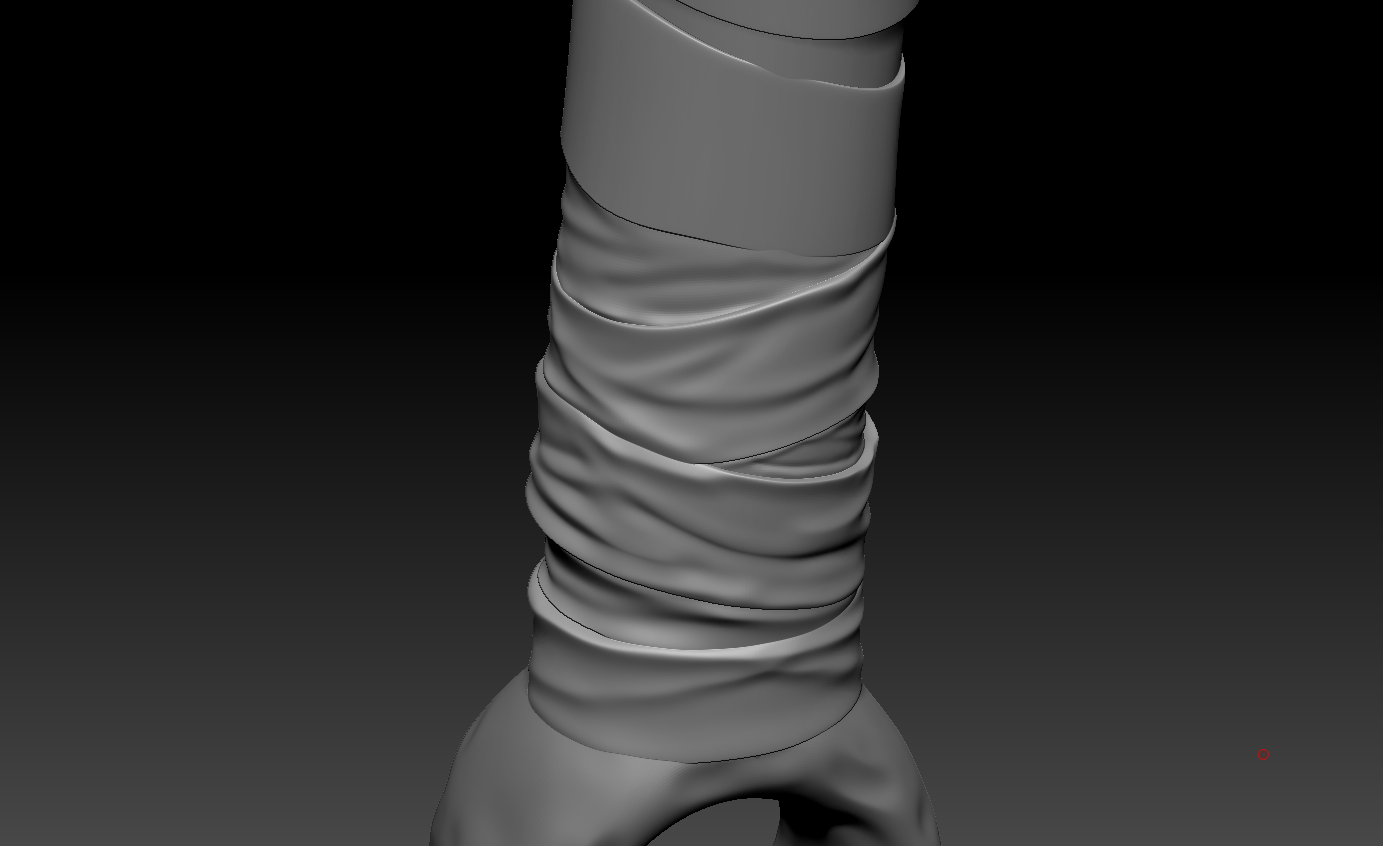
For the badage wrapped around the kunai I just used the Damstandard to give it it rough shape.
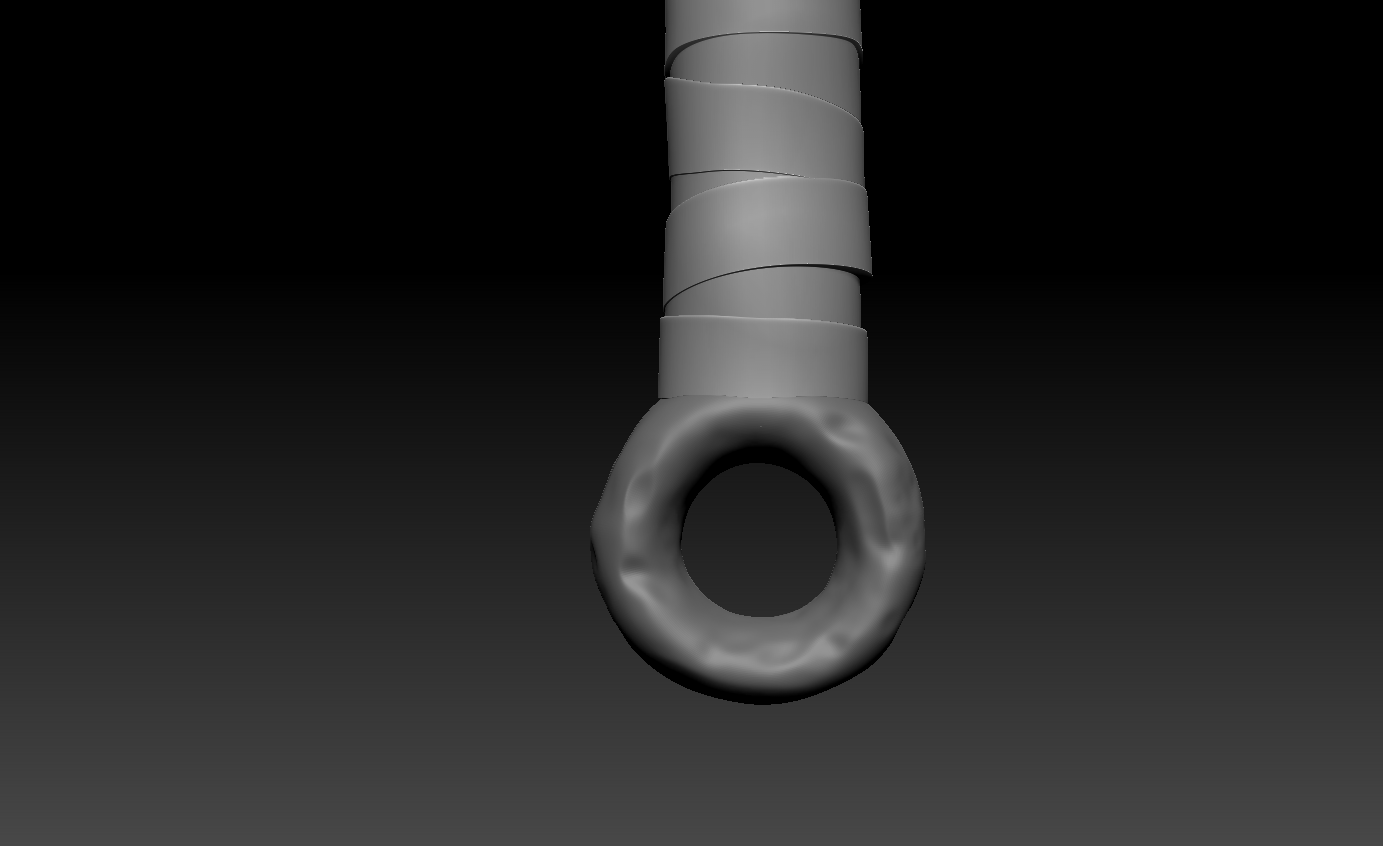
I used the same surface brush for the torus.
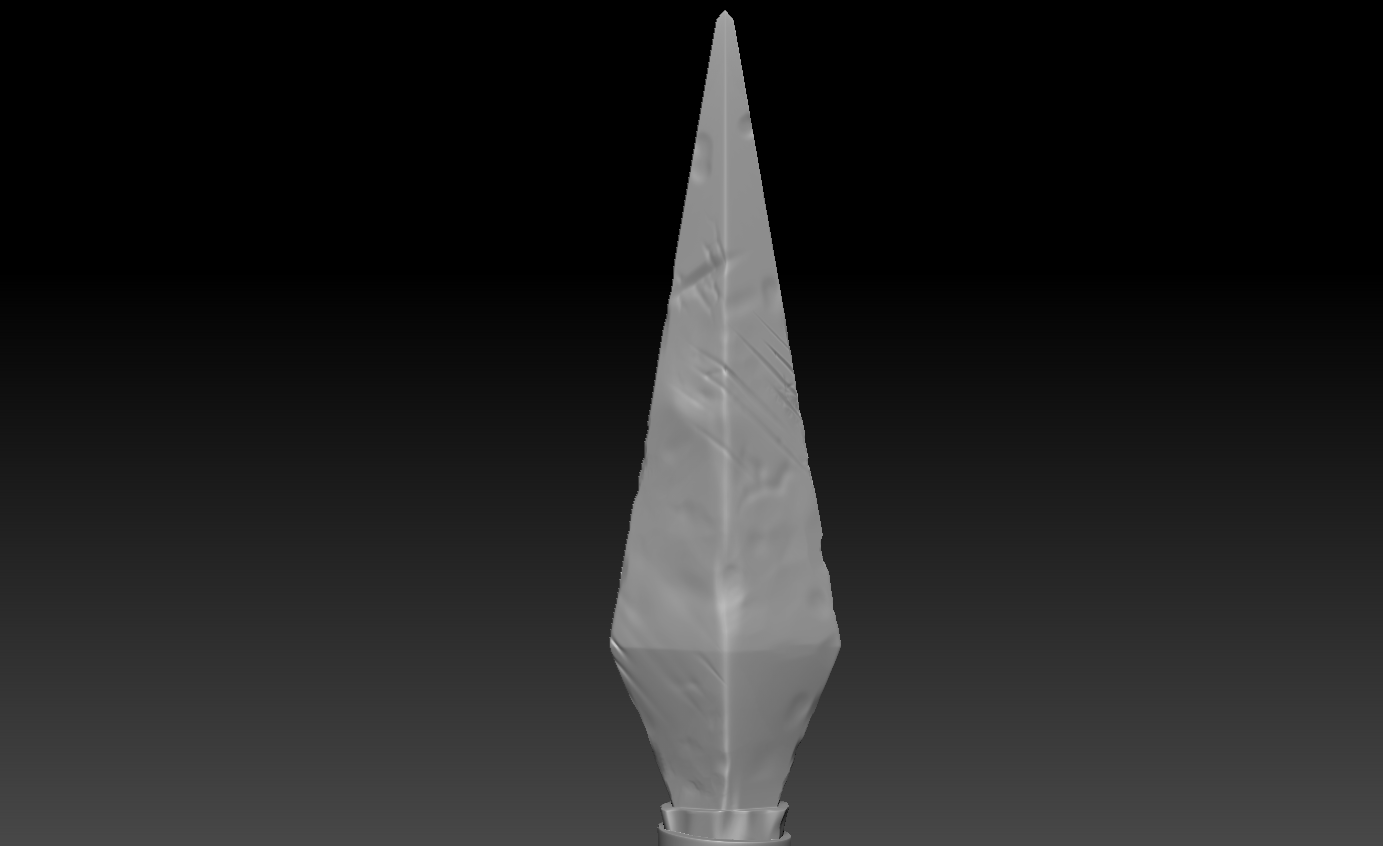
It was now time to add some details. I went ahead and used the TrimDynamic brush to the edges to have them demaged instead of polish to make it seem dull. I also used a surface brush and some cracked alpha brushes to give it more damaged.
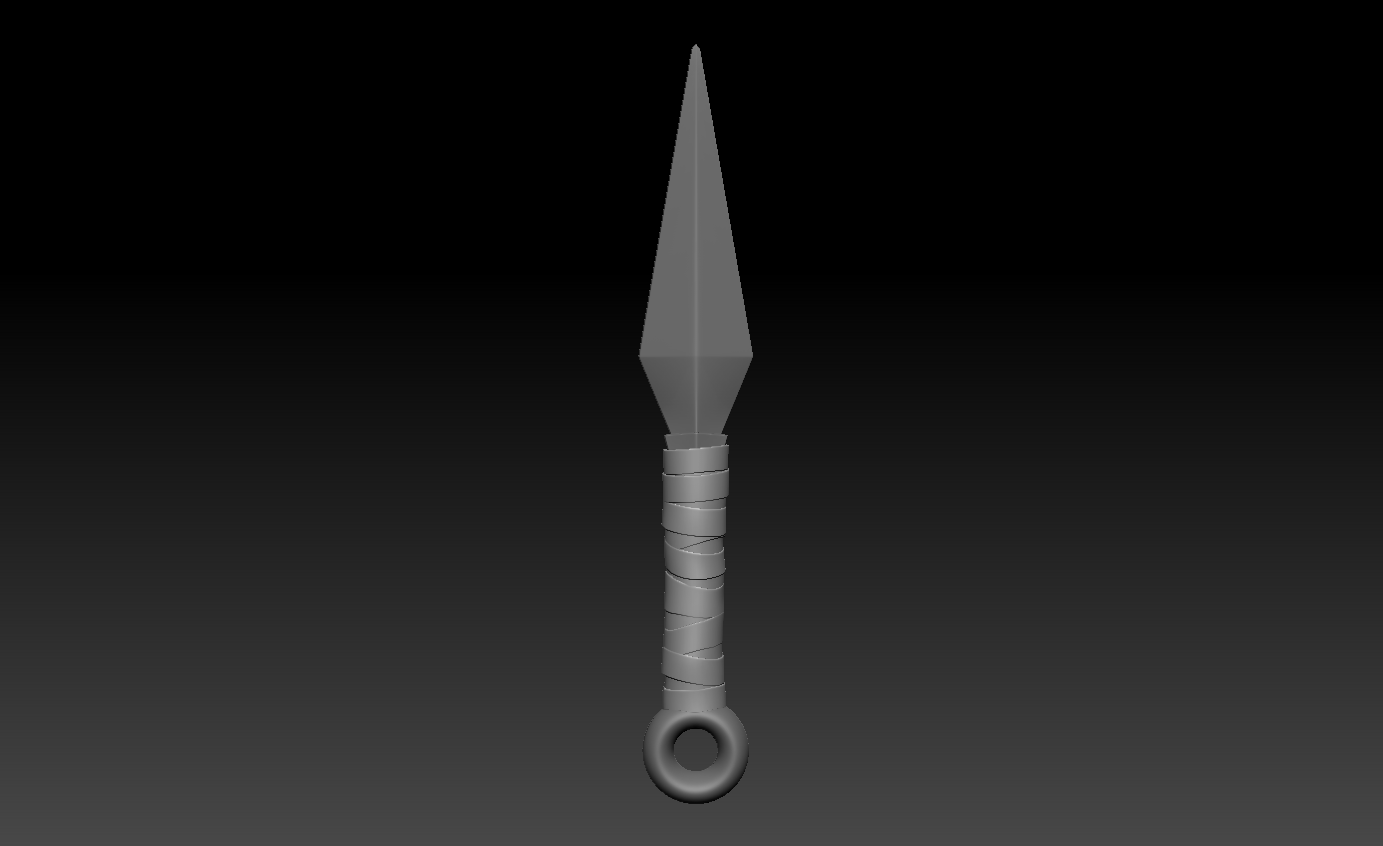
I did 16 of those cylinders and using the move tool to move them into place.
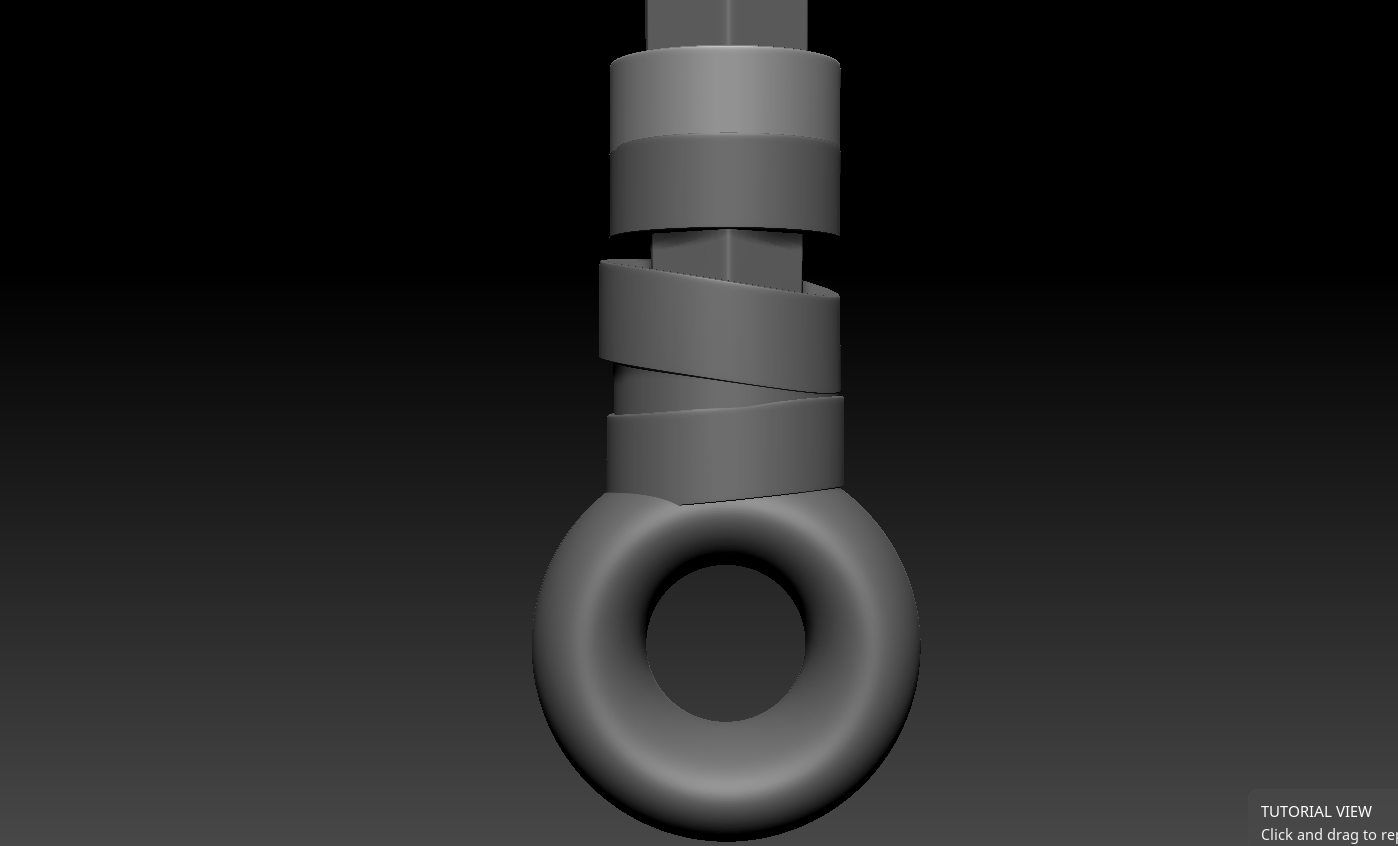
In Zbrush, I added a few cylinders to the handle forming them on top of each other for a badage wrapped around it to give it some grip.
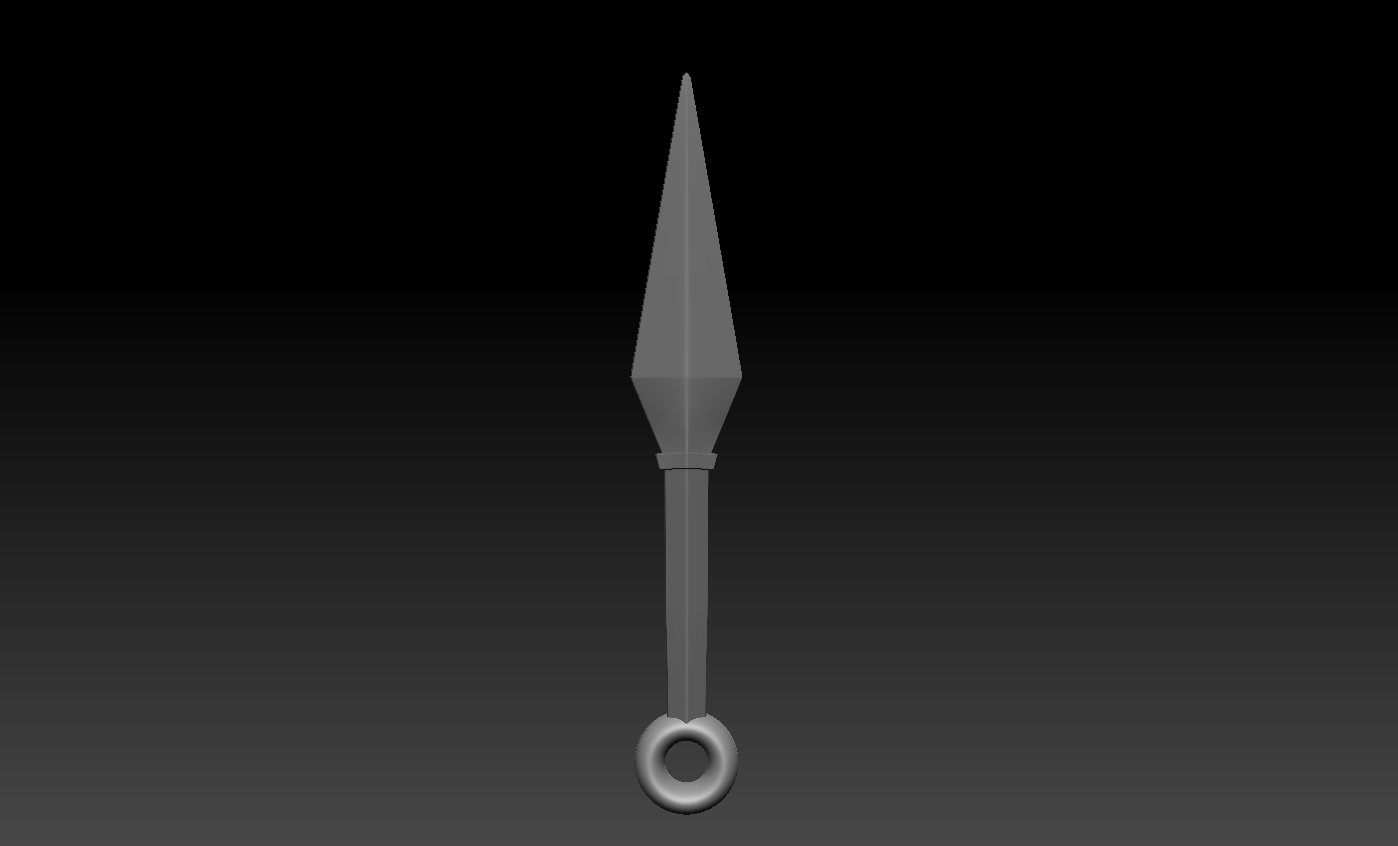
I went ahead extracted the top of the handle to give some seperation from the head and handle. It was then exported from 3Ds Max and imported into Zbrush.
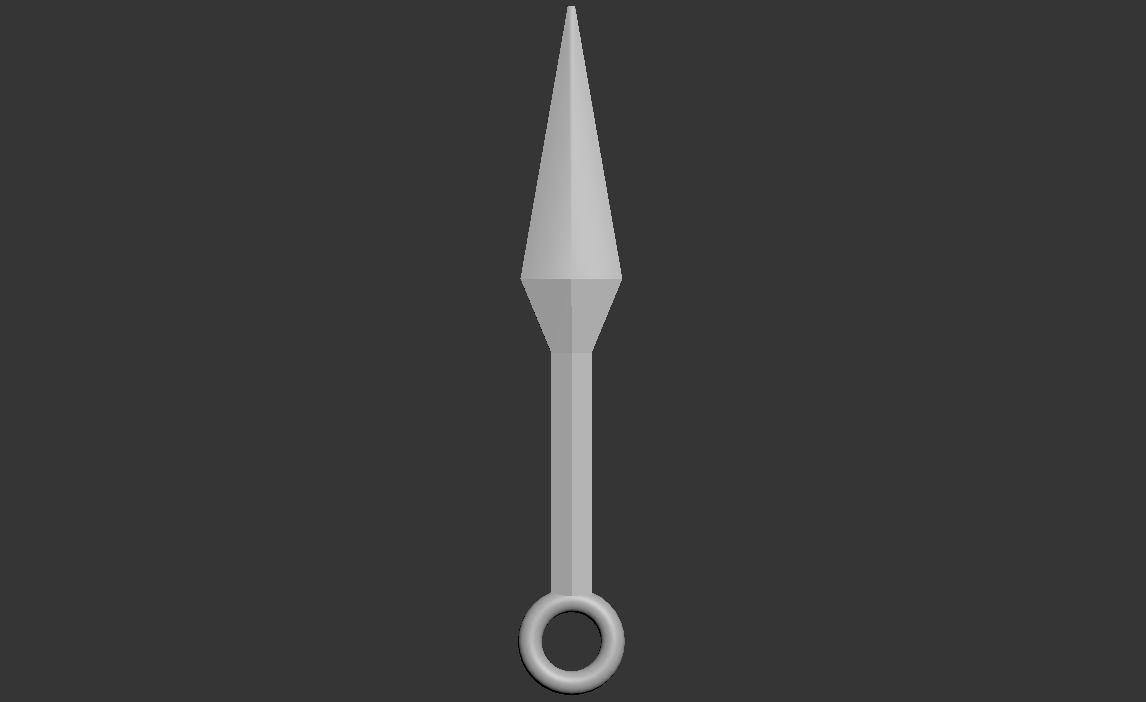
After extracting the face of the kunai for the handle I added a torus to the bottom of it. I went ahead and made the vertices of the outer sides of the kunai closer together to give it its sharpness.
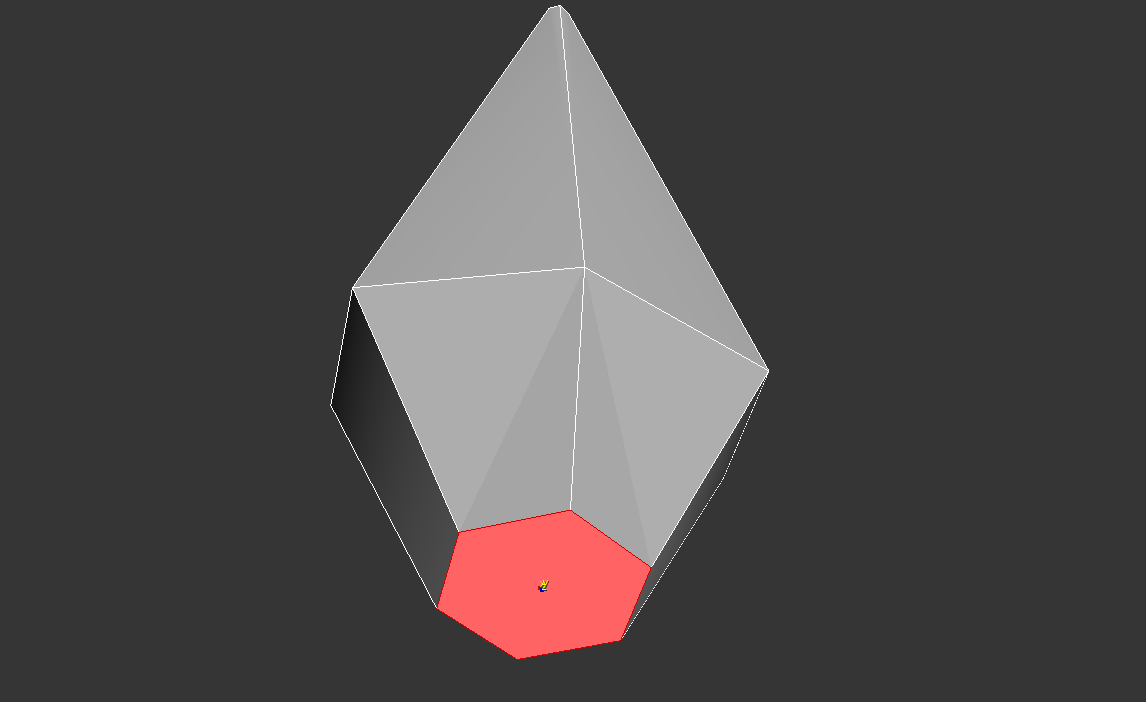
I geopoly the bottom face of the kunai to be completly round for extraction.
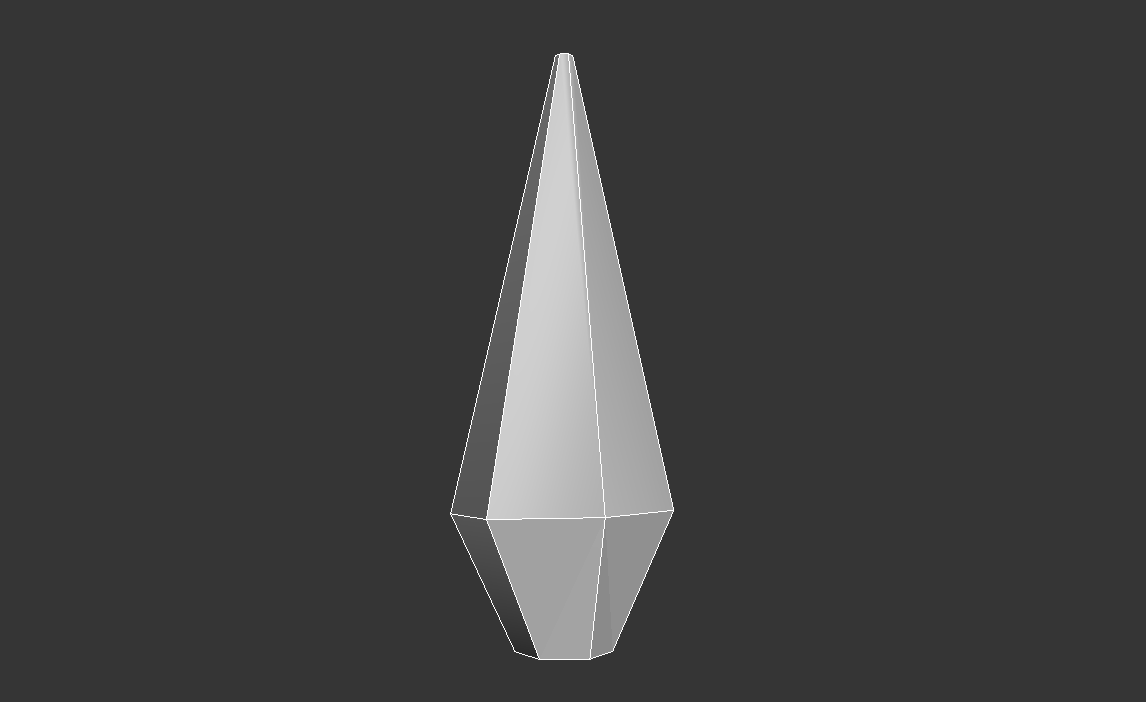
I converetd that plane into an edible poly and extracted the outer boundaries to give it the 3D shape. To give the kunai some deeped on its shape i grabbed the middle vertex of both ends and pulled them forward.
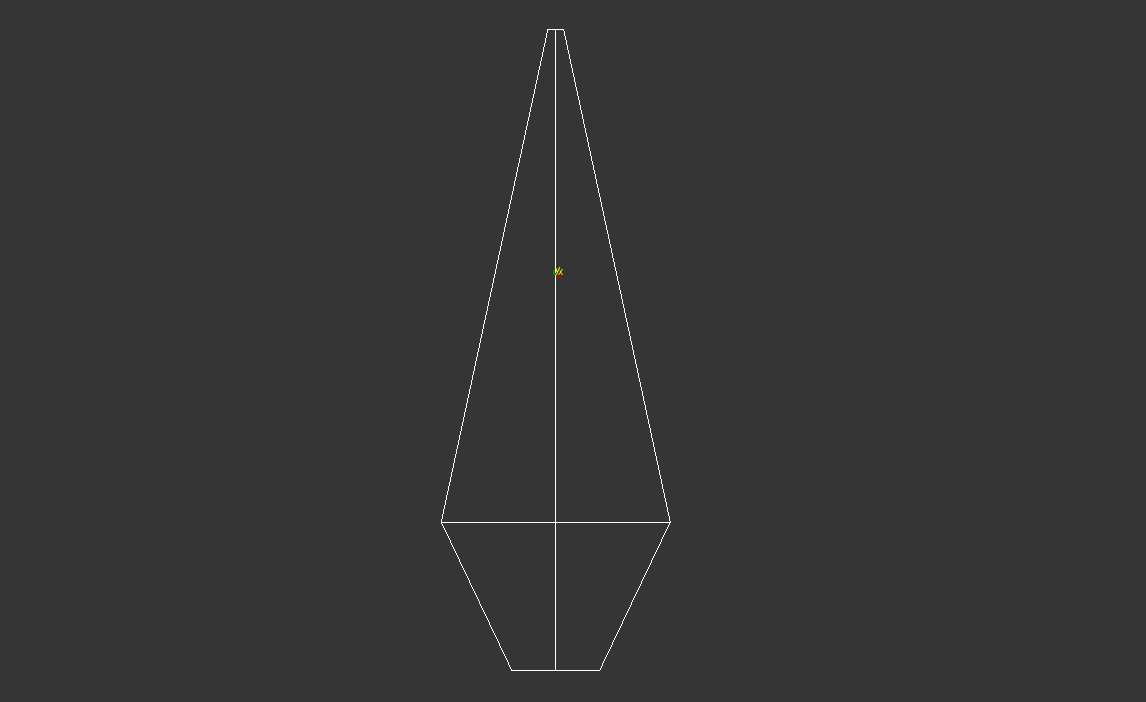
To begin I started in 3Ds Max to get a basic blockout and scale. I started with a plane giving it the shape of the Kunai head.