Stereo
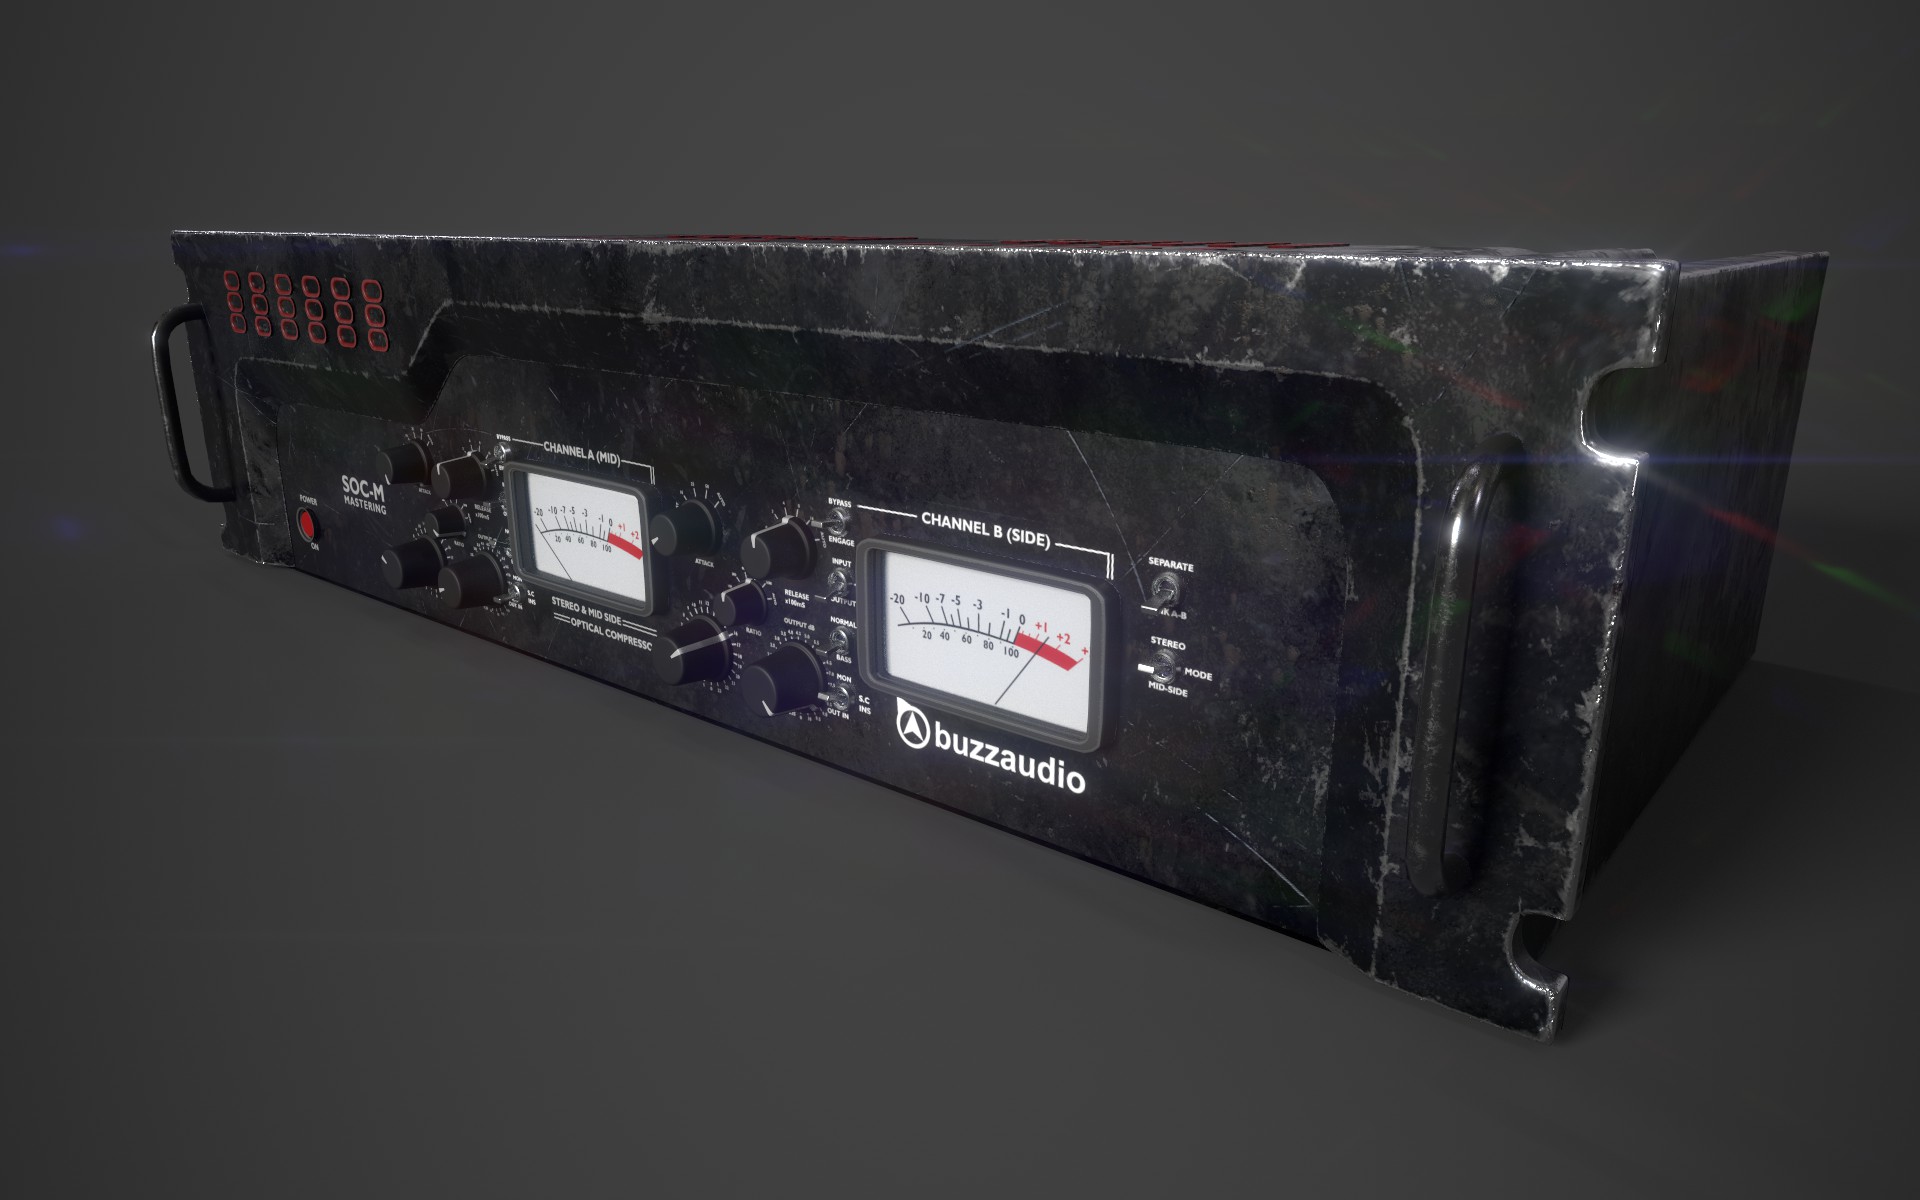


Side view Render

Close up view of the decals
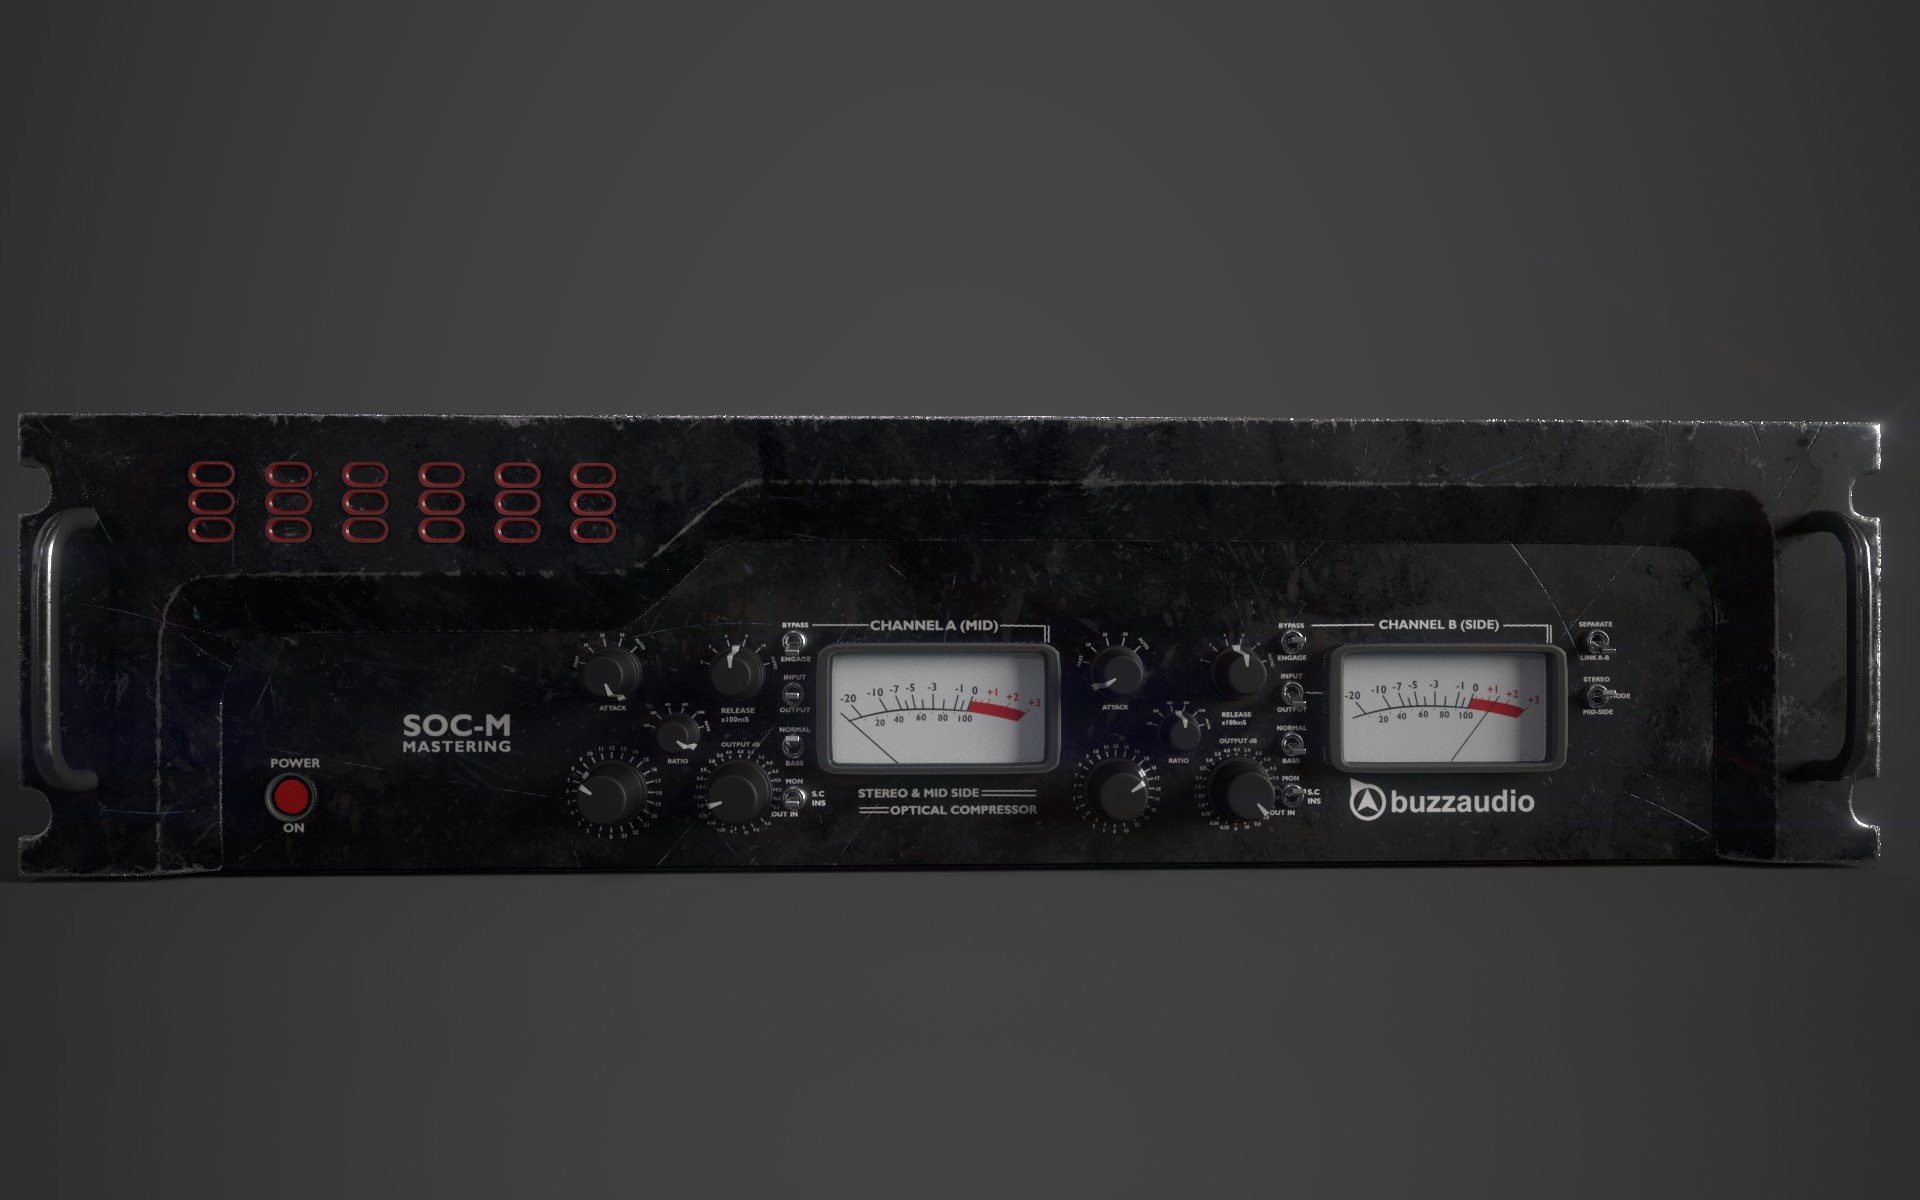
Here are the final Renders for the front view
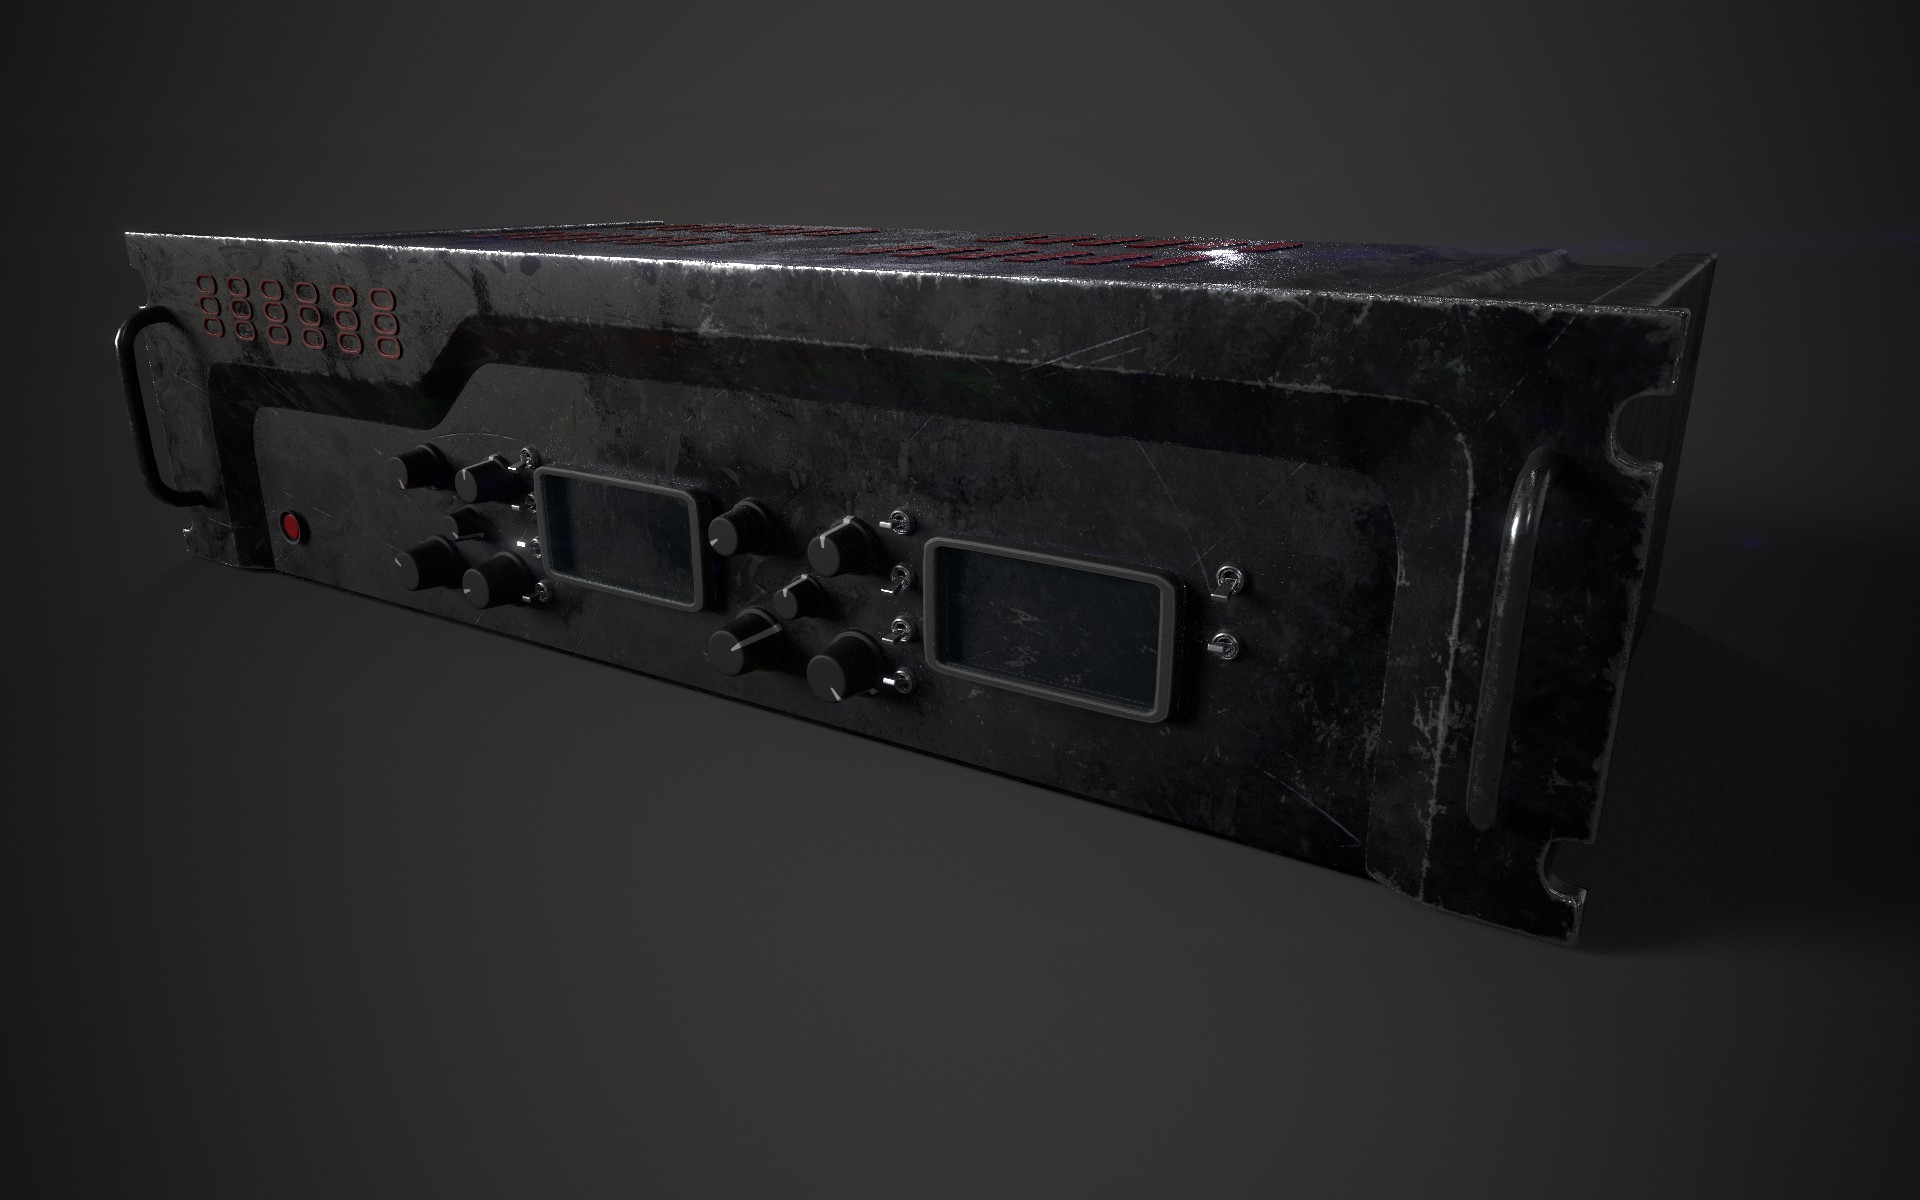
Did a quick render to see how it was coming up and looking. Next we will continue to add some wear into the switches and control knobs, as well as add decals to our Stereo.
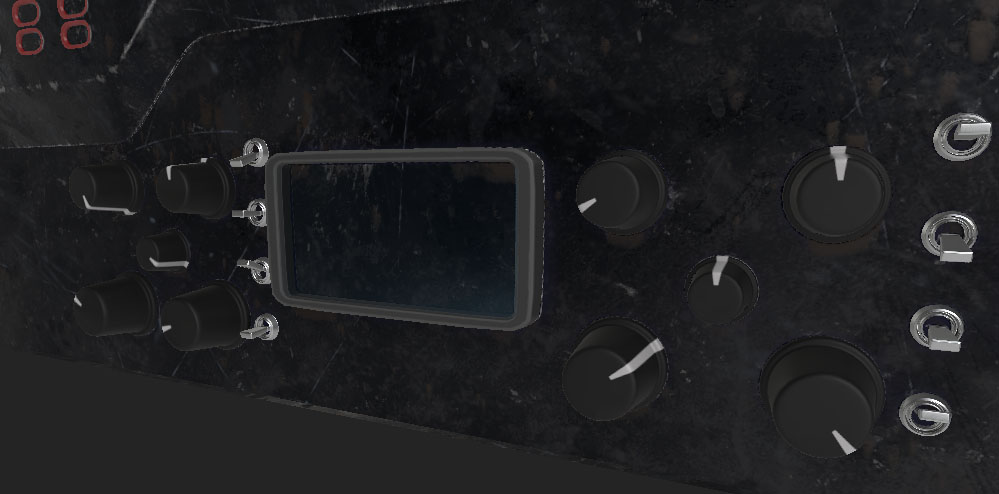
This are the results on all control knobs polyfilled individualy for different variations.
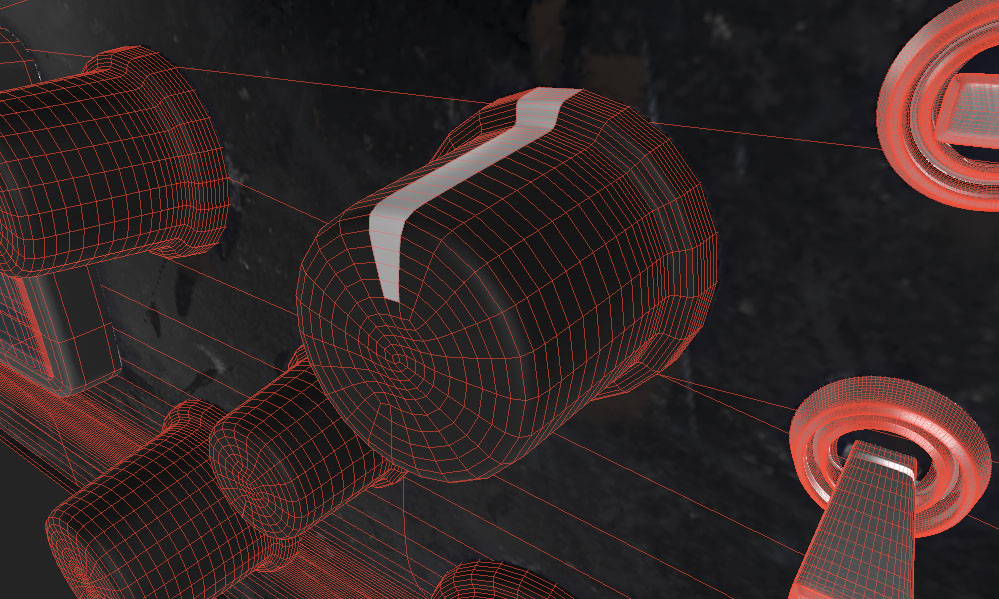
Working on the control knobs for the stereo I added a Plastic Armored simple smart material and to get the white color I simply added a fill layer used a black mask and polygoned filled the necessary polygons.
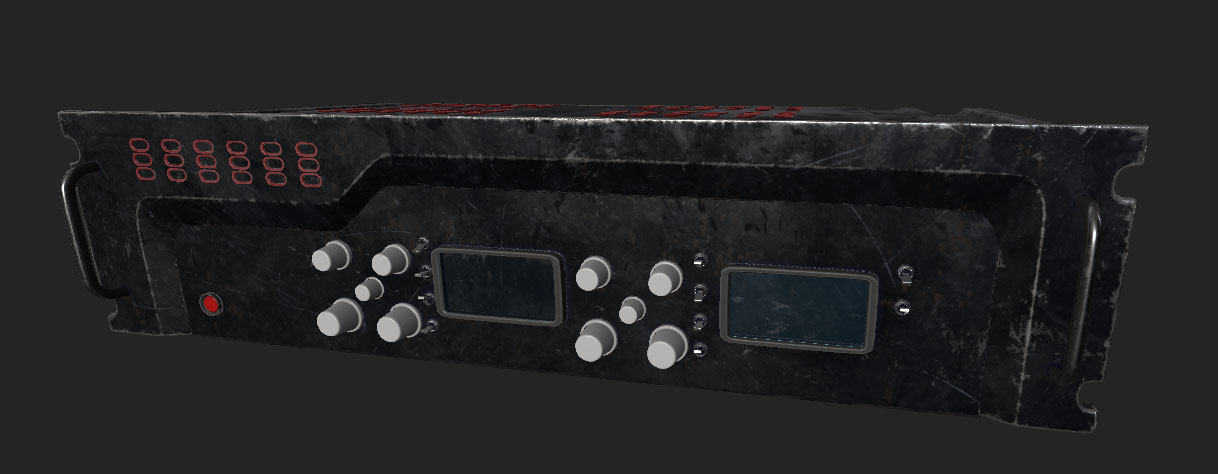
To get a quick texture I used the smart material I had saved for the grenade and brough it to the stereo. I adjusted the color, dirt, scrates, and edge wear for a fast and simple design. I also took out the decals from the grenade to then input the new decals for the stereo later on.
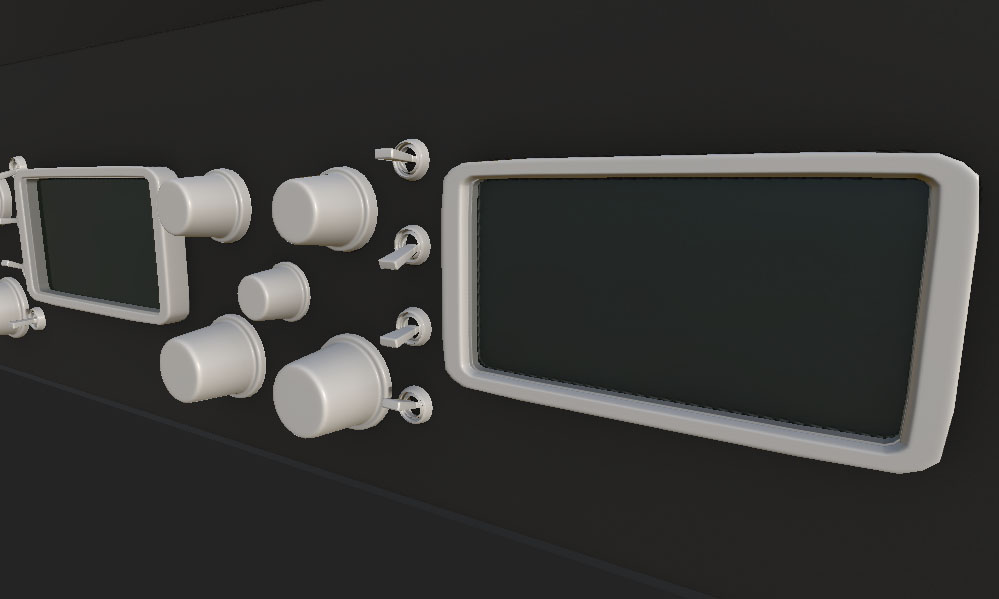
Result of the pbr-metal-rough-with-alpha-blending and opacity lowered down. I also got the main stereo piece to a black color so I could see the transperancy.
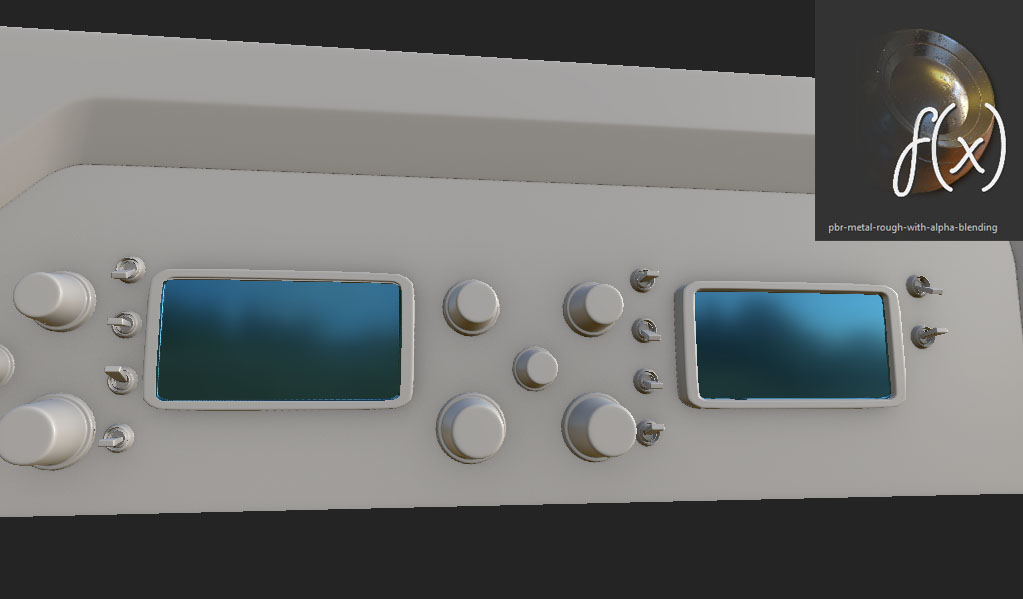
When that is completed I can start surfacing. The first object I wanted to focus was on the transparant glass. To do that I added a smart material called Glass Visor. Then I added the opacity channel under texture set settings to lower it down. Under shader settings I also switched it to pbr-metal-rough-with-alpha-blending to get the following result.
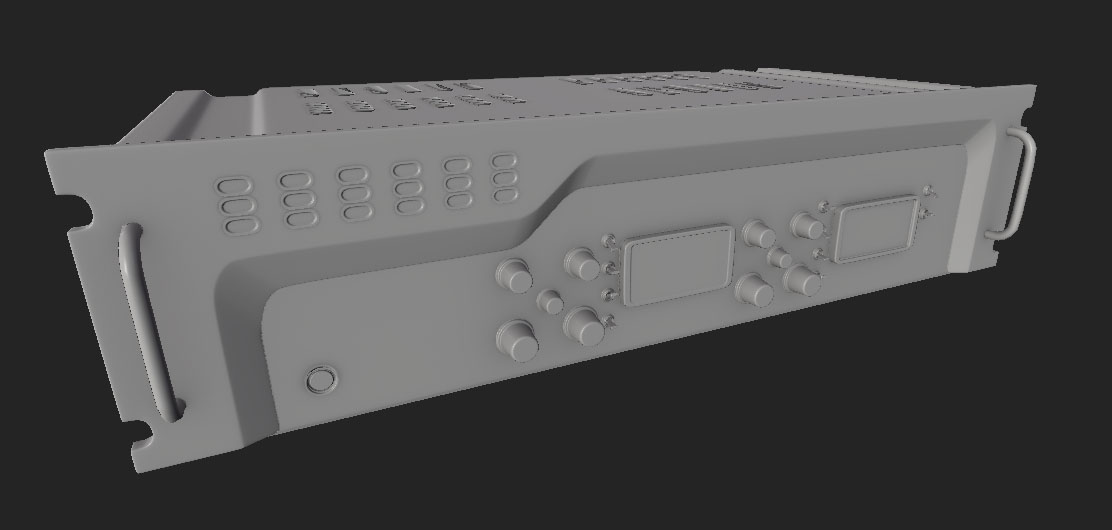
Once our Stereo Model is done we imported to substace painter a a lowpoly so we can bake the highpoly into it.